Retrieve the arrival record before the final week
Rental checkout becomes harder when the original condition report is buried in a packed box or an old email account. Find the signed form, supplementary photographs, supplied-item list and repair correspondence before the last week. Save accessible copies outside the moving load.
Make a room checklist using the original headings. New Zealand Tenancy Services' condition form offers a useful room-and-item structure, and its initial-inspection guidance explains later comparison with the starting record. Those publications describe New Zealand practice; check the applicable tenancy requirements where the property is located.
Identify gaps now. If the arrival photographs do not show a particular wall, note that absence rather than assuming it was unmarked. Ask for any missing shared copies through the appropriate channel. The checkout task is to assemble an honest comparison, not to reconstruct an ideal baseline that never existed.
Observe after belongings have been removed
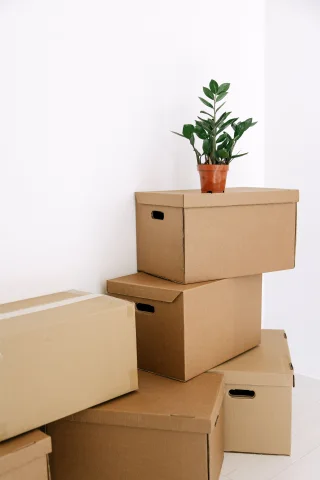
Plan the main condition photographs after furniture and cartons no longer hide surfaces, while allowing time for the agreed cleaning and inspection. Keep the property accessible under the tenancy arrangements. A comparison made around stacked boxes may miss a floor area that becomes visible only when the vehicle is loaded.
Use ordinary lighting and repeat important angles from arrival. Photograph a context view and a detail where a change needs explanation. Keep originals and record the date. Avoid filters, aggressive editing or selective cropping that changes how the surface appears.
Do not attempt unfamiliar repairs to improve the photographs. Painting over a mark or filling a hole can introduce a new problem or conflict with the agreement. Ask about the proper process and obtain permission where needed. Cleaning and repair are different decisions, and the evidence should show what was actually done.
Match the same item and surface
Compare fixed features to establish that two images show the same location. A similar patch of flooring in another corner is not a valid counterpart. Use wall labels, door hinges, window frames or other stable features to orient the comparison.
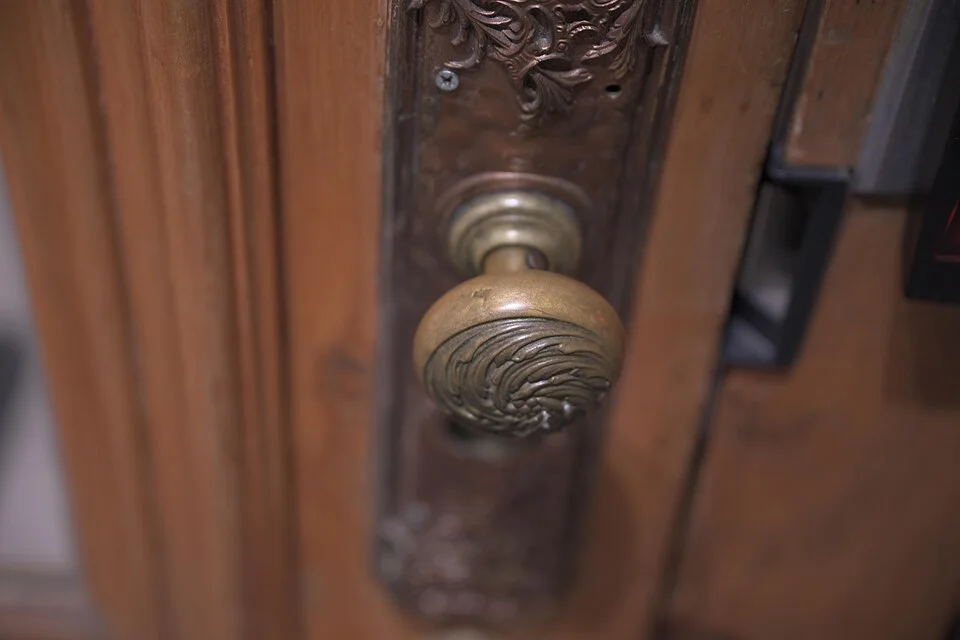
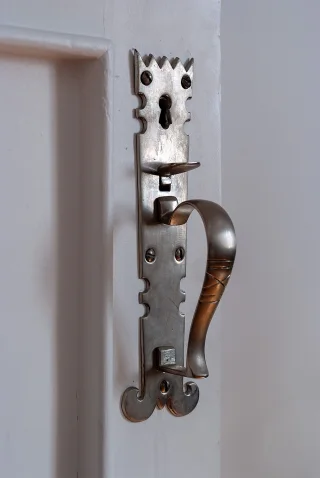
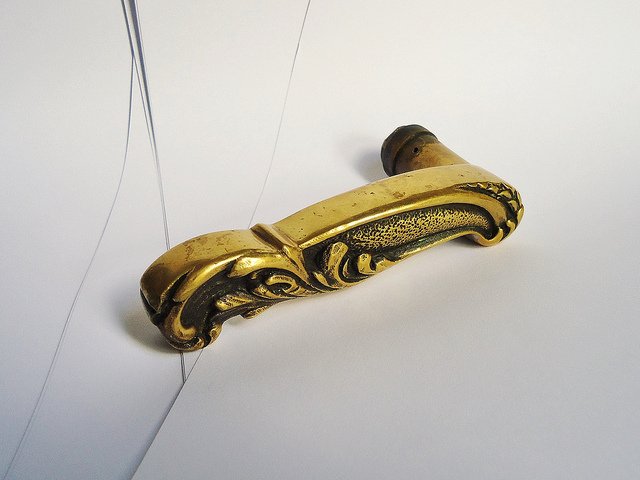
The knob, backplate decoration and nearby timber edges provide fixed details to match when comparing photographs of the same fitting. Take the later view from a comparable position and retain a wider location view. A closer or brighter photograph alone cannot establish new damage, cleaning results or the cause of a surface difference.
For supplied furniture and appliances, match the exact item and any recorded accessories. Count shelves, remotes, keys and other listed components. A replacement item may need its own documentation and agreement; do not silently treat it as the original because it serves the same function.
Record image limitations. A new camera, different light or changed angle can make a surface look darker or shinier. If the difference cannot be interpreted confidently, mark it uncertain and provide the wider view. Photographs support discussion, but they do not automatically distinguish wear, dirt, damage and a lighting effect.
Use a difference table without assigning blame
This illustrative checkout table covers six recorded observations. It is a filing method, not an assessment of liability or deposit deductions.
| Outcome | Count | Evidence needed |
|---|---|---|
| Matches arrival record | 3 | Paired views or notes |
| Reported repair completed | 1 | Repair correspondence |
| Visible change needing discussion | 1 | Current and arrival detail |
| Insufficient arrival evidence | 1 | State the limitation |
The categories total 3 + 1 + 1 + 1 = 6 observations. Only one is a documented visible change, and even that category does not determine responsibility. The uncertain item must not be counted as either proved unchanged or proved new. Keep the factual classification separate from any decision under the tenancy's formal process.
Bring repair history into the comparison
For a repaired area, link the initial observation, report, service visit and current appearance. State who provided any technical explanation. If a mark remained after an authorised repair, preserve that record rather than assuming the checkout photograph explains its origin.
Include unresolved reports with their dates and responses. A problem reported during the tenancy may still be visible at departure; the record should show the sequence without claiming that reporting alone settles responsibility. Keep copies of the actual messages instead of paraphrasing them from memory.
Tenancy Services' inspection guidance supports referring back to the original report during later inspections. Use that continuity in the file. Do not combine unrelated events simply because they occurred in the same room; a repaired window latch and a floor scratch need separate entries and evidence.
Reconcile keys and supplied items
Count the keys and access devices listed at arrival, then account for authorised additions or replacements. Keep security details private. Agree the handback method and obtain an appropriate record of return rather than leaving keys in an unconfirmed location.
Check supplied accessories against the inventory: appliance trays, shelf fittings and remotes can be packed accidentally with personal belongings. Search likely moving cartons before concluding that an item is missing. If something cannot be found, state that clearly and follow the tenancy's process for resolving it.
Do not include personal property in the supplied-item count. A privately purchased replacement may need an explicit agreement if it is being left behind. Record what remains in the property and why, so the final empty-room photographs do not conceal an unresolved question about ownership or removal.
Use the walkthrough to identify differences
Bring the paired record to the agreed checkout inspection. Walk the rooms in the same order as the form, noting any differences in description. Ask that unresolved points be recorded accurately. Avoid signing a statement you do not understand or a blank form intended to be completed later.
Share relevant images in a manageable index rather than sending an unlabelled archive. Keep the original files available if a closer review is needed. If the parties disagree, preserve both descriptions and consult the applicable tenancy guidance about the next step.
Do not promise that a particular photograph guarantees a deposit outcome. The comparison may support the process, but local rules, the agreement and other evidence can matter. The useful achievement is a clear record of what each party observed and which points remain unresolved.
Archive the comparison after handover
Save the final form, handback confirmation, relevant messages and paired images together. Keep an untouched copy of the arrival material. Check that the folder opens from the location you will use after moving, particularly if the old home internet account or computer will no longer be available.
Make a short unresolved list with the relevant contact and next action supplied by the applicable process. Record actual dates and responses. Avoid relying on a remembered conversation when a written clarification can make the remaining issue precise.
The checkout record is complete when rooms and supplied items are accounted for, visible differences are linked to evidence and handover is documented. The formal tenancy outcome may still be pending; keep those two completion points distinct.
Explain differences in photographic coverage
Where arrival and checkout views cannot be matched exactly, state the reason. Furniture may have hidden part of the floor at arrival, a curtain may have covered a frame or the original image may be blurred. Supply the best available context and keep the comparison category uncertain where the evidence is insufficient.
Do not use the absence of a close-up as proof that a defect was absent. Equally, do not claim that every current mark must have existed earlier because the baseline was incomplete. The comparison should preserve that uncertainty for the proper process. A clear limitation is more useful than a confident conclusion drawn from unmatched images. Keep the original wide view alongside any cropped comparison so another reader can assess the relationship.
THE REFERENCE FILE
Sources & scope
Documentation reviewed 1 Nov 2026. Examples are illustrative; this article does not claim hands-on product testing. Follow the instructions for your actual material, model and location.