A laundry routine succeeds when every item reaches its cupboard clean, dry and still wearable. The washer finishing is only an intermediate step. If a sweater needs flat drying and the only suitable space is occupied, washing it now creates a problem even when you choose the correct cycle.
Build the routine backwards from the care label's finishing instructions. Decide where each item will dry, group compatible washing methods, then schedule the loads. This approach gives awkward garments a planned route instead of letting them disappear into the main basket.
Start at the drying end of the label
Before sorting, gather the garments, access to your washer's cycle guide, the detergent packaging and whatever drying equipment you actually use. Read both sides of each unfamiliar label. Include small-print warnings and instructions for removable parts.
Make a temporary landing place for items requiring clarification. A separate basket or shelf is enough. Keep these pieces out of the next load until you have resolved their instructions; an unreadable label is an information gap, not permission to use your usual settings.
For each garment, answer the drying question first: can it go into your dryer, must it hang, or does it need flat support? Allocate the physical space before adding it to a wash queue. If the prescribed destination is unavailable, postpone that item while it is still dry.
Write the exception beside the item's name in a household note: “striped top: remove before dryer” is more useful during unloading than “delicates.” Leave routine items unlisted once everyone recognises them. The note should capture decisions people might otherwise forget.
Translate the whole label into a route
In the international symbol system, a number in the wash tub is a maximum temperature in degrees Celsius. One underline means a mild process; two mean very mild. A crossed-out tub means do not wash. The triangle governs bleaching, while a circle inside a square concerns tumble drying. Consult GINETEX's care-symbol guide for the complete symbol rather than guessing from one mark.
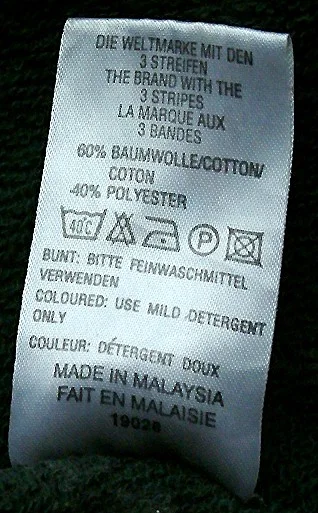
The fibre information, symbol row and written directions appear together on this label, making the full care route visible rather than one isolated wash limit. Record washing, bleach, drying and finishing restrictions for each actual item before sorting a load. The photographed label is an example; its permissions do not transfer to another garment or household textile.
Photo & usage
Abrev · CC BY-SA 3.0 · Source. Display copies resized and encoded as WebP; no instructional details were fabricated or removed.
Use a compact written record with these fields: item; washing method and limit; bleach restriction; drying method; ironing restriction; unresolved question. You do not need to redraw the symbols. Copy any unusual wording exactly into your private note so another household member can check the original meaning.
Care instructions apply to the complete garment. A cotton outer layer does not tell you how its lining, decoration or construction will respond. The FTC's care-label guidance explains that evidence must support care of the garment as a whole. It also distinguishes “dryclean only” from labels that give both washing and dry-cleaning routes. Follow the route actually supplied for your piece.
If symbols and wording appear contradictory, stop sorting that item. Send the manufacturer a photograph of the label and the product identifier. Ask for the complete washing and drying method, rather than asking only whether the material is washable.
Build loads from compatible routes
First separate professional-care items, hand-wash items and unresolved items from machine-wash candidates. Within the machine group, compare the permitted cycle, temperature, detergent and any separation warnings. Then consider colour, soil and fabric weight. Matching colour alone does not establish compatibility.
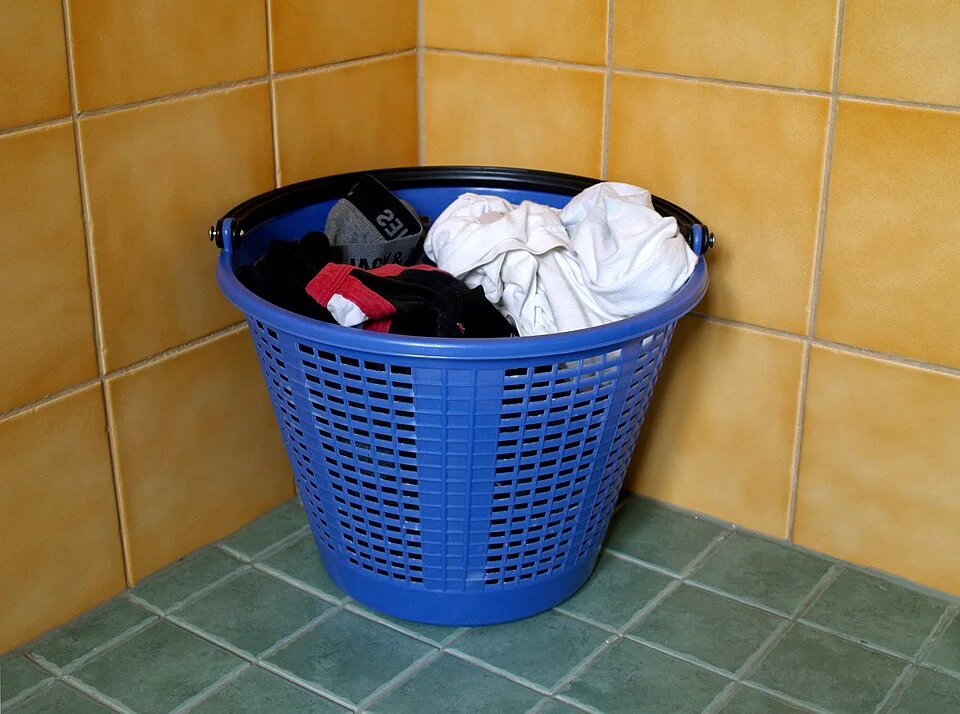
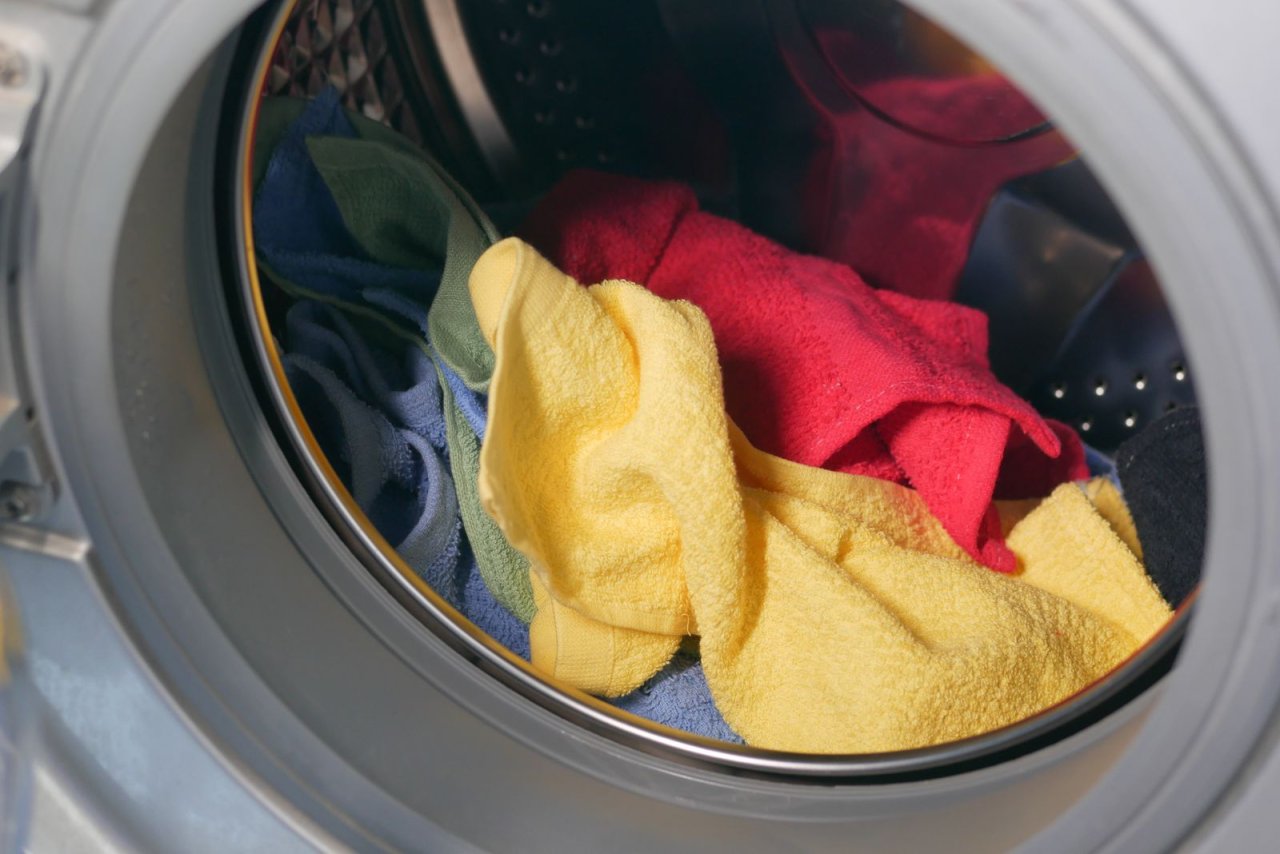
The mixed garments make a useful starting point for sorting, rather than a ready-made machine load. Check each item’s complete care route, then separate professional-care, hand-wash and unresolved pieces. Compare cycle, temperature and drying limits before using colour and fabric weight to refine compatible groups.
Photo & usage
Santeri Viinamäki · CC BY-SA 4.0 · Source. Display copies resized and encoded as WebP; no instructional details were fabricated or removed.
Think of a potential load as a shared agreement. Every piece must accept the selected treatment, and the treatment must make sense for the soil present. If achieving a satisfactory wash for one item would exceed another item's instructions, split them. Do not keep lowering the settings until a heavily soiled item receives an unsuitable wash.
Two garments can share washing instructions but require different drying routes. That is manageable if you plan the split before starting. Keep an unload note beside the controls, such as “remove the long-sleeved top.” If several people handle laundry and the note is likely to be missed, separate loads may be easier to manage.
Keep explicit “wash separately” instructions as a separate route. For unfamiliar dark or strongly coloured items, check their actual warnings instead of assuming they belong with every other dark garment.
Work through a mixed basket
Consider this hypothetical basket. The quantities and label instructions below are invented planning examples, not recommendations for garments you own. The household has a dryer, a hanging rack and space to support one sweater flat.
| Item group | Instructions in this example | Decision |
|---|---|---|
| Four everyday dark tops | Machine wash cool; tumble dry low | Check compatibility and cycle capacity, then form an everyday load. |
| One lightweight dark blouse | Machine wash gentle; line dry | Use its permitted gentle route; reserve hanging space. |
| One wool sweater | Hand wash; dry flat | Plan a separate hand-wash session and occupy the flat space. |
| One lined jacket | Dry clean only | Keep it out of every home-wash load and arrange professional care. |
The blouse does not join the tops simply because all are dark. Check whether the tops can appropriately share its gentler process and whether the soil warrants that choice. If they can, make the drying split explicit. Otherwise, let the blouse wait for compatible pieces or run an appropriately sized separate load.
The sweater sets a different limit: drying space. Once that space is occupied, another flat-dry item waits for a later session. No estimated drying time is needed. The next slot opens when the previous garment is fully dry and removed.
Match the route to your actual machine
Open the cycle guide for your model. Identify the programme intended for the permitted treatment, its load limit and the available temperature and spin options. Do not assume a programme called “quick” provides gentle handling, or that a machine's “hand wash” name automatically authorises every hand-wash garment. Resolve uncertainty with the garment or appliance manufacturer before proceeding.
Use the programme's capacity guidance rather than the machine's largest advertised capacity. Avoid adding incompatible pieces merely to fill the drum. If a suitable small load cannot wait, use the model's recommended small-load options.
Check the detergent against both the garment instructions and washer requirements. In particular, an item prohibiting bleach needs a bleach-free detergent, as GINETEX specifies. Do not assume an oxygen-bleach product is acceptable for every fabric.
Measure detergent from its own directions for your load and soil level. Whirlpool's HE-detergent guidance explains that concentration varies and that excess detergent can cause poor rinsing and oversudsing. Where the washer requires HE detergent, choose a compatible product. A smaller special-care load needs a considered dose, not an automatic full cap.
Make unloading a deliberate checkpoint
Before transferring anything, compare the wet load with your exception note. Set aside every piece assigned to a different drying route. For a combined washer-dryer, check how to select a wash-only operation before loading garments that cannot tumble dry; consult its manual rather than relying on an assumed pause.
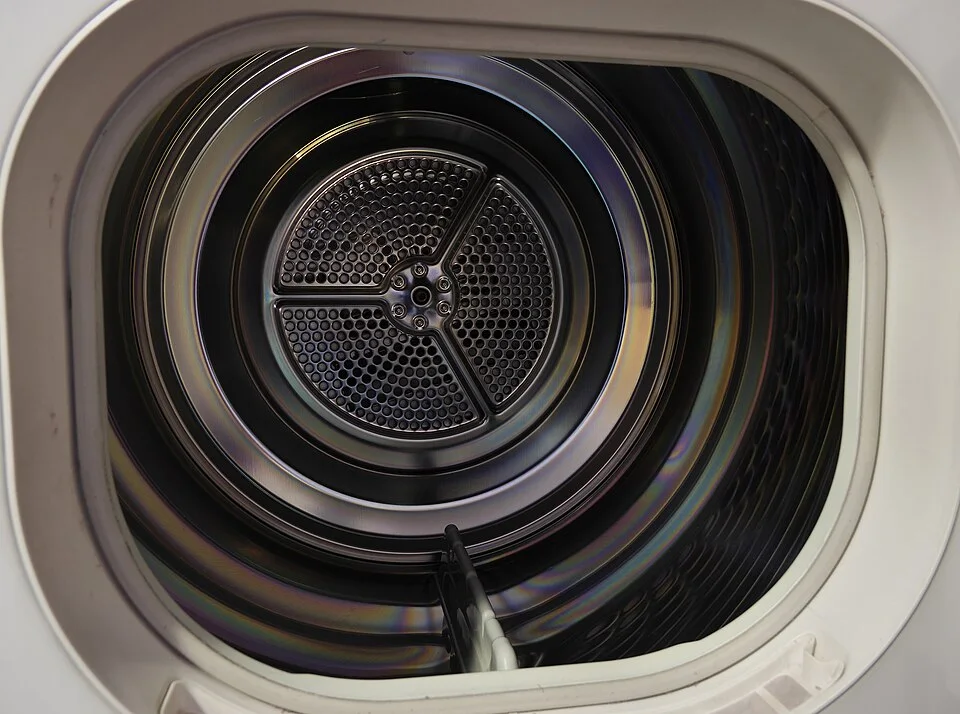
An empty dryer makes one possible drying destination visible, but each item still needs its own label check before transfer. Set aside garments assigned to hanging or flat drying and prepare their support before washing. The pictured drum does not authorize tumble drying for a sweater or establish a compatible programme on another appliance.
Photo & usage
Santeri Viinamäki · CC BY-SA 4.0 · Source. Display copies resized and encoded as WebP; no instructional details were fabricated or removed.
For the example sweater, follow its hand-washing directions and prepare flat support before wetting it. Woolmark's drying guidance recommends supporting wool knitwear flat, gently shaping it on a pale, lint-free towel. Hanging wet knitwear can stretch it. Keep it away from direct heat and sunlight, and follow any more specific garment instructions.
Inspect items before storage. Check thick seams, cuffs and waistbands for remaining dampness. Look for residue, colour transfer, persistent soil or a changed shape. If a stain remains, review the garment and treatment-product instructions before another attempt; increasing temperature or adding bleach by instinct is not a diagnosis.
THE WORKING FILE / ROUTE
The drying bottleneck that a bigger washer cannot solve
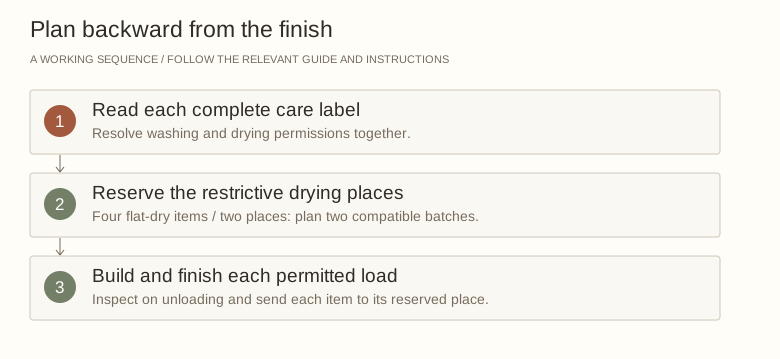
Imagine twelve garments. Four require flat drying, five can use a permitted line-drying route and three allow a suitable tumble cycle. The household has space to lay only two of the flat-dry items out at once. Loading all twelve into the largest possible wash does not create the missing drying positions.
Flat dry
- Garments
- 4
- Available place / decision
- Two suitable places: schedule two batches
Line dry
- Garments
- 5
- Available place / decision
- Confirm usable line space and garment instructions
Permitted tumble
- Garments
- 3
- Available place / decision
- Check compatible cycle and load instructions
Unknown label
- Garments
- Any unidentified item
- Available place / decision
- Resolve before adding to a convenient route
Read the result
Work backward from the restrictive finish. Separate the flat-dry items so the first pair can reach a permitted resting place immediately after washing. Then check whether washing temperature, process and colour restrictions allow the proposed groups. “All fit in the drum” answers none of those questions. The finished plan names the wash route and the place every wet item goes next.
Your route record Blank worksheet
Sort a basket into compatible washing and drying routes before starting a cycle.
- Garment / label
- ________________________________
- Wash route
- ________________________________
- Temperature limit
- ________________________________
- Drying route
- ________________________________
- Drying place reserved
- ________________________________
- Compatible batch
- ________________________________
- Exception to resolve
- ________________________________
- After-unloading check
- ________________________________
Before closing the file
- The complete label is read.
- Every item has a permitted drying destination.
- Unknown items are not guessed into a batch.
Keep a short record of exceptions
After the first completed round, keep only information that changes the next decision: which blouse needs removing, which sweater needs flat space, which item is awaiting manufacturer advice. Update the note when a garment leaves the household. A growing inventory of every sock will be harder to maintain than a short exception list.
Give special-care pieces a regular place in the household schedule, tied to available drying space and someone being present to unload. Before starting, confirm the route and destination; before putting away, confirm dryness and condition.
Repeated distortion, unexplained colour loss or contradictory instructions are reasons to stop experimenting. Take the garment, its label and a record of the method used to the manufacturer or a qualified textile cleaner. Ask what treatment remains appropriate before committing it to another cycle.
THE REFERENCE FILE
Sources & scope
Documentation reviewed 1 Nov 2026. Examples are illustrative; this article does not claim hands-on product testing. Follow the instructions for your actual material, model and location.