A mirror's front face looks like ordinary glass, but the assembly also includes a reflective layer, protective backing and exposed or framed edges. Spraying until liquid runs down can clean the face while leaving moisture where the mirror is most vulnerable. A useful routine keeps the application controlled and ends with a dry-edge check.
This guide concerns a sound household bathroom mirror, with its manufacturer's care requirements checked first. Antique, decorative, coated, illuminated and electronic mirrors can impose additional restrictions. A dark edge that remains after a gentle face clean may be a backing or reflective-layer problem rather than a deposit that needs more rubbing.
Identify the mirror assembly before applying liquid
Find the maker's instructions where possible, including any separate directions for the frame, anti-fog coating or lighting. Check that the mirror is securely mounted without pressing or pulling it to test the fixings. If it moves unexpectedly, has a crack or shows damaged edges, stop cleaning and arrange assessment.
Guardian's UltraMirror guidance addresses its specific mirror product and mild cleaning requirements. The National Glass Association emphasizes following component-manufacturer recommendations for decorative glass, while the American Cleaning Institute advises applying cleaner to a cloth to protect mirror frames. Use those principles within the actual assembly's instructions. A conventional glass cleaner suitable for an uncoated face is not automatically appropriate for a special surface or an electrical component.
Inspect the face and edges separately
Look in broad light and then from a slight angle. Fingerprints and toothpaste splashes usually sit on the face; irregular dark areas beginning at an edge can involve a different layer. Photograph both an overall view and a close view of the questionable boundary. Avoid trying to lift a frame or scrape behind the mirror to confirm the cause.
Check the bottom edge where runoff may collect and the gap beside a backsplash. Note whether the area stays wet after bathing or whether someone regularly sprays the mirror directly. These observations help explain recurrence but do not diagnose hidden damage. A patch that appears only during condensation is also different from a dark area that remains on a fully dry mirror.
Prepare clean cloths and safe access
Clear toiletries and loose items from below the mirror. Protect the counter or cabinet using a method compatible with its finish. Keep separate clean soft cloths for applying the permitted cleaner and for drying. Inspect both for grit, hardened detergent or loose labels that might scratch or leave residue.
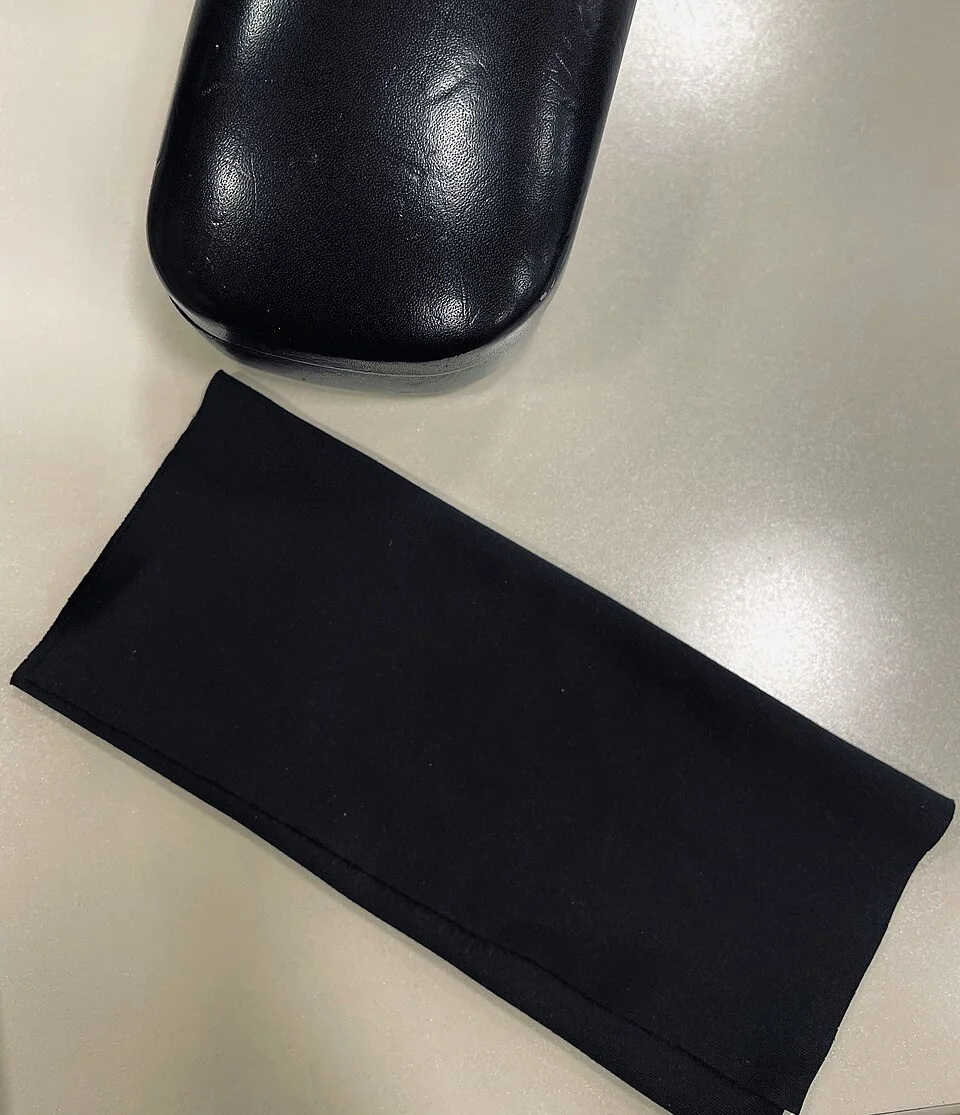
The folded cloth has a broad face and a clearly visible edge to inspect before use. Check your own cloth for grit, hardened residue and loose material, then reserve it for drying the mirror perimeter. Use the mirror maker’s permitted cloth and moisture method; the eyeglasses cloth pictured does not establish compatibility with a coated or electronic mirror.
Photo & usage
BeVegan22 · CC BY-SA 4.0 · Source. Display copies resized and encoded as WebP; no instructional details were fabricated or removed.
Use stable access equipment if the upper edge is beyond comfortable reach; do not stand on the counter or a rolling chair. For a lit or electronic mirror, follow its electrical and moisture instructions before cleaning. Keep liquid off switches, sockets and openings. A small spray bottle is easier to control than an open container, but its nozzle should still be aimed away from the assembly when the instructions call for cloth application.
Trial a small representative face area
Choose the permitted mild product and follow its label. Where the mirror maker allows cloth application, dampen the cloth away from the mirror rather than spraying the glass directly. Clean an inconspicuous sound area while keeping the liquid short of edges and frame. Complete the directed dry wipe and wait for the actual dry appearance.
Look for streaks, new haze or a change in a coating. Stop if the face behaves unexpectedly. A successful trial on the plain center does not establish compatibility with a decorative border. Keep the border's instructions separate and ask the maker if its treatment is unknown. Do not add vinegar, ammonia or a stronger bathroom cleaner because the first wipe left a smear; check the approved method and cloth condition first.
Clean the face in controlled sections
Use light overlapping passes, changing to a clean cloth face as smears lift. Avoid carrying toothpaste grit across the mirror. For dried splashes, use only the permitted softening method and keep contact controlled. Do not scrape with a razor or rough pad, particularly on decorative or treated glass.
Collect moisture before it reaches the bottom edge. Work in sections you can finish promptly, then dry with the separate cloth as directed. Keep the frame outside the assumption that the same product applies. Wood, plated metal and painted frames may need their own gentle method. If cleaner runs into a gap, stop and remove accessible liquid without pushing material behind the mirror. Do not dismantle the installation to chase a small droplet.
Compare surface residue with persistent edge change
| Observation | Working question | Response |
|---|---|---|
| Fingerprint disappears; reflection is clear | Was ordinary face soil present? | Finish the compatible routine |
| Broad new wipe trails | Is cleaner or cloth residue remaining? | Check the prescribed removal stage |
| Dark irregular edge remains unchanged | Is the reflective assembly affected? | Ask the mirror supplier about assessment |
| Clouding appears only with room condensation | What is surface moisture doing? | Observe again when fully dry |
The examples are invented, not inspection findings. A dark edge cannot be repaired by polishing the front face if the change lies behind it. Do not claim that every black area has the same cause. Send the supplier the installation age, moisture pattern and cleaning history so the remaining question can be evaluated with context.
Size the job without flooding it
For an illustrative mirror measuring 60 by 80 centimeters, the face area is 4,800 square centimeters, or 0.48 square meters. Dividing it into four equal working sections gives 0.12 square meters per section. This calculation helps organize reach and cloth changes; it is not a spray dose or an instruction to wet the whole face simultaneously.
Start with the upper accessible section and keep the lower edge visible as you work. If the frame divides the mirror into separate panes, treat each boundary as a place where liquid could collect. A large mirror may need more cloth changes than a small one, but adding product is not the only way to improve cleaning. A fresh dry face often answers a smear caused by a dirty finishing cloth.
Keep persistent moisture out of the routine
Dry accessible edges after ordinary bathroom condensation as the mirror maker permits, and use the room's existing ventilation appropriately. Do not block ventilation openings behind a designed installation or seal edges with household silicone as an improvised cure. Installation gaps, backing compatibility and edge protection belong to the mirror supplier's specifications.
Keep cleaning bottles from leaking onto the cabinet below. If the dark boundary grows despite controlled care, document the change under similar light and request assessment. Avoid promising that one ventilation change will reverse existing reflective-layer damage. The household routine can reduce unnecessary wetting; it cannot certify the condition of concealed layers or replace a damaged mirror coating.
Finish with a dry assembly check
Inspect the face in normal room light after drying, then check the accessible lower edge, frame joints and nearby counter. No fresh streaks, pooled cleaner or lint should remain. Return toiletries only when their bases and the supporting surface are dry. For electronic products, follow the manufacturer's return-to-use instructions.
Keep a short care record naming the approved product and noting any untreated decorative parts or persistent edge marks. Completion means a clear clean face and controlled moisture at the assembly's boundaries. If a dark edge remains, hand it over as a mirror-condition question rather than repeating stronger face cleaning until the glass or frame is damaged.
THE REFERENCE FILE
Sources & scope
Documentation reviewed 1 Nov 2026. Examples are illustrative; this article does not claim hands-on product testing. Follow the instructions for your actual material, model and location.