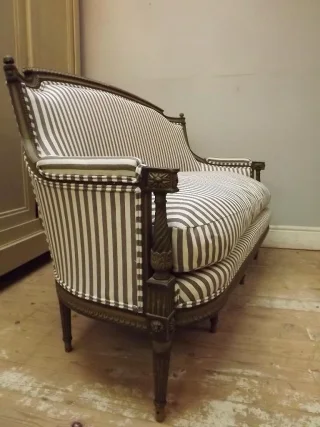
A hidden patch can tell you more than an enthusiastic recommendation for a cleaning product. The useful question is whether your particular upholstery tolerates the proposed treatment after drying. A patch that looks unchanged while wet has not finished answering that question. Prepare a comparison, record what you applied, and keep the visible stain untouched until the result is clear.
Establish what the cover actually permits
Find the furniture identifier and the instructions for the exact cover fabric. A sofa model may have several upholstery options with different care requirements. Check whether the cover is removable, whether removal is intended for cleaning, and whether the stated method concerns the cover or the whole upholstered assembly. A zipper alone establishes none of these permissions.
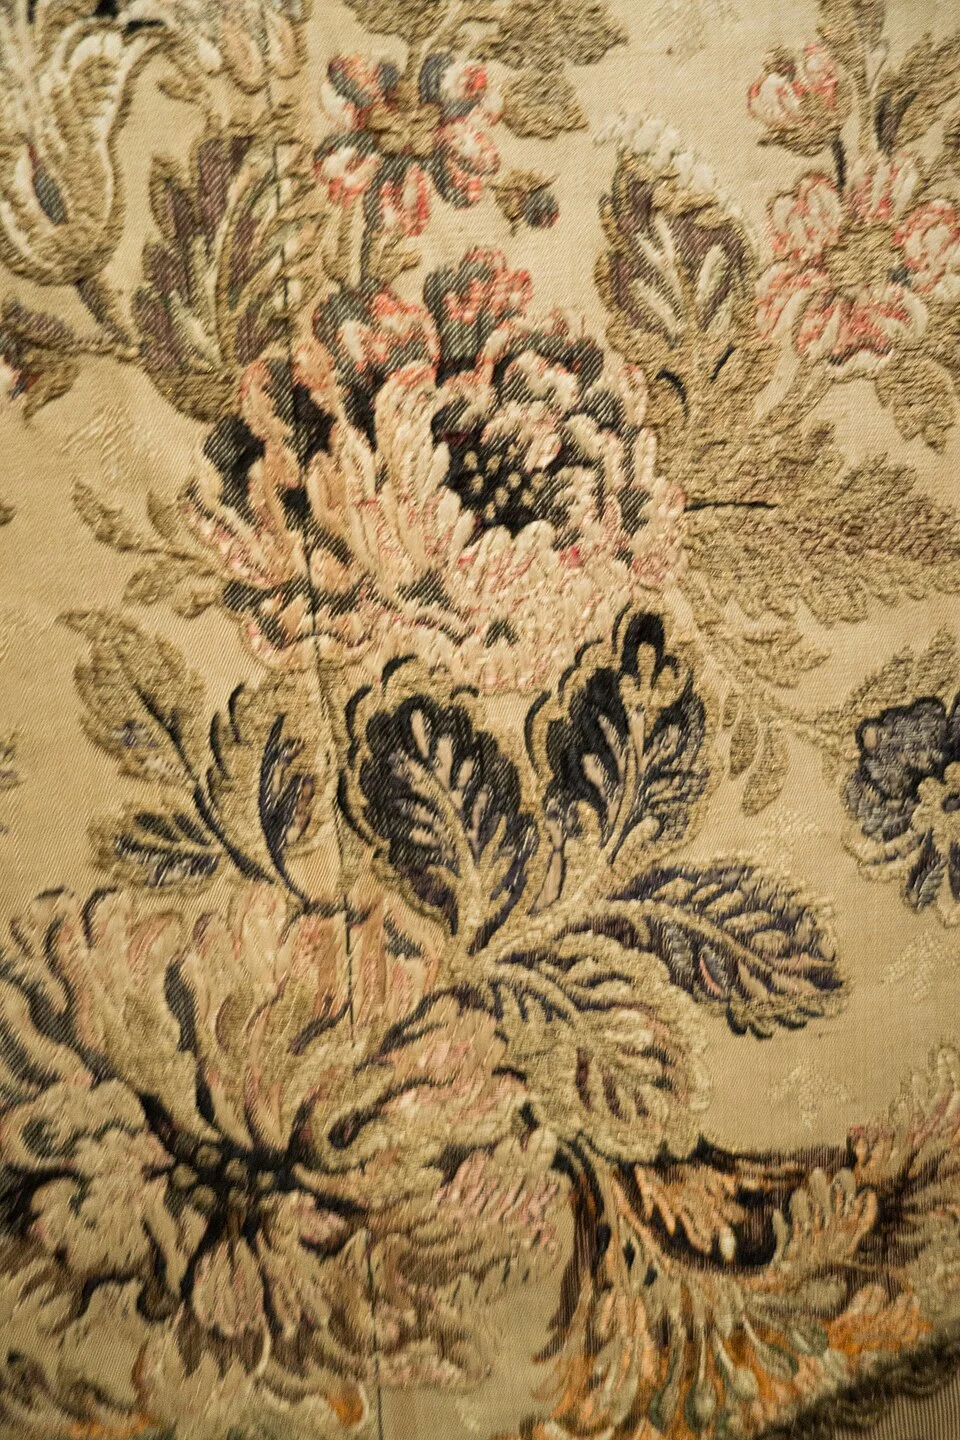
The close view shows a patterned upholstery face with several colours and a textured weave. Establish the exact cover specification and care instructions before treating a hidden patch; a lining or another upholstery option may behave differently. This antique-fabric reference supplies no removable-cover or washing permission. Fragile, unknown or already damaged decorative textiles may need specialist assessment before any household cleaner test.
Photo & usage
Thomas Quine · CC BY 2.0 · Source. Display copies resized and encoded as WebP; no instructional details were fabricated or removed.
IKEA directs owners to individual product information for cover washability and temperature. Its upholstery guide also makes compatibility with the furniture instructions essential. Use those sources as a reason to locate your product record, rather than transferring a method from a different sofa. If instructions are missing, ask the maker before applying a wet cleaner.
Separate fragile, antique, silk, unknown or already damaged fabric from ordinary household experimentation. These pieces may need specialist assessment. A passing test on one plain panel cannot establish the response of contrasting piping, glued trim, exposed filling or a faded armrest.
Choose a patch that represents the problem
Look for a concealed area of the same fabric and finish, such as a rear lower edge. Avoid choosing a lining simply because it is hidden: lining material may be entirely different. Inspect the candidate under good light for existing stains, abrasion and faded colour. Photograph it beside a nearby untreated patch before doing anything.
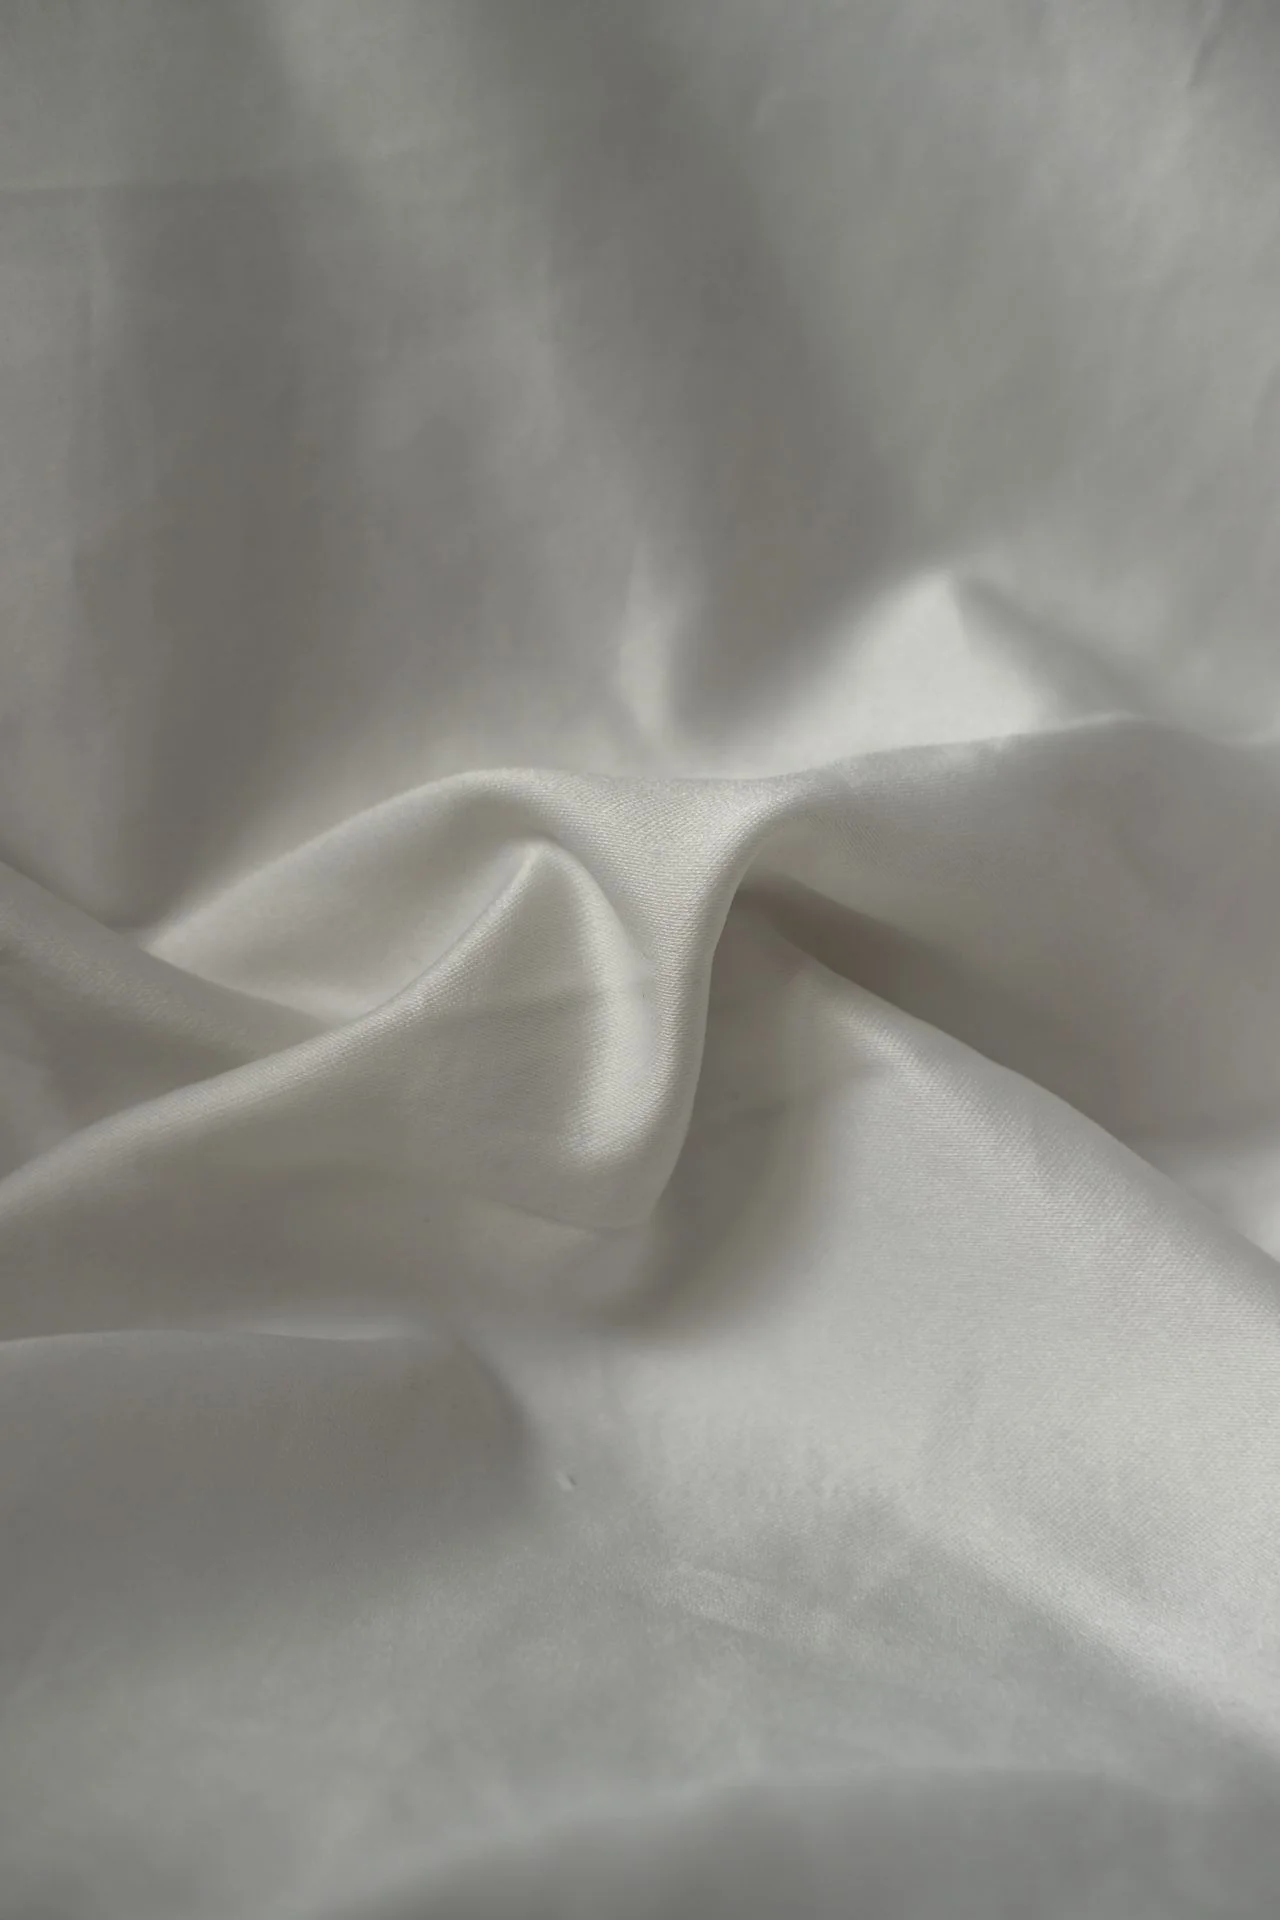
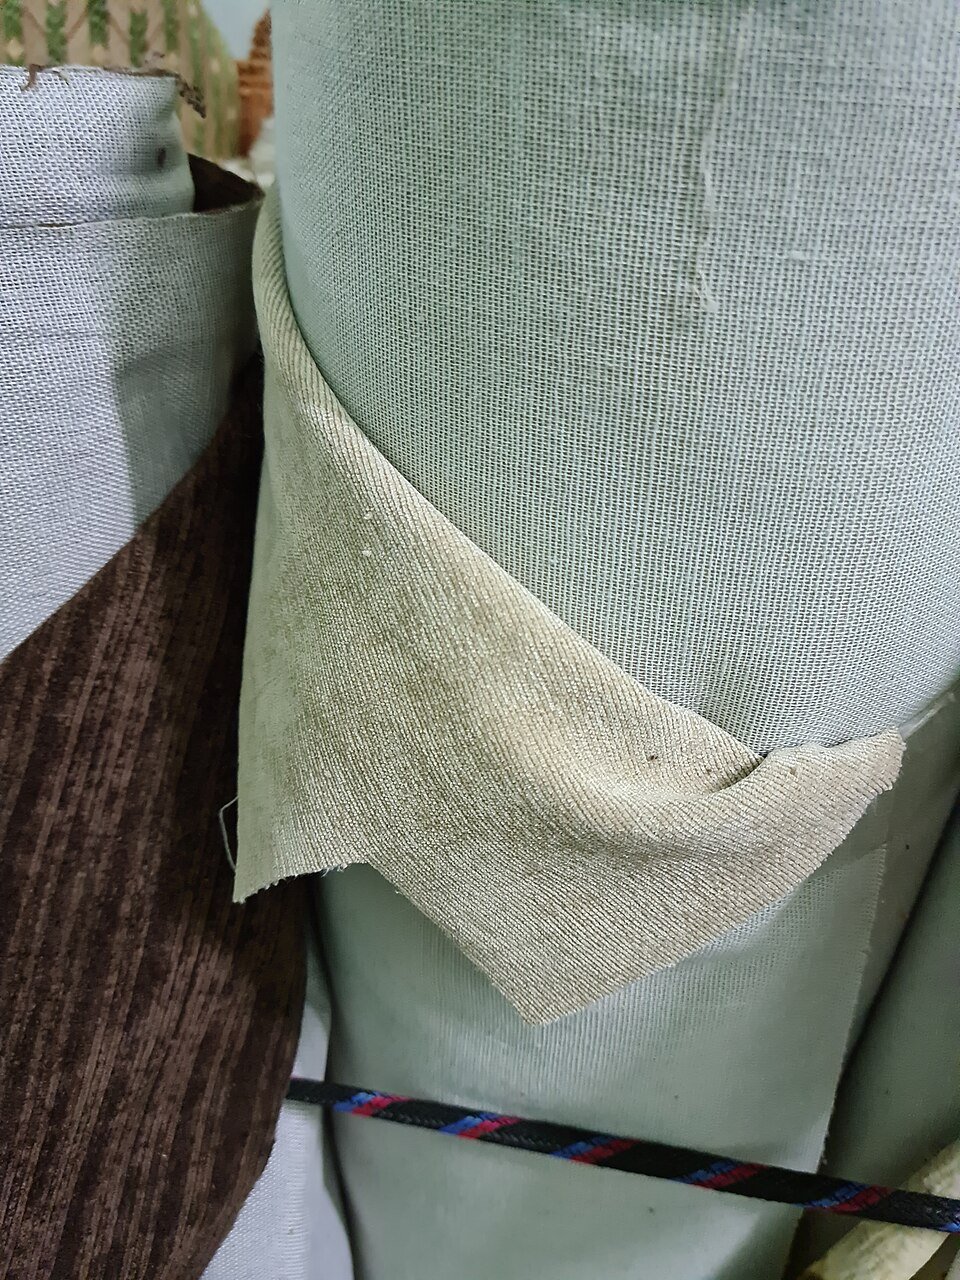
The plain pale fabric makes its weave and folds visible, illustrating the face to inspect for foreign colour or residue before a comparison. Use your own clean, plain white cloth suited to the furniture instructions and check it before touching the test patch. The smooth fabric pictured does not establish its fibre, absorbency or suitability as a cleaning tool; do not infer blotting performance from these folds.
Photo & usage
Beyzaa Yurtkuran · Pexels License · Source. Display copies resized and encoded as WebP; no instructional details were fabricated or removed.
Make sure the area can dry while exposed. A tucked fold that remains compressed behind the sofa is a poor test location because its drying conditions differ from the seat. Keep children and pets away, protect the floor, and arrange a stable view without tipping heavy furniture alone.
Use a plain white cloth so transferred colour is visible. Check the unused cloth first; coloured detergent residue or a dirty tool can create misleading evidence. Have a second clean cloth ready for the instructed removal step. Do not draw an ink boundary on the fabric. Record the patch position in a photograph instead.
Reproduce the proposed treatment precisely
Read the cleaner label for permitted materials, dilution, application, removal and drying instructions. Use one product in the test. If the manufacturer requires a prepared solution, measure it according to that label and identify the container. Increasing strength to make a tiny patch more revealing does not reproduce the intended method.
Apply the smallest label-consistent amount using the stated approach. Where instructions permit application by cloth, keep the fabric from becoming saturated. Note product name, dilution if any, contact duration and the number of gentle passes. A test of water alone does not establish that a cleaner is safe; a test of cleaner alone does not establish that a brush is safe.
The Carpet and Rug Institute describes using a white cloth and working gently for compatible carpet spot treatments. That supports the value of seeing transfer, but carpet guidance does not authorise cleaning furniture. The upholstery and product instructions remain the permission boundary for this test.
Read transfer without jumping to a conclusion
Pause after the first application and inspect the white cloth. A brownish deposit can be soil, a degraded finish or fabric colour; its shade alone cannot settle the question. Compare the cloth with the fabric and inspect whether a new pale area is appearing. Stop if the patch loses colour, becomes sticky, puckers or develops a different surface texture.
Do not keep rubbing to find out whether colour eventually stops transferring. That changes the test into repeated abrasion. Preserve the cloth or photograph it beside a written note so you can describe the result to the manufacturer. Keep the product packaging available for that conversation.
A clean cloth is only one observation. Some damage becomes visible later as the material dries, and some colour changes appear without obvious transfer. Conversely, removed soil can change a dirty patch's appearance without indicating dye loss. You need the dry fabric comparison before deciding what the first cloth meant.
Compare the patch after complete drying
Leave the patch uncovered and allow it to dry by the permitted method. Avoid a hair dryer, heater or direct sun unless the furniture instructions explicitly allow that approach. Heat can introduce another variable and conceal how an ordinary treatment would behave. Do not set a universal fifteen-minute deadline for all fabrics.
When dry, view the test and untreated area in the same lighting from straight ahead and at an angle. Look for a darker outline, pale centre, stiff fibres, raised nap or a change in sheen. Lightly compare the hand of the fabric with clean fingers. If the treatment is still damp, postpone the judgment.
A visible ring means the test has not demonstrated an acceptable finish, even if the centre looks cleaner. A flattened pile may require a manufacturer-approved grooming step, but brushing harder is not an automatic remedy. If you cannot distinguish the change from normal nap direction, seek advice before extending treatment.
Work through a two-patch comparison
The following observations are illustrative, invented to explain the decision rather than report a product trial. Both patches are on compatible, concealed upholstery and use the same permitted cleaner. Patch A receives the directed cloth application; patch B is mistakenly rubbed repeatedly. The exercise shows why technique belongs in the record.
| Observation | Patch A | Patch B |
|---|---|---|
| Visible outline | None seen | Dark ring |
| Surface feel | Matches adjacent fabric | Stiffer |
| Action | Continue only within instructions | Stop and seek advice |
There is no numerical pass score here. One unacceptable surface change outweighs several reassuring observations. Nor does patch A prove that an old stain will come out: it only supports the tested material and method under those conditions. A stained armrest with previous treatments remains a different situation. Record that uncertainty before deciding whether careful home treatment is worthwhile.
Record the light used for the comparison
Keep the test and untreated fabric in the same viewing conditions. A patch beside a window at midday can look different from the same material under a warm lamp at night. Photograph both areas together where practical, keeping exposure and angle similar.
Do not use an image filter or an automatic enhancement as evidence that a colour change has disappeared. The photograph supports location and comparison; the dry fabric remains the primary household observation. If a change appears only from one direction, note that direction and check nap before deciding whether the finish changed.
Close the test before opening a larger job
Keep a short result note with the furniture record: exact cover, product, method, dry comparison and decision. If the result is acceptable, treat only as the instructions allow, using the tested technique and checking progress. Work within a manageable area so you can perform any required removal before the product dries incorrectly.
Stop if the visible area behaves differently. Previous cleaners, fading and absorbed spills can change its response. Do not add another product to rescue a disappointing first attempt. Tell a professional what was used, where and when; hiding a failed treatment removes information they need.
The test is complete when the patch is dry, the comparison is recorded, the furniture remains stable and the tools are cleaned or stored safely. Success can mean deciding against home treatment. A small, documented boundary is more useful than enlarging a mark while hoping the next pass will look better.
THE REFERENCE FILE
Sources & scope
Documentation reviewed 1 Nov 2026. Examples are illustrative; this article does not claim hands-on product testing. Follow the instructions for your actual material, model and location.