Painted cabinet doors collect visible fingerprints where hands repeatedly reach past handles. On a dark matte finish, one vigorous scrub can replace the fingerprint with a permanent glossy patch. A useful cleaning method therefore needs two goals: lift the contact soil and preserve the original appearance. The second goal is easy to forget while concentrating on the first.
This guide concerns painted furniture and cabinet doors with an identified, cured coating. It is not a preparation guide for repainting, and it does not treat peeling or powdery paint as ordinary dirt. Kitchen cabinet coatings, decorative chalk finishes and factory high-gloss panels may need very different products, even when all three are described as painted wood.
Confirm paint type and curing status
Check the cabinet invoice or paint record for the product, sheen and application date. A newly painted door can feel dry before the coating reaches its stated cleaning resistance. Follow the coating maker's cure and washability instructions rather than a general furniture schedule. If a decorator mixed products, ask which coating is exposed on the door now.
Carl Hansen & Son's painted-furniture guidance distinguishes painted and high-gloss care from oil or soap treatment. Ethan Allen's furniture guide likewise addresses finish-sensitive upkeep. Use these as evidence that the finish matters, not as permission to apply one brand's special cleaner to every painted cabinet. For an unknown coating, begin with gentle dry dusting and seek its care requirements before treating greasy marks.
Distinguish soil from worn paint
Look at the mark from straight ahead and from the side. A translucent finger-shaped patch may be contact soil; a consistently shinier area near the pull may be burnished paint. A pale edge could be worn pigment or a chip exposing the substrate. None of these should be diagnosed by rubbing harder until the color changes.
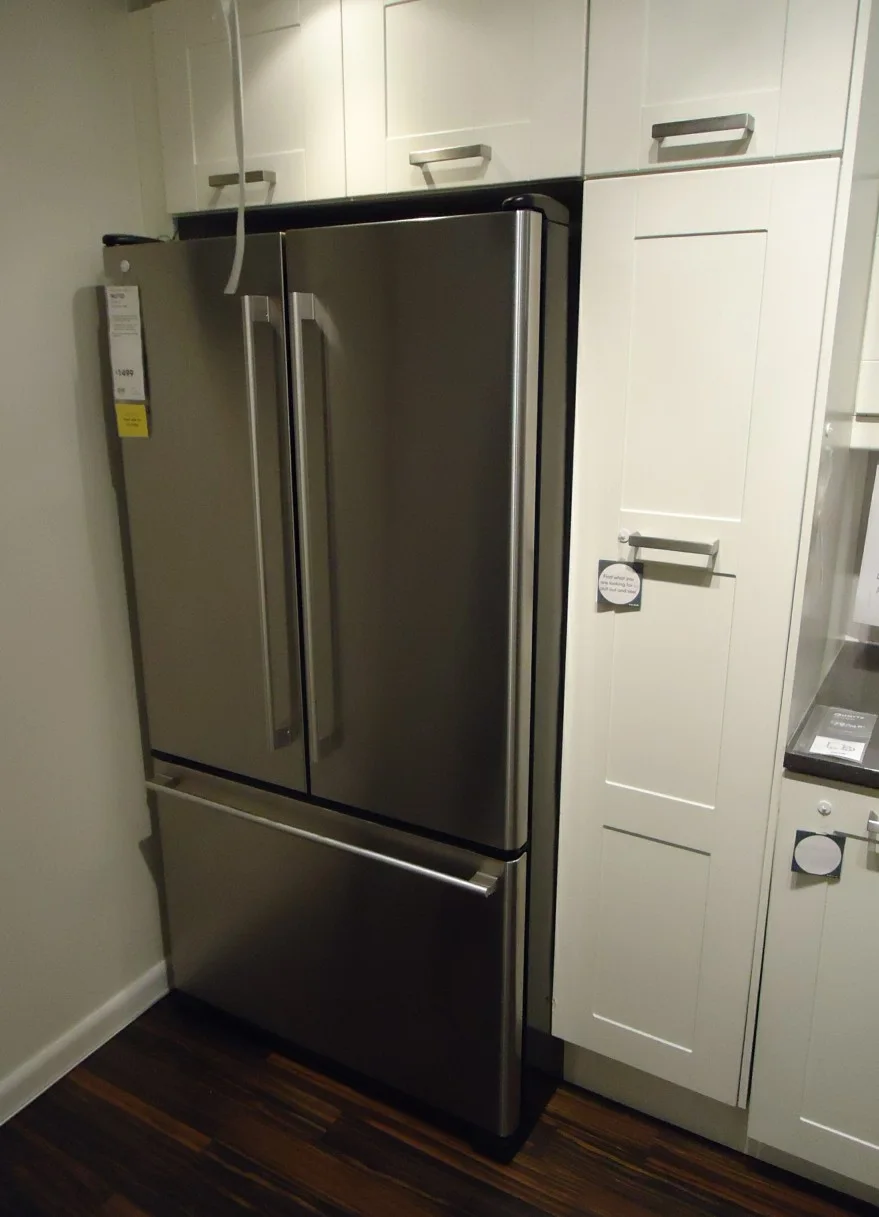
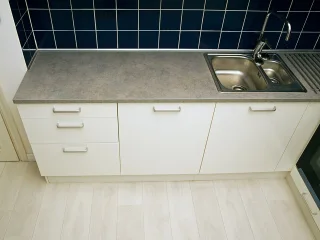
The door faces, pull ends and neighbouring frame edges identify places to compare before treating a hand mark. Look straight on and from the side, recording a change in sheen, edge damage or loose coating before cleaning. This display photograph does not diagnose a mark or establish the cabinet’s paint type or cleaner compatibility.
Photo & usage
Tomwsulcer · CC0 · Source. Display copies resized and encoded as WebP; no instructional details were fabricated or removed.
Examine the handle screws and door edge for loose paint. If a cloth picks up coating color or fine powder during gentle dry contact, stop cleaning and ask about the finish condition. Do not remove hardware simply to clean behind it unless its instructions and the cabinet construction make that straightforward. Loose screws, misaligned doors and peeling around a hinge belong to maintenance or repair.
Prepare a controlled touch-point trial
Remove loose dust with a soft cloth, including the handle's upper surface. Use separate cloths for the painted panel and the metal pull so polish residue cannot migrate onto paint. Prepare the permitted cleaning solution exactly as directed and keep it off the hinges, raw edges and adjacent unfinished wood.
Choose a discreet intact area that shares the same sheen as the visible mark. Apply the method with light pressure for the directed contact time, then remove residue as specified. Allow it to dry fully. Inspect for changed gloss, softening, streaks and color transfer before extending the method. A test behind a handle does not represent an exposed patch if the hidden paint has a different condition or coating.
Work from the handle into the panel
Wipe a small manageable area, changing cloth faces as the hand soil transfers. Avoid grinding one fingertip-sized spot in circles. Where the maker permits a mild detergent, use the stated amount and complete the required rinse; a detergent film can create new smears that resemble remaining grease. Do not substitute a concentrated degreaser because cooking occurs nearby.
Keep the door supported naturally by its hinges and avoid pulling on the edge while cleaning. Dry the lower lip where liquid can collect unnoticed. Clean decorative grooves with a soft permitted tool rather than a metal pick. If a groove cannot be cleaned without wetting a broken paint edge, leave that detail for repair advice. The intact panel need not be subjected to extra treatment because one joint is inaccessible.
Use an observation comparison to decide when to stop
| Before | After the permitted light clean | Practical conclusion |
|---|---|---|
| Finger outlines visible beside pull | Outlines gone, original sheen even | Routine cleaning achieved its aim |
| Glossy oval under pull | Oval remains with no soil transfer | Possible burnishing; ask about finish repair |
| Gray groove with cracked paint | Crack remains; edge catches cloth | Stop wet work at the groove |
| Hazy wipe trail on sound panel | Trail changes with fresh cloth | Check residue and cloth condition |
These are invented observations to show decision boundaries, not findings from a tested cabinet. They explain why a remaining shine patch does not justify stronger chemistry. The relevant question is whether soil has transferred while the paint remains unchanged. Once rubbing changes the finish, the job has crossed from cleaning into damage.
Keep abrasives out of a sheen-sensitive repair
A melamine eraser, scouring cream or rough sponge may remove both the mark and some surface texture. On matte paint, that change can remain visible across the room. A product described as non-scratch for glass or enamel does not establish compatibility with furniture paint. Use an abrasive only when the coating maker explicitly specifies it for the particular surface and task.
Avoid furniture oil or wax as a way to conceal a newly glossy patch. The added layer can alter nearby sheen and interfere with a later touch-up. Do not spot-prime or paint over a mark until it has been assessed and the correct preparation is known. A repairer will need the paint system, sheen, age and cleaning history to judge whether a local repair can blend acceptably.
Reduce repeated contact without adding residue
Check whether the handle can be used comfortably without touching the painted face. A very short pull may encourage hands to grip the edge; changing hardware is a separate design choice, but recognizing the pattern explains recurrence. Dry hands before opening the door and wipe fresh food splashes promptly using the permitted method.
Keep cooking spray, glass cleaner and hand sanitizer from landing on the doors. AICCM-style component awareness is helpful here even with modern furniture: the handle, painted face and surrounding stone are different surfaces. Store the correct cloth nearby so the routine remains easy to repeat. More frequent gentle attention at the actual touch point may be more sensible than periodic aggressive cleaning of every door.
Check the matching door before planning a touch-up
If a glossy contact patch remains, compare it with a neighboring door of the same age and coating under the same light. A replacement door, a repainted panel and an original panel may not provide equivalent references. Record any known differences before asking a painter to match the sheen.
Keep the cleaning result separate from a proposed touch-up. A small paint patch can dry differently from the surrounding factory coating, particularly on a broad matte face. Ask whether the maker recommends local repair or treatment of the complete door, and what cleaning preparation is required. Retain the original product information and the photographs from before cleaning. This makes the repair request concrete while preventing another cleaner from treating a persistent sheen difference as a fresh fingerprint.
Complete the check after everything dries
View the door in its usual closed position, then open it to check that the lower edge and hardware recesses are dry. Confirm that the finish has no new sticky feel, color loss or changed reflection. Remove cloth lint before it adheres in grooves. Let the coating maker's instructions govern when cleaned doors can resume normal use.
Record any mark that remains and whether it changed during the authorized cleaning. A useful completion note distinguishes removed fingerprints from a persistent glossy oval or chipped edge. That gives the next cleaner a boundary and the repairer a clear question. Cleaning has succeeded when the contact soil is gone and the stable painted finish still looks like the surrounding panel.
THE REFERENCE FILE
Sources & scope
Documentation reviewed 1 Nov 2026. Examples are illustrative; this article does not claim hands-on product testing. Follow the instructions for your actual material, model and location.