A mop bucket is part of the cleaning process, not a neutral container that stays clean because it holds cleaning solution. Soil, hair and residue can remain around its rim and wringer after the floor is finished. Plan zone changes before filling it, and close the task by caring for the bucket itself. Keep every decision tied to the floor, cleaner and tool instructions.
Define zones by task and material
List the areas you intend to clean and the floors they contain. An entryway with grit, a kitchen with food soil and a bathroom around a toilet present different tool-handling questions. Do not make one large zone merely because all rooms are on the same level.
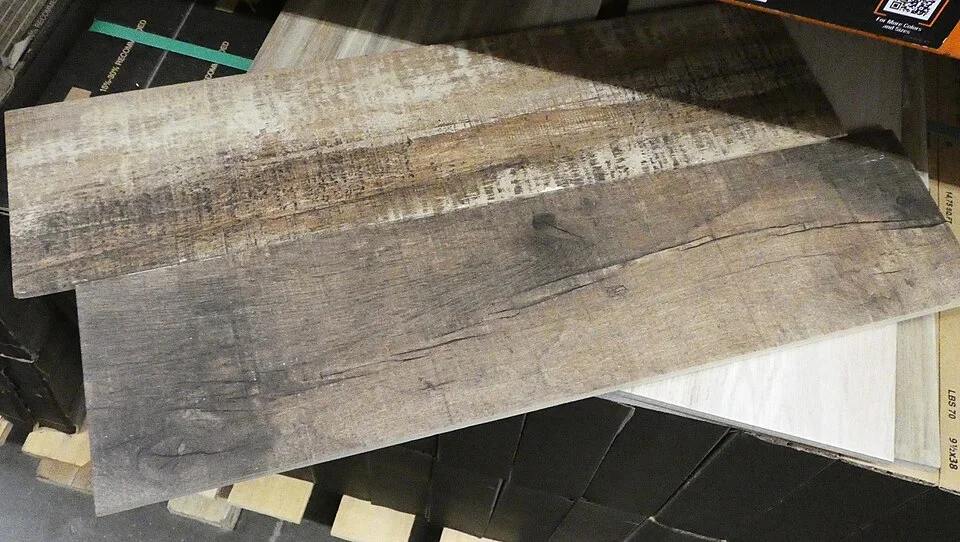
These tile samples carry wood-like grain and plank-shaped outlines, illustrating why appearance alone cannot establish floor-care permission. Identify each installed material and finish from product records before assigning cleaning zones. A wood-looking floor may need a different route from timber, while a bucket routine still requires the actual tile and grout instructions; the samples do not authorise a particular solution or dose.
Photo & usage
Stilfehler · CC BY-SA 4.0 · Source. Display copies resized and encoded as WebP; no instructional details were fabricated or removed.
Check finish-specific care before using any wet method. NWFA's wood-floor guidance warns against wet and steam mops; a bucket-based routine is not automatically suitable for wood. If a floor requires another approach, exclude it from this session and give it the appropriate separate route.
Identify ordinary cleaning versus illness or waste contamination requiring additional guidance. CDC distinguishes cleaning and disinfection; this household bucket workflow is not a hospital protocol. If the situation needs disinfection, select a compatible labelled process and do not infer it from using a stronger floor-cleaner dose.
Read the bucket and cleaner together
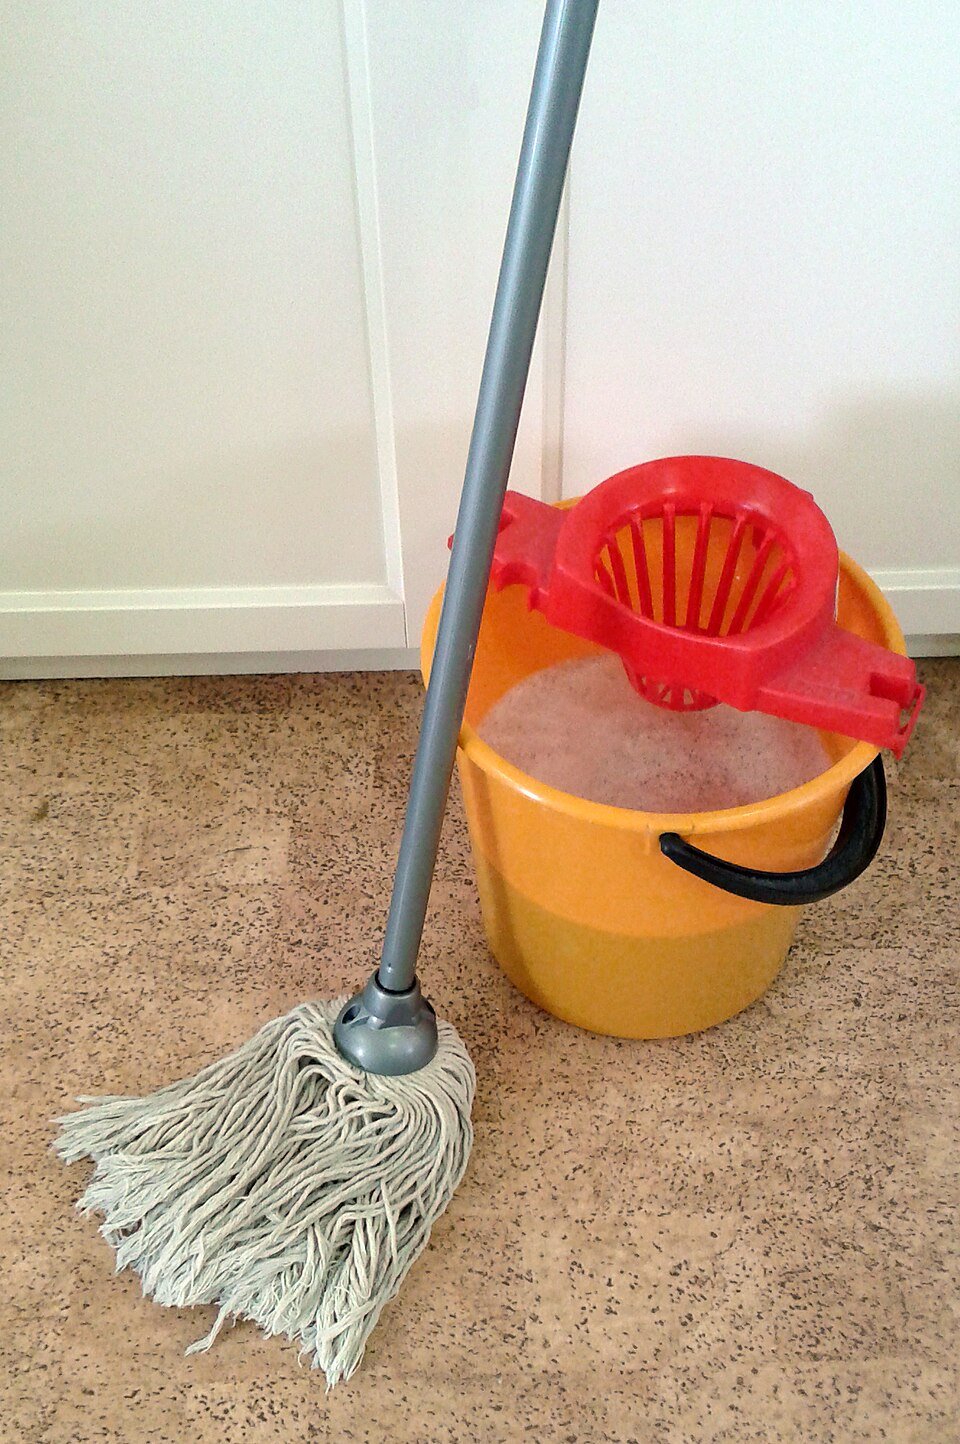
Check the mop system instructions for reservoir arrangement, maximum fill, pad care and wringer operation. A system with separate clean and dirty water compartments has a different procedure from a single bucket. Do not assume a promotional diagram describes your exact model.
Read the cleaner label for floor permissions, dilution and whether rinsing is required. Measure with suitable equipment and keep the solution identifiable. Do not add a second product to improve fragrance or perceived strength. Cleaning products should not be mixed unless their directions explicitly provide a compatible process.
Choose a safe place for filling and emptying that follows product and local disposal instructions. Avoid carrying an overfilled bucket through a cluttered route. Prepare spare clean pads and a drying location before starting. A zone plan becomes workable only when the tools needed for the next stage are actually ready.
Set a change boundary before the floor is wet
Decide when a pad and solution will be replaced for this session. Use the product instructions, visible soil and task transitions, not a universal room-count rule. A heavily soiled entry patch can exhaust a pad sooner than a larger lightly soiled area.
- Begin with a clean inspected bucket and ready pad.
- Work through a compatible ordinary-soil zone.
- Stop when the pad is visibly loaded or the planned zone boundary is reached.
- Replace or care for the pad as directed and prepare fresh solution where required.
- Keep the next zone's clean supplies outside the used-tool area.
Do not dip a visibly dirty pad into a reservoir intended to remain clean if that contradicts the system's design. A wringer can remove liquid without making a soiled pad clean. Understand what the mechanism actually does rather than treating every return to the bucket as a reset.
Compare two illustrative session plans
This comparison is invented and illustrative, with no floor or equipment testing implied. Both plans concern compatible sealed floors and ordinary household soil. The purpose is to show how a zone boundary changes handling, not to prescribe a universal number of buckets.
| Plan | Observation at transition | Decision |
|---|---|---|
| Entry then kitchen | Pad contains visible grit | Stop; change to a clean compatible pad |
| Lightly soiled room then bathroom | Pad appears lightly used | Still apply the planned task-separation boundary |
| Unexpected spill | Substance unknown | Hold; identify before adding cleaner |
A pale-looking solution does not prove that continuing is appropriate, while a dark solution does not identify a particular contaminant. Keep the decision tied to visible loading, known task history and the system directions. If an unexpected material changes the risk or compatibility question, pause rather than expanding the original floor-cleaning plan by habit.
Empty and inspect the bucket after use
Follow the product's disposal instructions and avoid splashing. Remove accessible hair and debris from the rim, wringer and drain features. Detach only parts designed for user removal. Do not dismantle a spring mechanism or reach into a powered component without its prescribed isolation and service procedure.
Inspect corners where residue collects. Use the bucket maker's permitted cleaning method and a suitable dedicated tool. Do not scrub with an abrasive that damages a smooth plastic surface or forces dirt into a joint. A rinse can remove loose material, but inspect rather than assuming clear runoff proves every area is clean.
If the session involved a situation requiring disinfection, follow the compatible disinfectant's full directions after any required cleaning. Keep contact time, rinsing and material restrictions distinct. Do not make a disinfectant from leftover floor solution or add bleach to unknown cleaner residue. Resolve compatibility before another chemical is introduced.
Dry the system in a useful position
Empty all intended reservoirs and open removable components as the manufacturer directs. Place the bucket where remaining water can drain or evaporate without damaging nearby materials. Keep it stable, away from children and pets, and out of the clean-linen storage area.
Wash and dry the refill by its own instructions. O-Cedar's refill guidance provides a warm-wash, no-bleach, no-softener route for covered microfiber heads; do not extend that route to every mop. Keep the wet refill separate from the bucket if attaching it conceals an unfinished surface.
Check handles, clips and wringer engagement before storage. A loose connection should be resolved before carrying a filled bucket again. Record a crack, failed seal or unstable handle as a repair or replacement question. Cleaning does not restore a damaged structural part, and a hidden defect can make the next session harder to manage.
Keep the measure from becoming a second dirty tool
A measuring cup left inside a used bucket can carry soil back into a fresh solution. Keep the product measure in a clean designated position and use it only as the label directs. Do not return unused diluted solution to the original concentrate container.
After measuring, follow the product’s instructions for the measure and wash or dry it where permitted. Inspect markings so the next user can read the dose without guessing. If a bucket’s volume line is difficult to see, do not replace it with an arbitrary fill height copied from another model. Confirm the intended water amount using the system instructions. The fresh-solution stage is complete only when both the container and the measuring route have a known status, rather than an apparently clean bucket supplied by a dirty or unreadable tool.
Check the bucket’s underside before carrying it across the finished floor. Grit or a wet base can leave a new trail even after the interior is clean. Wipe or clean that exterior by the permitted method, keep the handle secure and use a clear route to storage. The container’s external condition belongs in the same closeout as its reservoirs and wringer.
Leave a ready system for the next session
Store the dry bucket and permitted attachments where they can be retrieved without unstacking dirty items. Keep cleaner in its original container and measuring equipment clean. Do not leave an unlabelled solution for another person to guess at later. Prepare fresh solution when the product instructions require it.
Write down only exceptions that affect reuse: a pad awaiting drying, a broken clip, or a floor excluded from wet cleaning. A clear ready or held status is more useful than a long account of routine mopping. Check the surrounding storage surface for drips before closing the cupboard.
The session is complete when the floor's return-to-use conditions are met, used pads have a care route and the bucket is clean, dry and intact. Zone changes then become deliberate decisions within the next task, rather than an attempt to compensate for equipment left unfinished last time.
THE REFERENCE FILE
Sources & scope
Documentation reviewed 1 Nov 2026. Examples are illustrative; this article does not claim hands-on product testing. Follow the instructions for your actual material, model and location.