Draw each wall as a separate working surface
A floor plan cannot show every conflict that matters to a room project. A cabinet may fit between corners while covering a switch, a curtain rail may clash with a projecting sill and a proposed shelf may occupy the only accessible control position. Add simple wall elevations before finalising purchases or fixing locations.
Label the walls consistently on a floor sketch. For each elevation, draw the wall's outer shape and the fixed features visible from the room. The drawing does not need to be architectural; it needs dimensions that can be traced to the right wall and measured point.
Use a tape measure from safe positions and a second person where helpful. Do not climb on furniture, remove electrical covers or probe walls to improve the drawing. This is a survey of accessible geometry, not a structural or hidden-service investigation.
Choose reference edges and units
Use one horizontal reference edge and one vertical reference level for each wall. Record whether a dimension starts at the finished floor, skirting top or another visible feature. Mixing reference points can make a socket appear higher or lower than it is.
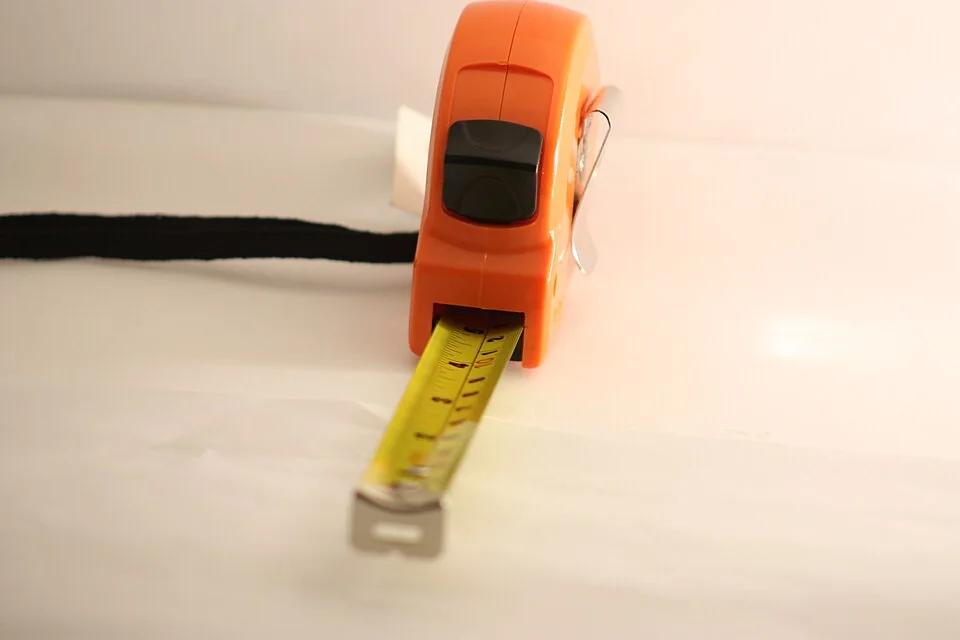
The tape’s end hook provides a visible starting reference distinct from the case body. On the actual wall, choose and record one reference edge or level, then use it consistently for related measurements and note the units. This tool close-up provides no wall dimensions and cannot reveal hidden services, substrate or fixing suitability.
Photo & usage
Anton Ehrola · CC BY-SA 4.0 · Source. Display copies resized and encoded as WebP; no instructional details were fabricated or removed.
Measure the full span, then key segments around openings and projections. Where segments should sum to the full width, compare the result. A small discrepancy may reflect tape position or an uneven corner. Recheck before assigning a tight-fitting product to the apparent spare space.
Record the unit on every sheet and retain practical precision. A tape reading estimated to the nearest centimetre should not be converted into an apparently exact millimetre specification. If a maker requires tighter measurement or site verification, obtain it through that service before ordering.
Plot obstructions at their actual height
Mark doors, windows, sills, skirting, switches, outlets, vents and equipment controls. Record projections from the wall where they affect furniture or textiles. Measure proposed furniture positions at relevant heights rather than relying on one clear line above an obstruction.
Show opening movements: door swing, window handle operation and cabinet access. A curtain may hang neatly when closed yet interfere with a window handle during opening. IKEA's window-measuring guidance specifically prompts attention to openings and nearby features; the chosen hardware still needs its own instructions.
Keep access to required controls and ventilation. Obtain equipment clearances from the manufacturer or responsible installer. Do not treat an empty-looking wall as permission to cover a vent or route a fixing through an unknown area.
Reconcile a wall span before assigning furniture
This illustrative wall survey records a finished wall width of 420 cm. From left to right, the segments are 85 cm of wall, a 140 cm window and 195 cm of wall. Their total is 420 cm, matching the overall reading.
A proposed 180 cm cabinet appears to fit the 195 cm right-hand span with 15 cm remaining. However, a switch plate projects into that span and its required access has not been assessed. The 15 cm arithmetic remainder is not permission to cover the switch or confirmation that doors and drawers will operate.
If remeasurement changes the right-hand span to 188 cm, the spare width becomes 8 cm. Send the corrected drawing to the supplier or installer and repeat the relevant checks. Do not average conflicting measurements simply to preserve the furniture choice.
Keep hidden construction as an open question
Record what is known about the wall from reliable building information and what remains unknown. Appearance alone does not establish whether it is suitable for a particular fixing. A detector reading or a casual tap is not a universal proof of safe drilling location or load capacity.
For heavy cabinets, rails or shelves, ask the appropriate installer to identify the substrate, suitable fixings and service risks. Follow the product's instructions and local requirements. In rented property, obtain necessary consent before work proceeds.
CPSC's Anchor It campaign highlights the importance of securing furniture against tip-over. Plan that installation before choosing a final position for tall storage. A wall that accommodates the cabinet footprint may still require professional advice about anchoring, and the room plan should preserve access for that work.
Overlay the proposed objects
Draw the outer dimensions of each candidate on a copy of the elevation. Include the height and projection of handles, doors or moving parts where relevant. Keep the original survey separate so a design change does not erase the measured room.
Use exact model drawings rather than generic symbols where fit is close. Pottery Barn's measuring guidance supports checking actual dimensions and obstructions. A product called “narrow bookcase” can differ substantially from another with the same description.
For textiles, include both the hanging position and the space occupied when open. For furniture, include ordinary access to shelves, drawers and nearby fittings. A visually balanced elevation is only one part of the decision; the floor plan and daily-use trial still need to work.
Link photographs to dimensions
Take a context photograph of each wall and detail views of relevant obstructions. Link image names to the wall labels. A photograph helps someone understand a measurement but should not replace it, especially where perspective makes a span appear wider.
Put a visible reference in the frame only where it can be placed without damage or risk. Do not claim that a scale in one part of an image makes every distant dimension measurable. Keep the measured numbers on the drawing and use the image for orientation.
Share the survey with the supplier or installer together with its date and limitations. Ask which measurements they need to verify on site. If a decision depends on a hidden condition, label it pending rather than allowing a polished drawing to imply certainty.
Finish with a verified decision sheet
Recheck the tightest spans and any inconsistent totals. Confirm that the plan uses finished surfaces and that no scheduled work will alter them. If flooring, plaster or trim changes are still expected, identify the dimensions that must be taken again.
List unresolved questions beside the proposed object: fixing assessment, control access, hardware projection or maker measurement. Assign each to the person able to answer it. Do not distribute several nearly identical drawings without identifying the current version.
The survey is complete when visible features have traceable measurements and hidden conditions remain clearly bounded. It should support a qualified installation decision without pretending that measuring a wall reveals everything inside it.
Record irregular corners without forcing a rectangle
For an alcove, measure the usable width at more than one relevant height and depth. Walls that appear parallel can narrow near skirting or a projecting edge. Keep the smallest relevant clear measurement visible and ask the maker what tolerance or site survey is required for a close-fitting unit.
Do not convert an irregular recess into a neat rectangle by averaging its dimensions. Draw the projections and record where each reading was taken. A fitted product may need a professional template or survey that goes beyond household tape measurements.
Where the room will be replastered or trimmed, mark the survey as pre-work. Retain it for planning, but take or commission the required finished measurements before a final custom order. This avoids giving old dimensions the authority of a final installation survey.
THE REFERENCE FILE
Sources & scope
Documentation reviewed 1 Nov 2026. Examples are illustrative; this article does not claim hands-on product testing. Follow the instructions for your actual material, model and location.