Prepare a harmless version of the real task
A dining table may look evenly lit until your hand covers the pencil line you are trying to follow. A broad shadow from your torso can also hide the working area before your hand reaches it. Diagnose these separately using the lights already in the room. The aim is a workable arrangement, not a shopping list or an excuse to fit a more powerful bulb.
Choose an ordinary craft action such as folding a paper edge, drawing a line beside a ruler or finding a dark stitch on fabric. Begin without blades, hot tools or powered equipment. If the light proves inadequate, stop the detailed task rather than pressing on with sharp tools. Use the same paper or fabric throughout so that a change in material does not masquerade as better lighting.
Clear loose objects from the immediate work area and mark its outline on a sketch. Include the overhead fitting, any existing portable light, the window and each plausible chair position. Record your working hand and where the material sits relative to the table edge. Preserve shared access around the table.
Identify the shadow by moving its possible cause
Sit normally and bring your hand over the pencil line without touching it. Move the hand sideways while keeping your head still. A small shadow that follows the hand points to light arriving through that path. Then put both hands in your lap and lean gently left and right. A larger dark region that moves with your upper body has a different cause.
Look for more than one shadow edge. Multiple room lights can send light from different directions, leaving several partial shadows. Do not assume a second light automatically fixes the first. Inspect the precise detail you need to see while performing the movement, because a photograph of the empty table misses the obstruction.
Note the difference between shadow and a bright reflection. A glossy ruler may produce a pale stripe that moves when the ruler tilts, while your hand shadow follows your hand. Turn the ruler a little without moving your body to separate the two. Both can exist together. Write two observations if necessary instead of labelling every difficult patch dark.
Separate the existing light contributions
Where switches allow safe ordinary operation, compare the usual lighting with one existing light switched off, then restore it before checking another. Keep sufficient general lighting for movement. Do not stand on a chair to reach a fitting, remove a shade or touch a hot lamp. Fixed ceiling lights stay where they are.
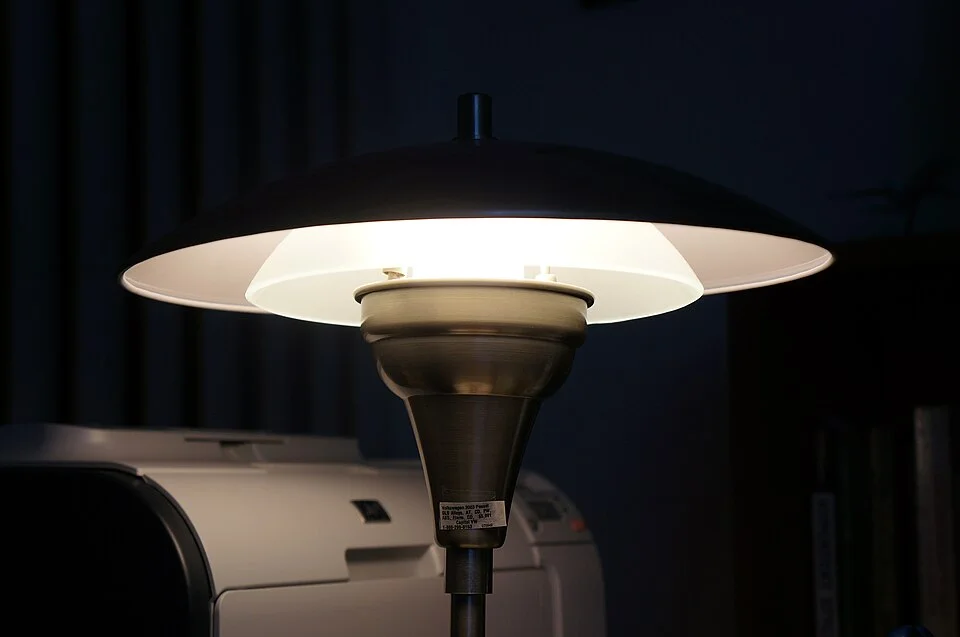
The lit shade makes one contributing source visible. At the craft table, compare the ordinary task with this type of existing light switched off through its normal control, then restore it before checking another. Keep enough general light for movement and the same working posture; the photograph does not show a hand-shadow test or permission to adjust a fitting.
Photo & usage
FASTILY · CC BY-SA 3.0 · Source. Display copies resized and encoded as WebP; no instructional details were fabricated or removed.
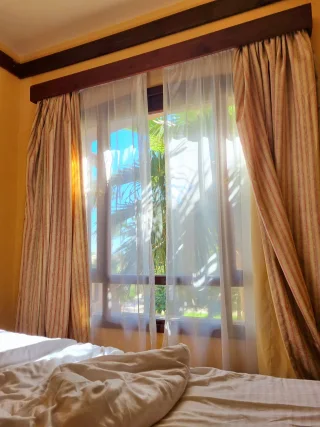
If daylight is contributing, record the curtain position and time. For a cleaner evening comparison, return after daylight has faded rather than trying to imitate darkness with unstable covers. During a daytime trial keep the window arrangement fixed and repeat promptly if a large cloud changes the light.
CCOHS explains that objects and occupants can interrupt light paths; OSHA also addresses positioning lights around visual work. Apply that basic geometry to the craft area without importing office targets. YourHome supplies general lighting context. These sources do not certify this table for a particular craft, and the household observations should not be described as professional testing.
Move the work and seat in controlled steps
First turn the paper a quarter turn while leaving the chair and lights unchanged. Repeat the pencil or folding action. A change in line orientation may move the detail outside the hand shadow. Check whether that rotation makes your wrist or shoulders awkward; a clear line is not useful if the new posture cannot be maintained.
Next return the paper to its starting position and try the adjacent chair, if available. Sit fully at the table before comparing. This can move your torso out of the path between an overhead fitting and the work. Keep the work within comfortable reach rather than pushing it into the centre of a large table just to chase a bright patch.
Only then try a permitted adjustment to an existing portable light. Keep its base stable, its cord clear of the route and its shade and lamp within their instructions. Move it to a suitable surface on the other side if there is a safe outlet arrangement. Do not drape anything over the light to soften it. If no safe position exists, leave that option untested.
Compare four illustrative craft arrangements
The invented comparison below uses six locations along a pencil guide, checked while a right-handed person draws. A location counts as obscured only when the person cannot follow the line in their normal action. It is a task count, not a percentage of light lost.
| Arrangement | Obscured locations | Main observation |
|---|---|---|
| Original chair and sheet | 4 of 6 | Hand crosses lit side of line |
| Sheet turned a quarter turn | 2 of 6 | Lower part still shaded |
| Adjacent chair, sheet restored | 1 of 6 | Torso no longer covers centre |
| Adjacent chair, existing side light adjusted | 0 of 6 | Check opposite seat for direct glare |
The adjacent chair clears three previously obscured locations compared with the original arrangement: 4 minus 1 = 3. The final light adjustment clears one more: 1 minus 0 = 1. Zero in this list means no listed locations were obscured during this invented action. It does not mean the arrangement has no shadows or suits every detailed task.
Notice that the sheet-only trial is separate from the chair trial. Combining both immediately would hide which change helped. After identifying the better chair, you can try its preferred page angle, but record that as a further arrangement and repeat the action rather than borrowing the result from a different seat.
Check both hands and the whole working area
Return to the harmless version of your usual craft with the promising setup. Move the ruler, hold down a fold and reach to the far corner. Some arrangements illuminate the drawing hand but shade the fingers holding the material. Others work at the centre and fail at the lower edge. Check the full area before calling it resolved.
If another person uses the table, check their usual seat and working hand independently. A light moved to help one side may shine into the other person’s eyes. Do not keep a setup that forces a companion to lean away from a bare light source. Record a shared compromise or separate sessions if necessary.
Common errors include inspecting the surface while standing, changing paper colour between trials and counting ordinary visible shadow as failure even when the necessary edge remains clear. The opposite error is declaring success because the table looks brighter while the hand still hides the line. Judge the specific action and write down what remains difficult.
Finish with a position and a remaining limit
Keep a simple sketch of chair, work outline and any permitted light position. Add the light switch combination and whether daylight was present. Describe the successful movement: the line stayed visible from start to end while the other hand held the ruler. That is more useful than a general claim that the table is well lit.
Completion requires a separate hand and body check, at least two controlled arrangements and a full movement check in the chosen setup. Restore the dining layout afterwards if the table is shared. If none of the safe existing arrangements makes the craft detail clear, pause that task and keep the observations as a brief for a more suitable workspace. Do not improvise electrical alterations or claim a bulb change must solve a geometry problem.
THE REFERENCE FILE
Sources & scope
Documentation reviewed 1 Nov 2026. Examples are illustrative; this article does not claim hands-on product testing. Follow the instructions for your actual material, model and location.