A sink can look worse halfway through cleaning: grease has gone, but pale rings and old utensil marks suddenly stand out. That is the moment to put the scourer down. More pressure cannot tell you whether you are looking at a deposit or a scratch.
The useful goal is a clean, residue-free bowl with its existing finish intact. Work through one gentle cleaning pass, inspect the dry surface, then decide whether any remaining mark deserves a different treatment.
1. Establish what surface you actually have
Find the sink model in your purchase paperwork, installation documents or the manufacturer's product listing. Check the finish as well as the material. A silver bowl may have a coating; black, gold and other coloured stainless finishes need their own care instructions. This walkthrough is for ordinary, uncoated stainless steel. If you cannot establish the finish, use only the maker's confirmed routine-care method.
Look at the empty, dry bowl under light from the side. On brushed steel, identify the fine factory lines. Notice their direction separately on the base, walls and draining area; do not assume every surface runs the same way. A mirror finish may have no visible grain. Follow its specific care guide rather than trying to create one.
Choose a realistic finish target before starting. Franke's stainless steel guidance recognises scratching as an ordinary consequence of use. Cleaning can reveal old wear more clearly. Removing metal to erase that wear is a separate refinishing decision.
2. Remove the things that can become abrasives
Gather plain mild dish detergent suitable for your sink, a freshly cleaned soft cloth or soft sponge, and a separate clean drying cloth. Use comfortably warm water. Leave steel wool, scouring faces, powder cleansers, abrasive pastes and scratch-removal kits out of this session. A product marketed for stainless appliances is not automatically suitable inside a sink.
- Move dishes and utensils onto a protected counter. Lift cookware clear instead of dragging it across the bowl.
- Remove a loose bottom grid and removable strainer basket, if they lift out normally. Do not undo drain fittings, lift fixed seals or dismantle anything.
- Collect visible food scraps and dispose of them appropriately. Keep your hands out of any disposal opening; this job requires no access inside it.
- Rinse loose particles toward the strainer before wiping. Examine your cloth for crumbs or grit, including anything picked up from the counter.
Set the grid somewhere it cannot scrape the sink while you work. Inspect its contact feet and underside for trapped debris. Keep accessories separate until the bowl has passed its final inspection; otherwise, putting everything back too soon hides the area you need to assess.
3. Wash once, then rinse and dry completely
BLANCO's daily-care instructions use dish soap on a soft sponge, strokes following the brushed finish, and a clean-water rinse followed by drying. Use that restrained sequence as the starting point for a compatible uncoated sink.
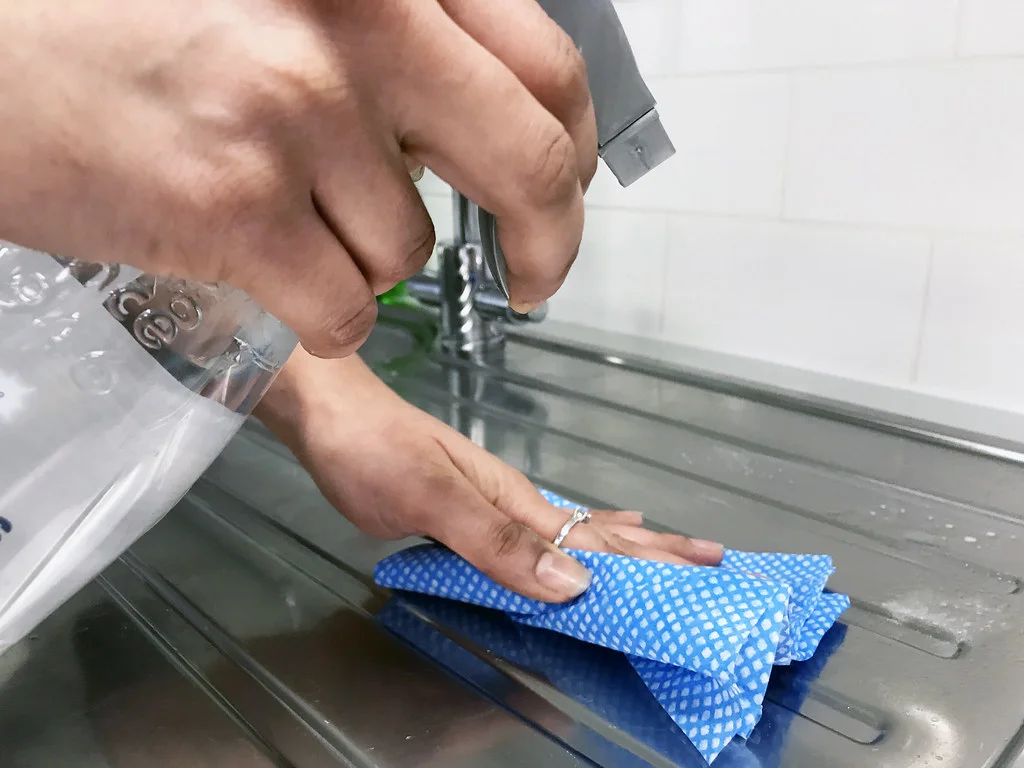
This real photograph shows a cloth contacting a stainless-steel draining board. It illustrates the wiping action only: the spray bottle in the image is not a cleaner recommendation. Use the product and direction approved for your exact finish, then rinse.
Photo & usage
B&M Stores · CC BY 2.0 · Source. Display copies resized and encoded as WebP; no instructional details were fabricated or removed.
- Wet the cloth or soft sponge and apply detergent according to its directions. Start on an inconspicuous area. Rinse and dry that area before continuing; stop if its sheen or colour changes.
- Work from the upper bowl downward with light, straight strokes following the visible grain. Refold or rinse the cloth as it collects dirt. Avoid grinding repeatedly at a single mark.
- For softened food residue, hold the damp, soapy cloth against it, then try another light wipe. If it remains attached, leave it for assessment rather than scraping with a blade or utensil.
- Wipe the accessible drain surround gently. Keep sink cleaning separate from the faucet, countertop and sealant, which may require different products.
- Rinse away all detergent, including residue in corners and around the strainer rim. Dry with the second cloth using light strokes along the finish.
If the drying cloth starts smearing, rinse again and use another clean cloth. Do not interpret a soapy streak as a stain that needs stronger cleaner. Inspect only after the water film has gone.
4. Give each remaining mark a different decision
These observations are clues, not a chemical identification test. Compare the dry bowl with how it looked before washing, ideally from the same viewing angle.
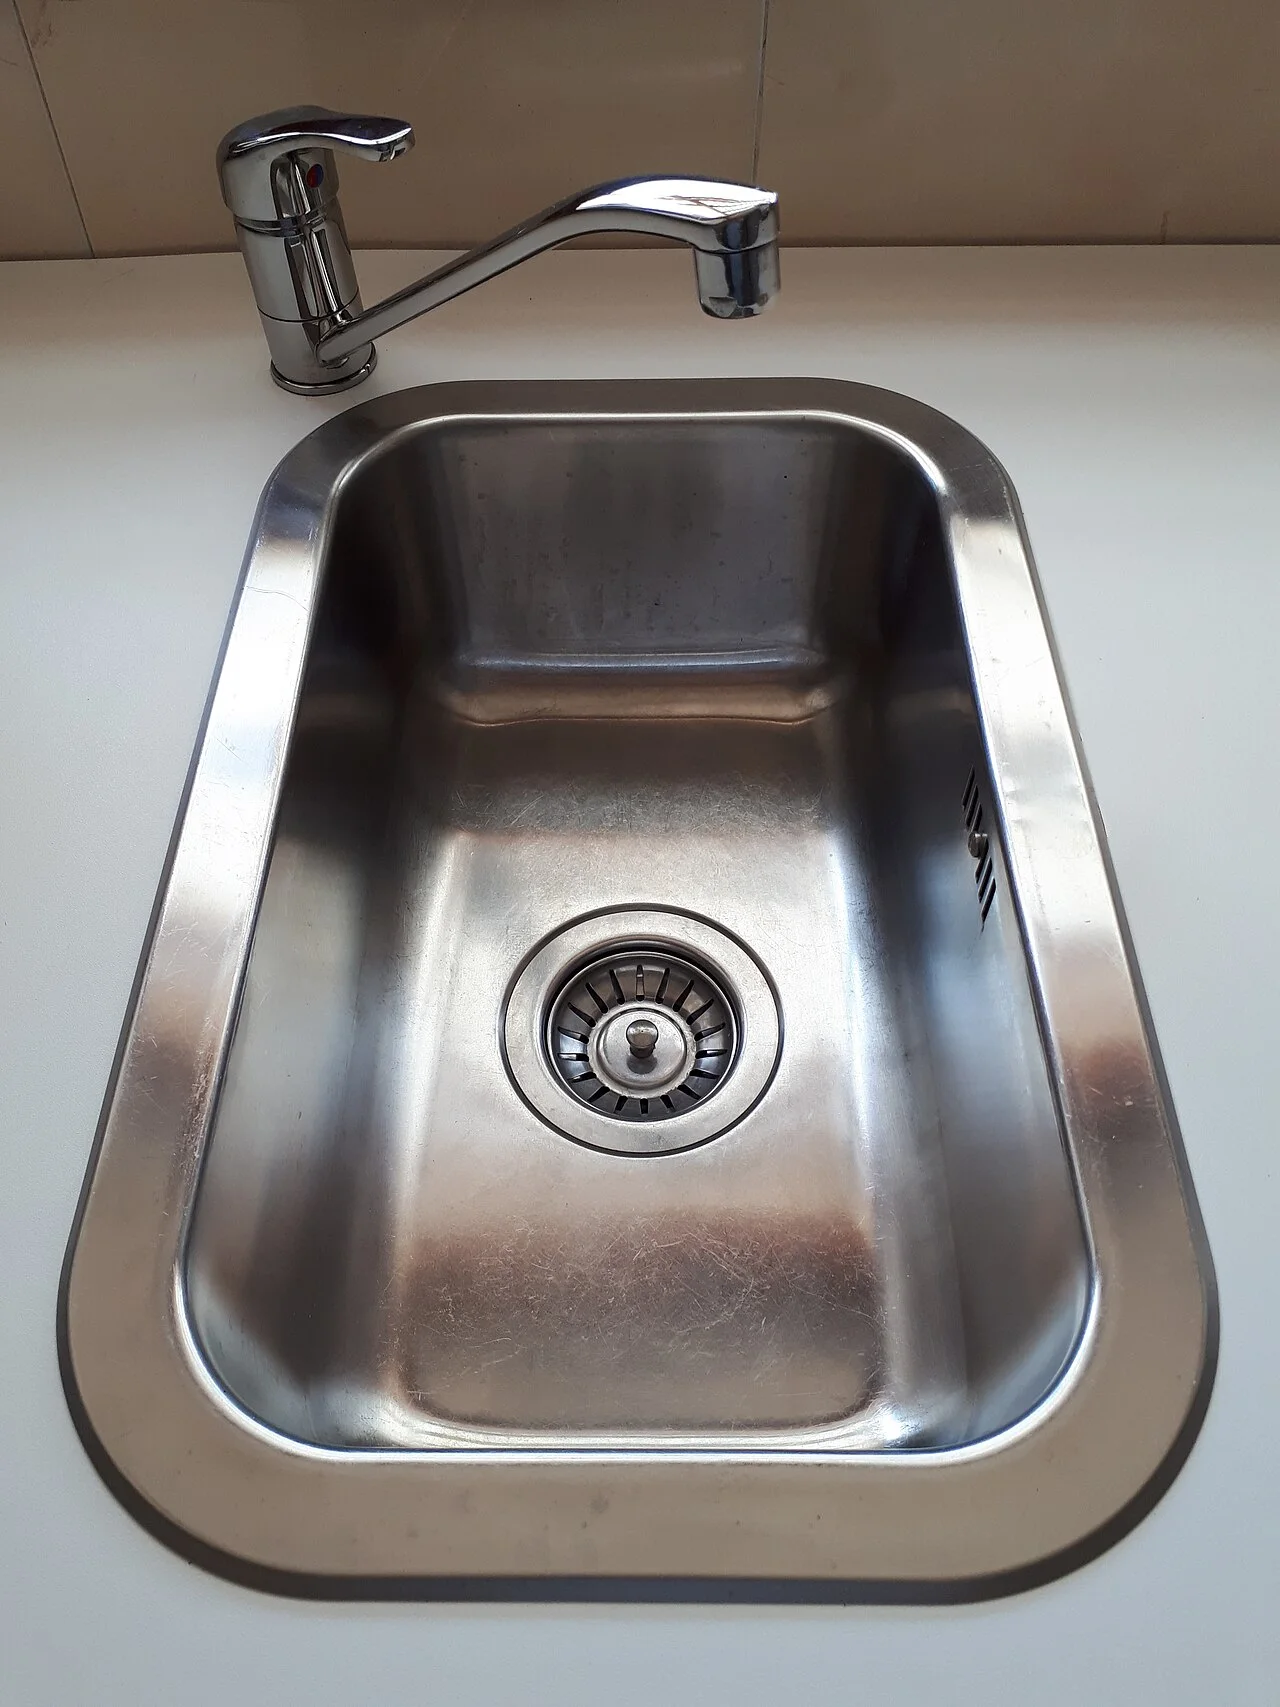
Look separately at the basin, corners and draining area after rinsing and drying. This is a reference view of a steel sink, not an after photograph from our test. A retained scratch should not be treated as dirt requiring more force.
- Cloudy streaks that moved or changed shape
- Residual detergent or a dirty drying cloth is a sensible first possibility. Repeat the rinse and dry, without adding another cleaning product.
- Pale outlines where droplets or pooled water dried
- Mineral deposits are a possibility. Check the sink maker's approved scale-removal method before choosing a product. Do not assume every white mark needs acid.
- Orange dots or a ring where a metal item rested
- Surface contamination is possible. Kohler's rust troubleshooting guidance discusses metallic particles and advises against steel wool and wire brushes. Remove the suspect item and seek a finish-compatible treatment.
- A narrow line that stays in the same place
- It may be an existing scratch. If washing changes neither its shape nor its position, stop chasing it with repeated rubbing.
For a hypothetical example, imagine a bowl with a white crescent below the tap and a diagonal line across the base. After washing, the surrounding greasy haze disappears but both marks remain. Treating the whole bowl more aggressively would ignore two different possibilities. Investigate the crescent through the scale-care instructions; leave the line alone unless the manufacturer identifies a suitable repair.
5. Escalate the product only when the instructions match
Before using a specialist cleaner, confirm that the sink manufacturer's instructions permit it on your exact finish and that its label covers the intended use. Follow the specified application method, protective equipment, ventilation, contact time and rinsing. If those instructions conflict, ask the manufacturer before proceeding. Do not invent a dilution or borrow a dwell time from another product.
Keep the treatment local where the directions allow, and assess a discreet test area after rinsing and drying. Stop if the surface becomes duller, changes colour or shows new lines. Do not turn an unsuccessful spot treatment into a whole-bowl experiment.
Franke cautions against bleach, abrasive cleaners and leaving vinegar or acidic food residues on its steel. That is good reason to reject an improvised overnight vinegar soak as a universal remedy. Nearby stone, plated fittings and seams introduce additional compatibility questions.
Do not mix products. The CDC's cleaning and disinfection guidance explicitly warns against combining chemicals. Use the selected product's full procedure, including rinsing, without layering on another cleaner to boost it.
6. Pass the finish check, and know when to stop
A successful result has no loose debris, visible soap film or cleaner residue. The dry finish should look consistent with its original texture, allowing for existing wear. Recheck the corners and drain surround before replacing accessories.
Stop cosmetic treatment and contact the sink manufacturer if you see persistent dark pinholes, flaking colour, an expanding rough patch or a newly altered finish. Send the model details, clear photographs and the names of products already used. If there is water leaking below the sink or a loose drain fitting, arrange a plumber's assessment rather than disturbing the assembly during cleaning.
Visible cleanliness does not establish sanitization. If raw meat or poultry juices contaminated the bowl, CDC guidance calls for cleaning followed by sanitizing. Use a sanitizer whose label covers that use and whose chemistry the sink manufacturer permits. Follow its contact time and any food-contact rinsing instructions; ask the manufacturer if you cannot identify a compatible option.
THE WORKING FILE / INSPECTION
Use drying as an inspection step
Imagine a sink with three different marks after washing up: a greasy film, pale dried-water rings and a narrow line visible under side lighting. A wet surface can hide the line and make all three look like one cleaning failure. Examine the dry sink after one approved gentle pass.
Film disappears
- What the observation supports
- The initial cleaning removed that residue
- What it does not prove
- The whole sink needs disinfectant
Pale ring remains
- What the observation supports
- A targeted material-compatible check is needed
- What it does not prove
- Any household acid is approved
Line remains in the same place
- What the observation supports
- Possible finish damage needs closer assessment
- What it does not prove
- More force will remove it safely
Read the result
Use a fresh area of cloth and inspect it for trapped particles before deciding that another pass is justified. Keep the sink maker’s finish restrictions attached to the record: a coloured or coated product may not share the permissions of an uncoated steel sink. A successful finish check means the surface is clean and dry without new marks, not that every permanent scratch has vanished.
Your inspection record Blank worksheet
Distinguish removable residue from a finish problem before increasing cleaning strength.
- Sink model / finish
- ________________________________
- Mark location
- ________________________________
- Permitted product
- ________________________________
- Cloth condition
- ________________________________
- Rinse complete
- ________________________________
- Dry-surface photograph
- ________________________________
- Residue removed / mark retained
- ________________________________
- Next authorised step
- ________________________________
Before closing the file
- Particles are removed before wiping.
- Inspection happens after rinsing and drying.
- Stronger treatment has a material-specific basis.
7. Change the handoff after washing up
Make the last action after washing dishes a bowl rinse and a gentle dry. Put the drying cloth where it can dry outside the sink. Remove wet containers instead of leaving a permanent outline beneath them, and rinse food residues away promptly.
If you use a manufacturer-compatible bottom grid, lift it regularly to clean beneath it and inspect its feet. Replace a damaged foot according to the accessory maker's instructions before returning the grid. Lift heavy pans rather than sliding them, even over a protective accessory.
The practical habit is to leave the bowl visible and ready for inspection. The next pale ring or orange spot can then be addressed as a specific mark, without turning every clean into a stronger scrubbing session.
THE REFERENCE FILE
Sources & scope
Documentation reviewed 1 Nov 2026. Examples are illustrative; this article does not claim hands-on product testing. Follow the instructions for your actual material, model and location.