The difficult limescale job is often the narrow white collar around a tap: the deposit touches metal, a seal and the counter beneath it. A cleaner that suits one of those surfaces may damage another. Start by deciding exactly where treatment can go, rather than choosing the strongest bottle.
This guide covers accessible deposits on bathroom fittings and shower surfaces. Keep kettles, concealed plumbing and appliance internals outside this job; their descaling procedures need the relevant manual. Your aim is to remove a deposit while preserving the surrounding finish, even when that means leaving a stubborn edge for specialist assessment.
Map the treatment boundary before opening a cleaner
Identify the affected item using its model number, purchase record or care document. Record the finish as well as the material: a chrome-looking fitting, a coloured coating and exposed stainless steel should not inherit one another's instructions. For shower glass, check whether it has a factory treatment. Ask the supplier if the paperwork is unclear.
Then trace where liquid would travel. Look below a spout, along a door frame and around the base of a tap. A vertical deposit can be easy to reach yet impossible to rinse without wetting something incompatible. Do not count a cloth placed underneath as reliable chemical protection.
| Location | Confirm before treatment | Reason to pause |
|---|---|---|
| Tap body or spout | Exact finish and permitted descaler | Peeling plating, unidentified coating or inaccessible crevices |
| Shower screen | Glass coating, frame and seal care | No method compatible with all likely runoff surfaces |
| Stone surround | Stone identity and supplier's care procedure | Unknown stone or an acidic product proposed for it |
Write a simple boundary on paper: “external spout only; exclude base, seal and counter.” If you cannot define and maintain that boundary, postpone chemical treatment and ask the manufacturer for a workable method.
Separate a removable deposit from an altered finish
Begin with the item's approved routine cleaner and a clean, soft cloth. Remove ordinary surface dirt, rinse as instructed and dry. This preliminary clean is a separate operation; finish it fully before considering a descaler. Inspect the dry area under light from the side.
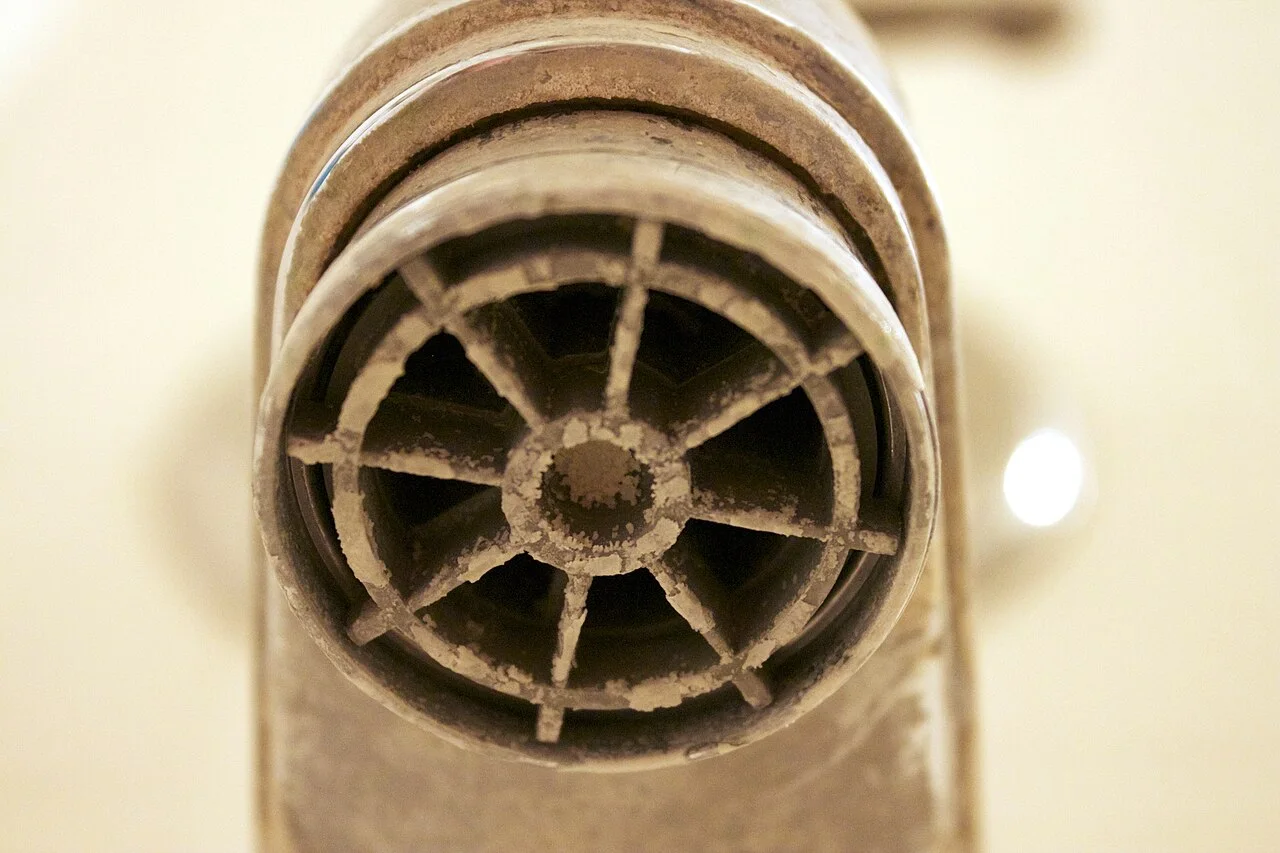
The underside of the fitting shows deposits around the outlet. Identify the actual finish, adjacent stone and seals before choosing a product. This photograph does not establish that the outlet should be removed or soaked.
Photo & usage
Bbypnda · CC BY-SA 3.0 · Source. Display copies resized and encoded as WebP; no instructional details were fabricated or removed.
A pale droplet outline or raised-looking crust is a clue to deposited material. A flat dull patch may instead be an altered finish. Neither appearance proves the cause. Do not use vinegar as a diagnostic test, pick at a crust with a blade or scrape the edge to see what is underneath.
The Natural Stone Institute's care guidance explains that acids can etch calcium-carbonate stone and recommends professional restoration advice for etched areas. More descaling is not a repair for missing polish.
Take a photograph of the dry mark before proceeding. Choose a recognisable edge or reflection beside it as your comparison point. You are looking for a smaller deposit with an unchanged surrounding finish, not simply a shinier wet patch.
Choose by finish, not by the word “natural”
Find a descaling method explicitly permitted for the item. Read the cleaner's label too: intended surfaces, exclusions, dilution, application, contact time, rinsing and protective equipment. Both sets of instructions must fit. If a label requires treatment longer than the fixture permits, choose another approved product or ask the manufacturer; do not improvise a compromise.
Hansgrohe's cleaning FAQ, for example, recommends a mild citric-acid-based cleaner for its fittings and excludes acetic acid, among other ingredients. Its fitting guidance also directs application through a cotton cloth rather than spraying the fixture. This does not make homemade citric-acid mixtures suitable for every tap, or vinegar suitable for neighbouring materials.
For natural stone, keep to the supplier's non-acidic care method. The Natural Stone Institute warns that even generally acid-resistant stone can contain sensitive minerals. A stone-safe routine cleaner may remove surrounding dirt without shifting a mineral collar; that is a reason to seek targeted advice, not switch to an acidic bathroom cleaner.
For treated glass, obtain the door's own instructions. Kohler specifically prohibits abrasive cleaners on CleanCoat glass. A label saying “glass cleaner” does not establish compatibility with every coating. Leave powders, abrasive pads, metal wool and improvised polishing methods out of an unidentified screen's treatment.
Prepare one small job with a clear stopping point
Gather the approved product, its directions, clean application and drying cloths, rinse water and a timer. Use the cloth type specified for the finish. Clear toiletries and loose accessories so you can see runoff and reach the rinse source without handling other products.
Follow the cleaner's ventilation and protective-equipment directions. Keep children and pets away from the work area. The CDC's household cleaning guidance says not to mix products or chemicals. Use one treatment, without adding bleach, disinfectant, another descaler or a homemade booster. If another cleaner is present, complete its labelled removal procedure first; do not apply descaler over unidentified residue.
Test only on an inconspicuous part of the same confirmed finish, using the permitted procedure. Rinse, dry and inspect before expanding. A successful test does not approve adjacent materials or longer exposure. If no suitable test location exists, ask the manufacturer how to proceed.
Set the stopping point now: rinse at the specified time, sooner if required by the directions or if the finish changes. Do not extend exposure because the crust still looks thick.
Work the approved area, then inspect it dry
- Start where control is easiest. Select an accessible patch away from joints and material changes. Follow the permitted application method and dosage; do not soak the whole assembly for convenience.
- Time contact from application. Treat only an area you can rinse within the allowed period. Avoid moving to another room while the cleaner is working.
- Use light wiping only where instructed. If the deposit resists, let the permitted chemistry and contact time set the limit. Extra pressure is not a substitute for compatibility.
- Rinse completely. Follow the product and fixture instructions, including accessible edges where liquid collected. If the required rinse would expose an incompatible surface, this was not a suitable treatment location.
- Dry and compare. Check the original reference edge and surrounding reflection. Look for reduced deposit, residual film and any change to colour or sheen.
If a mark changes shape during rinsing, check for cleaner residue before treating it again. Repeat only when the directions permit and the first pass improved the deposit without altering the finish. An ineffective permitted pass calls for reassessment, not automatic repetition.
Worked example: a white collar beside a stone counter
Consider this hypothetical bathroom: a confirmed plated tap stands on a marble counter. White crust surrounds the base and spots appear on the spout. The tap guide permits a particular descaler, but that product excludes marble.
Split the job by reachable treatment area. The spout spots might be suitable for the approved method if application and rinsing can stay clear of the marble. The base collar is different: cleaner would sit directly beside the stone and the seal. Do not wrap the entire base in a saturated cloth or assume a short exposure solves the incompatibility.
Use the marble supplier's routine method on the counter and stop at the remaining collar. Send the tap manufacturer and stone supplier photographs, the tap finish and proposed product details. Ask specifically for a method compatible with the junction. Leaving that edge temporarily is a controlled decision; loosening the tap or lifting its seal would create a different maintenance job.
THE WORKING FILE / DECISION
A compatible tap cleaner can still damage the place it drips
An invented basin has a scale-marked fitting mounted through a stone surface. The cleaner is approved for the fitting’s exact finish, but the stone care instructions reject acidic products. Treating “the tap” as the whole job ignores the runoff path, splash zone and cloth used to wipe adjoining material.
Fitting finish
- Permission to confirm
- Exact cleaner and contact instructions
- Reason for a separate decision
- Similar-looking finishes may differ
Stone around the fitting
- Permission to confirm
- Permitted chemistry
- Reason for a separate decision
- Runoff can leave the intended target
Joint / seal
- Permission to confirm
- Product restrictions and existing condition
- Reason for a separate decision
- Compatibility is not established by the fitting approval
Rinse and cloth route
- Permission to confirm
- A method protecting every adjoining surface
- Reason for a separate decision
- A contaminated cloth can transfer the product
Read the result
Do not improvise an extended soak or wrap because the scale looks thick. More contact time is a different exposure from the one on the label. If a permitted method cannot be confined, ask the manufacturer for an alternative compatible with the complete assembly. A mark that remains after a safe authorised attempt may require assessment rather than another stronger mixture.
Your decision record Blank worksheet
Choose a treatment boundary that includes fittings, adjoining stone, joints and seals.
- Fixture / finish
- ________________________________
- Adjacent material
- ________________________________
- Seal / joint condition
- ________________________________
- Cleaner approval
- ________________________________
- Contact limit per label
- ________________________________
- Runoff control
- ________________________________
- Rinse method
- ________________________________
- Dry result
- ________________________________
- Next authorised option
- ________________________________
Before closing the file
- All surfaces in the exposure path are identified.
- The label’s timing is retained.
- A stronger mixture is not used as the fallback.
Finish with a recurrence check, not a stronger product
The job is complete when cleaner residue is gone, the treated area is dry and its finish remains consistent. Stop if colour transfers to the cloth, plating lifts, new dullness appears or a rough patch expands. Contact the manufacturer; for etched stone, consult a stone restoration specialist. Keep the product details and before-and-after photographs.
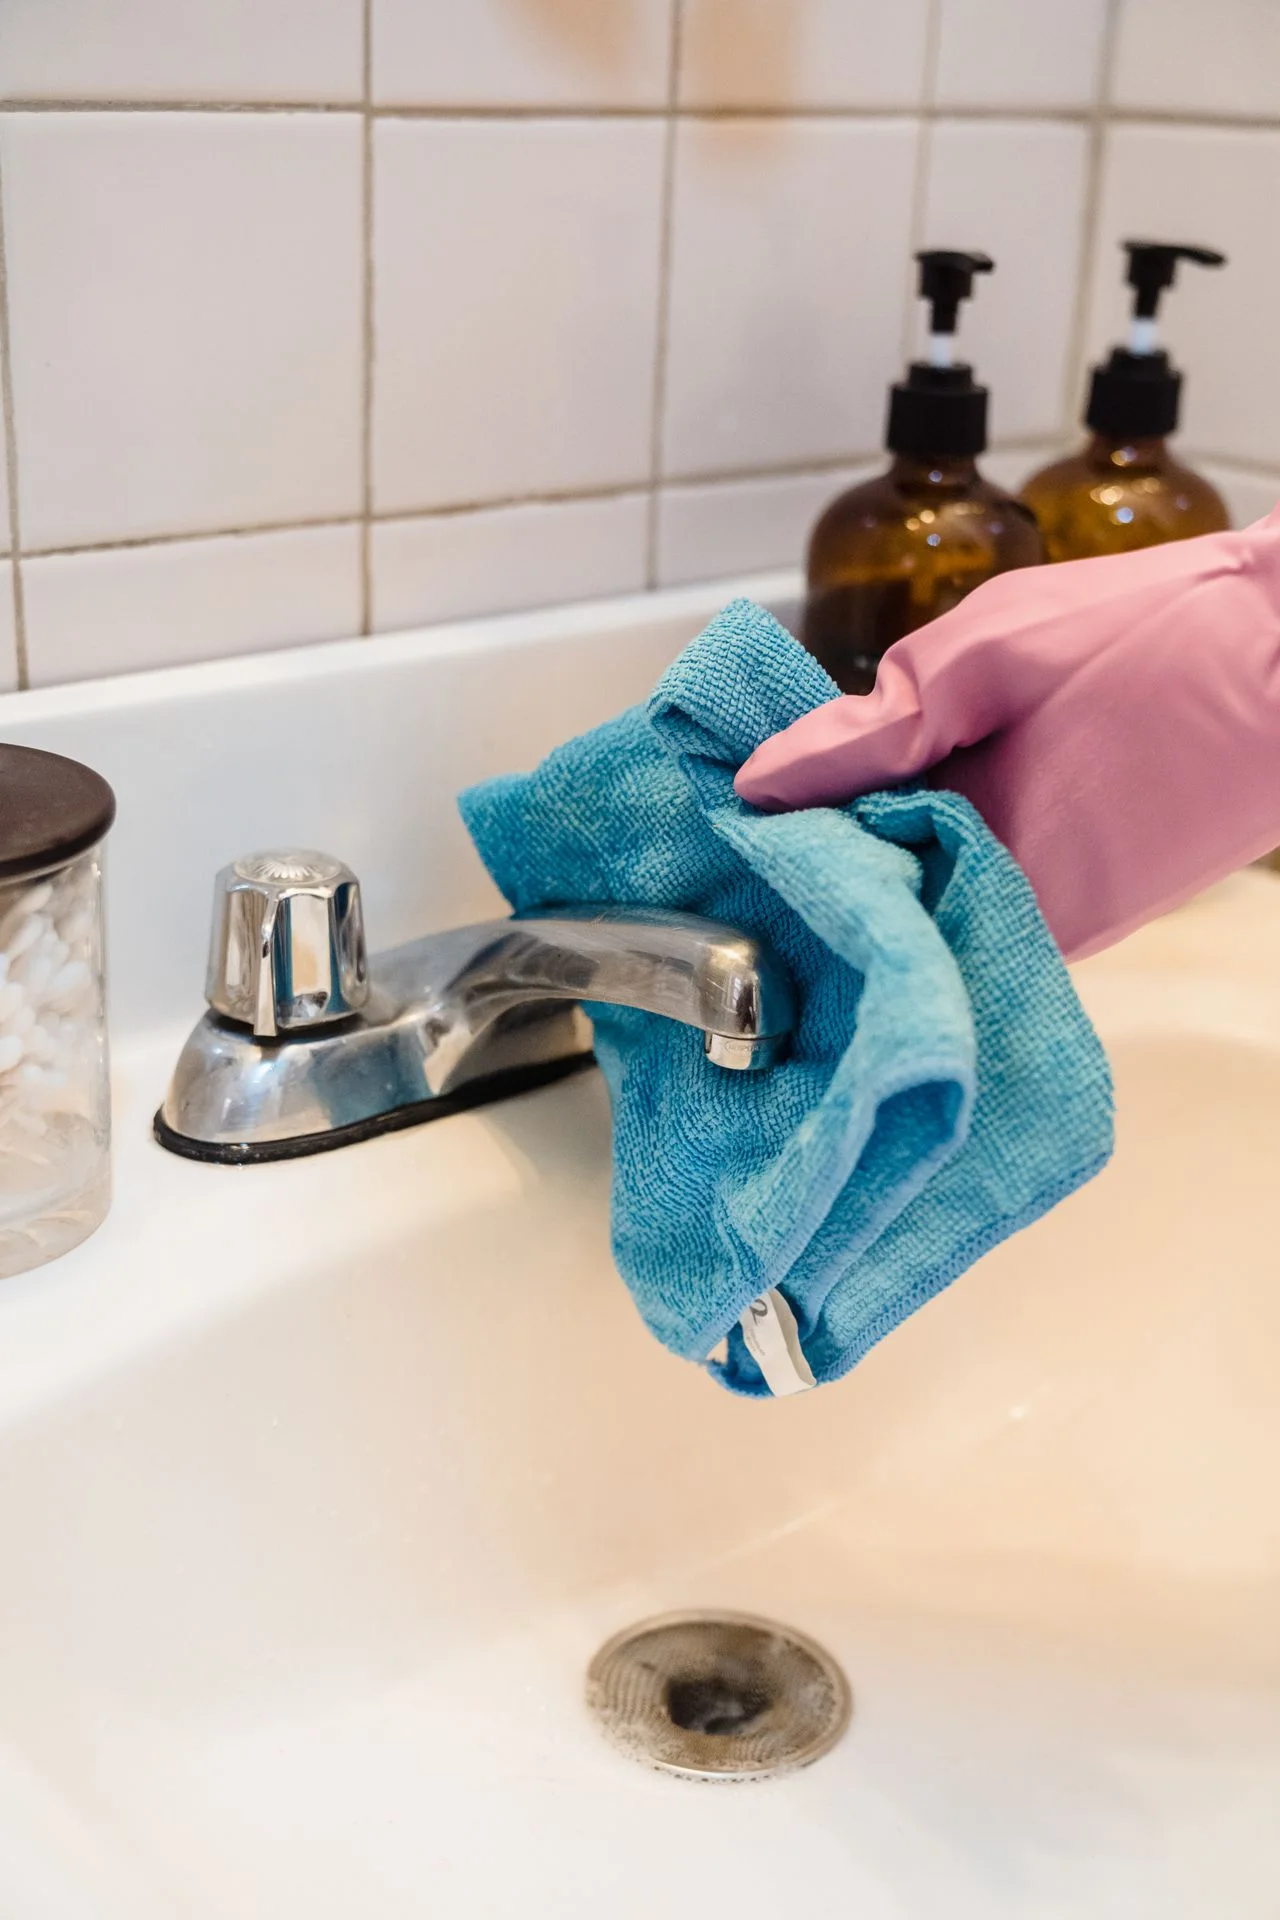
The real close view shows a soft cloth being used around a tap. Use only the finish-compatible method and do not transfer treatment onto an unapproved surface. The photograph is not proof that a particular chemical is safe for your fitting.
Photo & usage
Liliana Drew · Pexels License · Source. Display copies resized and encoded as WebP; no instructional details were fabricated or removed.
If a collar returns, dry the area and observe it during normal use. Note whether water appears only after splashing or also while the fitting is unused. Persistent unexplained wetness or dripping warrants a plumber's assessment. Do not tighten fittings or disturb seals as part of this cleaning job.
For routine care, remove splashes with the approved soft cloth and dry accessible ledges. Use a squeegee on a shower screen only if its care guide permits it. Record the successful product and method beside the model details, so the next clean starts with compatibility already established.
THE REFERENCE FILE
Sources & scope
Documentation reviewed 1 Nov 2026. Examples are illustrative; this article does not claim hands-on product testing. Follow the instructions for your actual material, model and location.