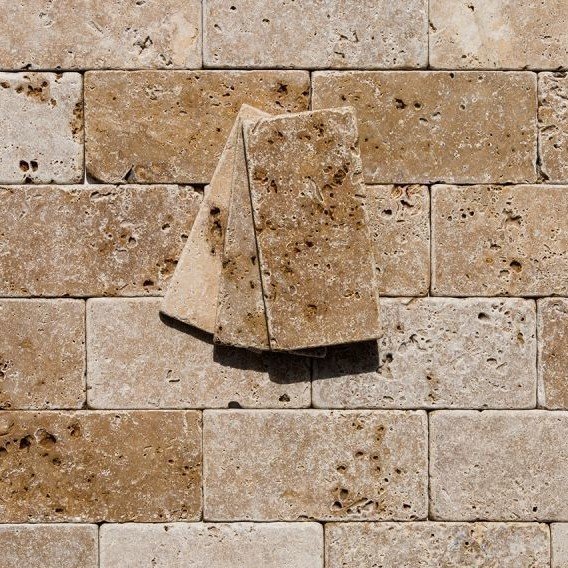
Travertine has natural cavities that may be filled during manufacture or finishing. On a vanity, a dark dot can therefore be trapped cosmetic residue, an open pore, a failed fill or part of the stone's normal pattern. Scrubbing every dark spot until it becomes pale can damage the surface without answering which problem is present.
Start by identifying the vanity's finish and fill history. The cleaning method must suit the stone, any sealer and its repairs. This guide concerns an installed travertine vanity top, not the basin itself or an overall floor routine. Its endpoint is a clean stable surface and a useful decision about any pits or dull marks that remain.
Inspect the pits before wetting the top
Remove toiletries and photograph the dry top in broad light. Look at the same area from a low angle to distinguish a shadow inside a cavity from discoloration on a flat face. Note whether a pale or resin-like fill sits flush with surrounding stone. Do not pick at a dark pore with a needle to find its depth.
Check around the tap base, backsplash joint and basin cutout for cracks or loose fill. A sharp void that catches a cloth needs a different response from a sound shallow depression. If fragments come away during ordinary handling, stop contact there and retain them for the installer. A strong cleaner cannot repair a missing fill, and repeated wetting can make the original condition harder to assess.
Confirm the stone and treatment system
Find the invoice or ask the installer whether the top is filled and honed, polished or coated. Italian Stone's travertine care sheet identifies the material as acid-sensitive and cautions about contamination from other cleaning products on cloths. The Natural Stone Institute's care guidance also explains the distinction between stain resistance and a stain-proof surface.
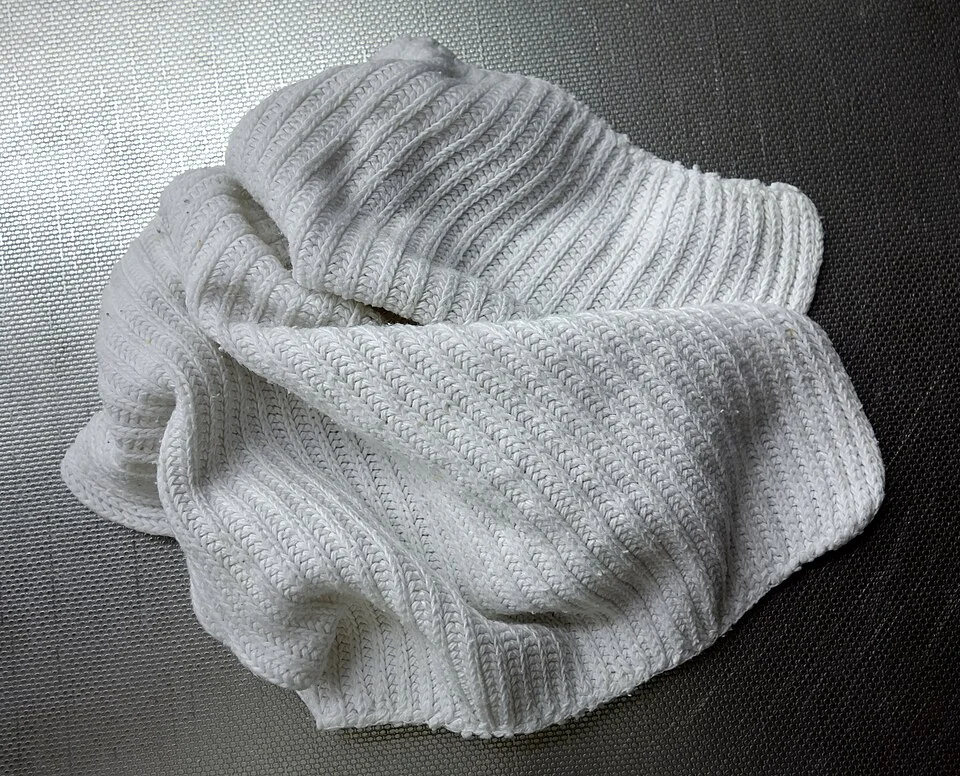
The exposed textile face and folds identify areas to inspect before dedicating a cloth to stone care. Use your own clean cloth kept separate from descalers, metal polish and basin-cleaning residues. This dishcloth beside a sink illustrates cloth construction; it does not establish that the cloth is uncontaminated or suitable for your travertine treatment system.
Use those principles to check the actual care products, rather than treating sealer as a chemical shield. A bathroom descaler left on the same cloth can reach the vanity even when the bottle never touches it. Keep stone cloths separate from those used for chrome, glass or the basin. Daltile's natural-stone guidance is another material-specific reference, but a proprietary fill or coating can impose additional restrictions that the installer must resolve.
Remove cosmetics without grinding them into cavities
Lift bottles and wipe their bases separately before they return. Pick up loose powder gently with a soft dry cloth, changing faces rather than spreading colored particles into the pores. Blot liquid cosmetics promptly. For dried creams, remove only loose material with a soft permitted tool; do not scrape the stone with metal.
Make a note of products that have leaked. An oil-based lotion and a colored makeup spill may need different stain advice after routine cleaning. Keep nail products, hair dye and concentrated cleaners off the top during the session. If the source is uncertain, record the likely items stored there. The context is more useful to a stone specialist than a guess that every brown mark is rust or every dark patch is oil.
Clean a sound trial area with the approved method
Choose an inconspicuous intact section that includes representative stone and sound fill. Use the supplier-approved neutral cleaner, following its exact dilution and removal instructions. Work with a clean soft cloth or permitted brush and light pressure. Complete the specified rinse or wipe before drying; different stone products do not all have the same final step.
After full drying, compare color, sheen and the feel of the filled areas. Stop if fill softens, pigment transfers, a pale ring develops or a cloth begins catching a previously smooth edge. A successful trial confirms only that local result under those conditions. It does not authorize a different concentrate, a longer dwell or treatment of cracked repairs elsewhere on the vanity.
Work around joints rather than flooding them
Proceed across the top in areas small enough to finish completely. Use the cloth to collect loosened residue, then change it before working around the basin cutout. Keep solution out of open joints and the gap behind loose sealant. Dry the tap base and back edge where water can remain beneath bottles or dispensers.
Do not soak a stained pore beneath a wet pad while cleaning the rest of the room. Any specialist stain treatment needs a compatible product and a complete procedure. Likewise, avoid a steam nozzle aimed into cavities. A robust-looking mineral face does not establish heat or moisture tolerance for fills, sealants and adhesives in the assembly. If access is too narrow for controlled cleaning, ask the installer how that detail should be maintained.
Read the remaining dots and dull patches
| Observation | Possible meaning | Boundary |
|---|---|---|
| Powder disappears from a shallow depression | Loose cosmetic residue was present | Continue gentle routine care |
| Sharp cavity remains and catches cloth | Open pore or missing fill | Seek fill assessment rather than scrubbing |
| Flat dull splash survives cleaning | Possible acid-related finish change | Ask about restoration |
| Dark patch persists after drying | Possible absorbed stain or other discoloration | Request cause-specific advice |
The table contains invented observations, not diagnostic test results. Several may coexist, especially around a frequently wet dispenser. Keep an overview photograph showing the whole vanity and a close image of the questionable fill. A description such as cloth catches at the front-right pore tells a repairer more than simply calling the top dirty.
Avoid turning a pit into an abrasive experiment
A toothbrush with hard bristles, a scouring pad or an abrasive paste may alter the surrounding stone before the cavity becomes clean. Acidic limescale remover is particularly unsuitable as a default because travertine is acid-sensitive. Even a product sold for tile may be intended for ceramic rather than natural stone. Read the material exclusions in full.
Do not fill a cavity with household caulk, glue or an improvised resin during cleaning. Color matching, bond preparation and finishing need a repair plan. A soft blob that traps cosmetics can be less serviceable than the original void. If a repair is recommended, ask when cleaning and normal wet use may resume and whether the repaired area needs different care. Record the product so the next person can maintain it accurately.
Plan a repeatable bottle arrangement
For an illustrative vanity shelf 80 centimeters wide, four trays each 15 centimeters wide occupy 60 centimeters. That leaves 20 centimeters in total, not 20 centimeters between every tray. The arithmetic simply checks whether bottles can sit on removable trays with accessible margins; it does not prescribe an installation clearance.
Choose supports compatible with the finish and lift them to clean and dry underneath. Avoid adhesive feet attached directly to stone unless approved. Keep frequently leaking products on an easily inspected tray and remove stained or corroding metal containers. A compact arrangement only helps if its hidden contact points can actually be checked.
Finish with a stable dry surface
Inspect the vanity after it dries, looking closely at fill edges and the back joint. No new pale marks, loosened fragments or sticky residue should have appeared. Return only clean, dry containers and retain the approved cleaner instructions with the stone record.
If the top is clean but still has pits or etched splashes, document those as separate repair questions. The job is complete when removable cosmetics are gone and the condition has not worsened. Consistent observation and compatible cleaning protect the material more effectively than repeated attempts to erase every feature of a naturally varied stone.
THE REFERENCE FILE
Sources & scope
Documentation reviewed 1 Nov 2026. Examples are illustrative; this article does not claim hands-on product testing. Follow the instructions for your actual material, model and location.