Give the move a specific purpose
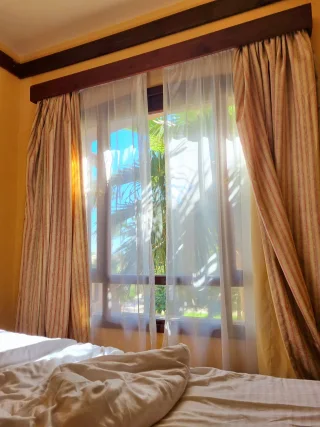
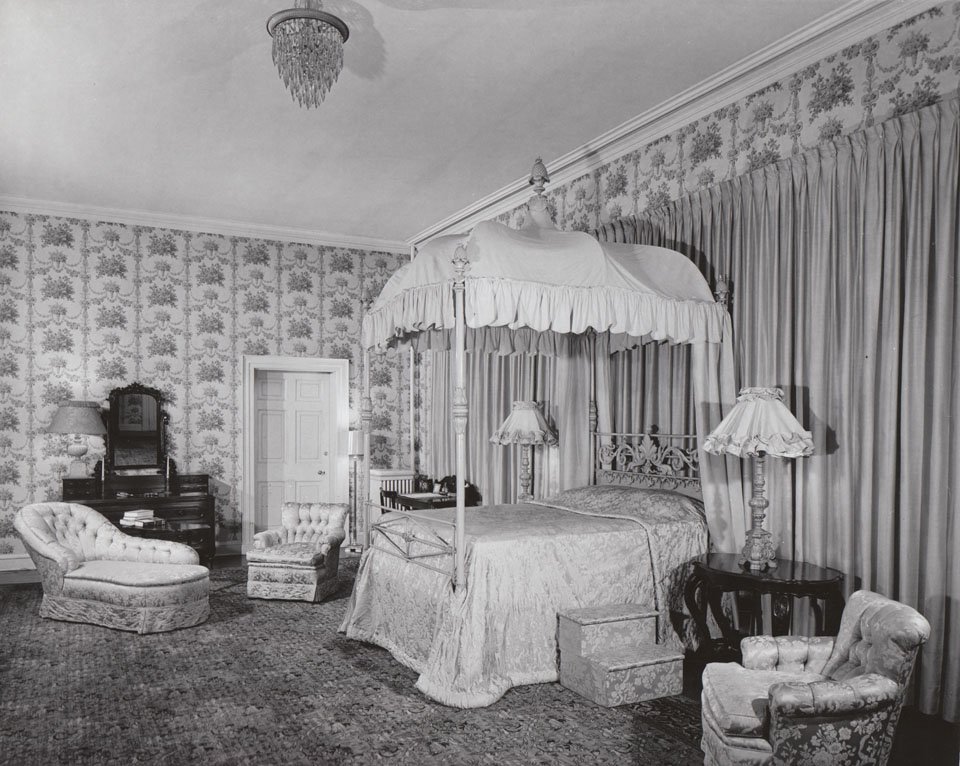
A bed can fit against three walls yet offer three very different views from the pillow. One position may face a bright curtain edge; another may place a shoulder beside a cool exterior wall. Start with a precise question: could moving the head of the bed away from the window reduce the visible light strip without putting either occupant beside an unwelcome surface? A paper plan helps reject awkward arrangements before anyone lifts furniture.
Observe the current layout at the times that matter to you, such as settling down and waking. Lie in the normal position with the usual pillows and look forward, left and right. Record what is visible and what feels locally warm, cool or draughty. These are personal observations, not measurements of the wall or a diagnosis of the building. Keep the bedding and window covering in their ordinary states for this first visit.
The method concerns placement within one bedroom. It does not promise better sleep or establish a preferred temperature. HSE’s thermal comfort guidance provides the useful boundary that surrounding surfaces and air movement matter alongside air temperature. A single room thermometer cannot choose your headboard wall.
Draw the objects that actually occupy space
Measure accessible wall lengths, the bed frame including projecting feet, and the furniture you intend to keep. Sketch doors with their opening arcs, windows, fixed heaters, outlets and any route that must stay usable. Include the space taken by an open wardrobe door or drawer. Do not measure only the mattress and assume the frame disappears. Mark uncertain dimensions with a question mark instead of silently rounding them down.
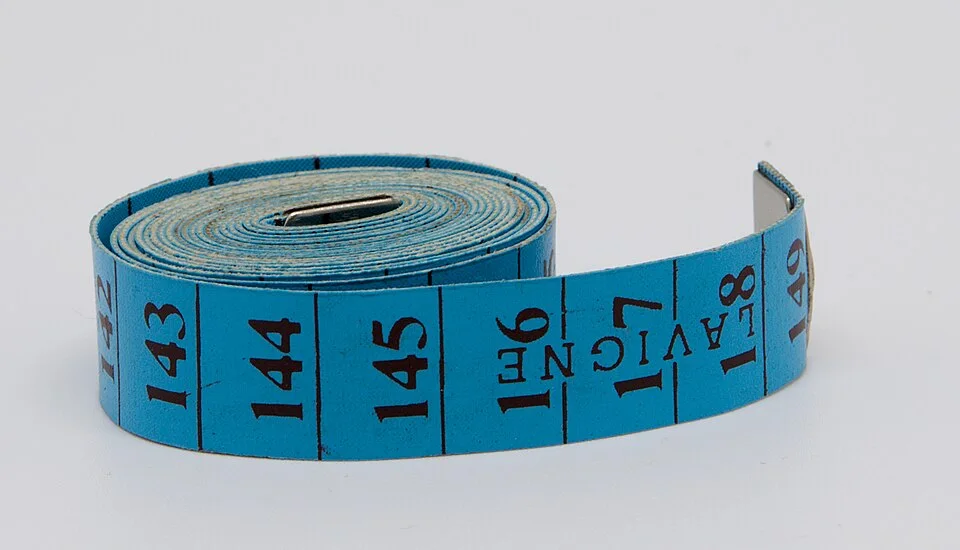
The tape’s marked divisions illustrate the tool used to establish dimensions for the plan. Confirm the units on your actual tape, measure accessible wall lengths and the complete bed frame, and include projecting feet and door swings. No room dimension or drawing scale is shown here; mark uncertain measurements rather than treating a close-up of a tape as a measurement result.
Photo & usage
Clément Bucco-Lechat · CC BY-SA 3.0 · Source. Display copies resized and encoded as WebP; no instructional details were fabricated or removed.
Choose an uncomplicated scale, such as one centimetre on paper representing twenty centimetres in the room. Write that scale beside the drawing. Make a separate bed rectangle and mark the head end, both pillow centres and the sides from which people get in. Cut out a bedside table only if it needs to move with the bed. Keep the cutouts together in an envelope after the exercise.
Walk the existing routes and record what each person needs to carry or use: a laundry basket, mobility aid or open drawer may determine whether a promising layout is practical. The plan is a comparison aid, not an accessibility assessment. Preserve existing required access, ventilation and equipment clearances; use the relevant instructions where equipment is involved.
Add the window to the pillow view
On the plan, draw a thin line from each pillow centre toward the window. Add a separate note about the window’s height, curtain meeting point and any lamp visible while lying down. A floor plan has no vertical dimension, so a line crossing a window does not prove that the sleeper sees the glass. Check that detail physically from a safe seated or lying viewpoint before accepting the layout.
Take observations when the actual light occurs. Morning sun, a landing light and a street lamp require different visits. Record a stripe on a pillow differently from a bright area elsewhere on the floor. Do not stare at direct sun to trace its direction. A photograph from normal eye height may help remember geometry, but automatic exposure makes it unreliable for comparing brightness between visits.
CCOHS’s lighting survey distinguishes glare, contrast and insufficient light. Borrow that vocabulary carefully: write “bright curtain edge in forward view” rather than declaring the whole bedroom too bright. If two occupants have different pillow views, draw both lines. A position that benefits one side can move the same problem directly into the other person’s view.
Keep surface notes separate from light notes
Mark the wall beside the current pillow, exposed glass and any nearby heat source on the plan. Describe sensations at shoulder and head height during normal use: cooler on the window side, warm wall after afternoon sun, or noticeable moving air beside the curtain. Do not touch a surface that might be hot, wet, damaged or electrically connected to investigate it.
If you use a room thermometer, place it consistently away from direct sun and supply air, following its instructions. Let it settle before recording. An ordinary air reading does not measure surface temperature or radiant conditions. Avoid turning a one-degree display change after carrying the meter into a firm explanation of why one wall feels different.
YourHome’s orientation guidance explains why solar access varies with window direction and time. Apply that broad principle through your own observations; do not import an Australian compass recommendation into an unknown location. The useful map says which actual surface was sunlit at the recorded time. It does not call every exterior wall cold or every interior wall preferable.
Work through an illustrative paper comparison
The following dimensions are invented solely to show the arithmetic. A rectangular room measures 3.6 by 3.0 metres, and the outside bed frame measures 2.1 by 1.6 metres. At a scale of 1:20, the room becomes 18 by 15 centimetres on paper and the frame becomes 10.5 by 8 centimetres. Convert metres to centimetres first, then divide each real dimension by twenty.
| Arrangement | Paper finding | Observation still needed |
|---|---|---|
| A: head against long wall | Bed projects 2.1 m into 3.0 m depth | Whether curtain edge enters left pillow view |
| B: head against short wall | Bed projects 2.1 m into 3.6 m length | Whether afternoon-warmed wall is beside head |
For A, 3.0 minus 2.1 leaves 0.9 metre at the foot before other objects are counted. For B, 3.6 minus 2.1 leaves 1.5 metres. That larger remainder does not automatically make B better: an opening door or chest can consume it. Mark occupied space on the plan before describing any remainder as a usable passage. Neither number is a recommended clearance.
Check the rejected and shortlisted positions
First reject any arrangement that traps a door, covers a vent, interferes with a heater or makes routine movement difficult. Mark the reason on the drawing so someone else does not revive it later because the rectangle looks attractive. Do not solve a layout problem by running a lamp lead across a route or placing furniture against equipment that needs space.
For a surviving candidate, stand or sit safely near the proposed head position and compare the window view at approximately pillow height. This preliminary look may reveal a glaring omission, but it cannot reproduce lying on the mattress. Mark it “view preview” rather than “trial completed.” Keep the floor clear while making the observation; do not build a temporary platform from boxes or chairs.
Arrange suitable help before moving a heavy frame. Follow the furniture instructions and clear the route first. If the move requires electrical work, dismantling fixed fittings or lifting you cannot manage safely, stop at the paper comparison. An honest shortlist is a useful result even when the physical change needs another person or a later opportunity.
Close with a reversible layout decision
After an actual move, use the bedroom normally before making a permanent judgement. Check both pillow views, getting in and out, opening storage and operating the curtains. Revisit the light source at the same relevant time. If the weather differs, record that difference and leave the daylight conclusion provisional. Keep the original drawing so restoration does not depend on memory.
Ask each occupant for a separate verdict on light, local surface sensation and access. Avoid compressing these into one average satisfaction score. One person losing access to a bedside table is a practical objection even if the other prefers the window view. Agree whether to keep, restore or revisit the layout and name the unresolved issue precisely.
The exercise is complete when the chosen arrangement is drawn, routes work during ordinary use, and the original question has an answer with limits. “Curtain edge no longer visible from either pillow on the checked morning; warm-wall question needs another sunny afternoon” is a stronger conclusion than “the room is fixed.” Retain that distinction when the season or furniture changes.
THE REFERENCE FILE
Sources & scope
Documentation reviewed 1 Nov 2026. Examples are illustrative; this article does not claim hands-on product testing. Follow the instructions for your actual material, model and location.