Give the draught an address
A cold ankle beside the sofa is a useful starting point, but a poor shopping list. Before buying rolls of sealing strip, identify the exact joint where air enters and decide whether that opening has a job. Your first purchase may be a replacement window gasket; it may also be nothing until someone identifies a wall vent.
Make a sketch of the uncomfortable room. Mark the chair or bed where you notice the problem, each outside window and door, and every visible grille. Give suspected leaks precise names: “left opening window, lower hinge corner” is more useful than “front room”. Leave space beside each name for a decision and a follow-up result.
Gather a torch, notebook, tissue, ordinary paper, ruler and tape measure. Keep this inspection at floor level, with fittings intact. You do not need smoke, candles, aerosol sprays, access behind sockets or a trip into the loft. The aim is a short list of accessible faults you can explain.
Mark the openings that must stay open
Before searching for leaks, record the ventilation routes you can identify. Energy Saving Trust's draught-proofing guidance says to preserve extractor outlets, wall vents, window trickle vents and underfloor airbricks. Trickle vents should normally remain open; gaps beneath internal doors allow air to move through the home. Do not add door snakes or seals to those internal gaps.
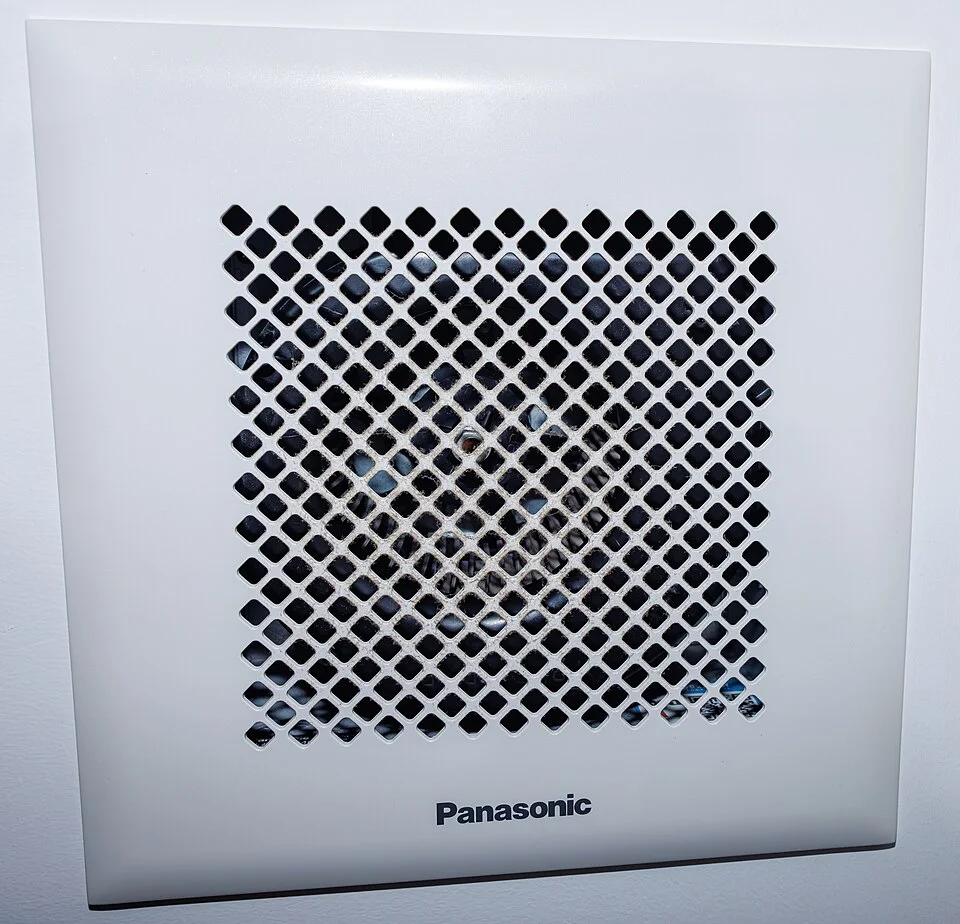
The grille and fan show a designed air opening to identify in the ventilation record. Preserve the actual home’s intended vents and outlets while searching for unwanted leaks, and ask about any unfamiliar opening before sealing it. The photograph does not establish the installed route, required airflow or that a similar-looking opening elsewhere has the same function.
Photo & usage
Dinkun Chen · CC BY-SA 4.0 · Source. Display copies resized and encoded as WebP; no instructional details were fabricated or removed.
Give an unfamiliar opening the status identify before changing. A rectangular hole is not redundant just because no air seems to move through it today. Consult the home's ventilation information, the property manager or a ventilation specialist. If you cannot identify any designed background ventilation, obtain advice before tightening the room.
Fuel-burning appliances add a separate prerequisite. The HSE's domestic gas guidance explains that adequate combustion air and clear flues are essential to prevent dangerous carbon monoxide accumulation. If the room has a gas fire, boiler or other fuel-burning appliance, ask an appropriately qualified appliance engineer whether your proposed sealing affects its air supply before proceeding. In the UK, use a Gas Safe registered engineer for gas appliances; elsewhere, use the locally qualified equivalent. Do not alter appliance vents, flues or chimney openings.
Sketching an arrow between a background inlet and an extract room is a useful reminder to preserve the route. It is not a calculation of ventilation capacity or proof that the system works.
Locate the joint, rather than blaming the whole window
Choose naturally breezy weather when the discomfort is noticeable. Close external windows and doors normally, keeping intended ventilation in its usual operating state. Leave heating and ventilation controls alone. Do not deliberately run every extractor to exaggerate leakage: this inspection uses ordinary conditions.
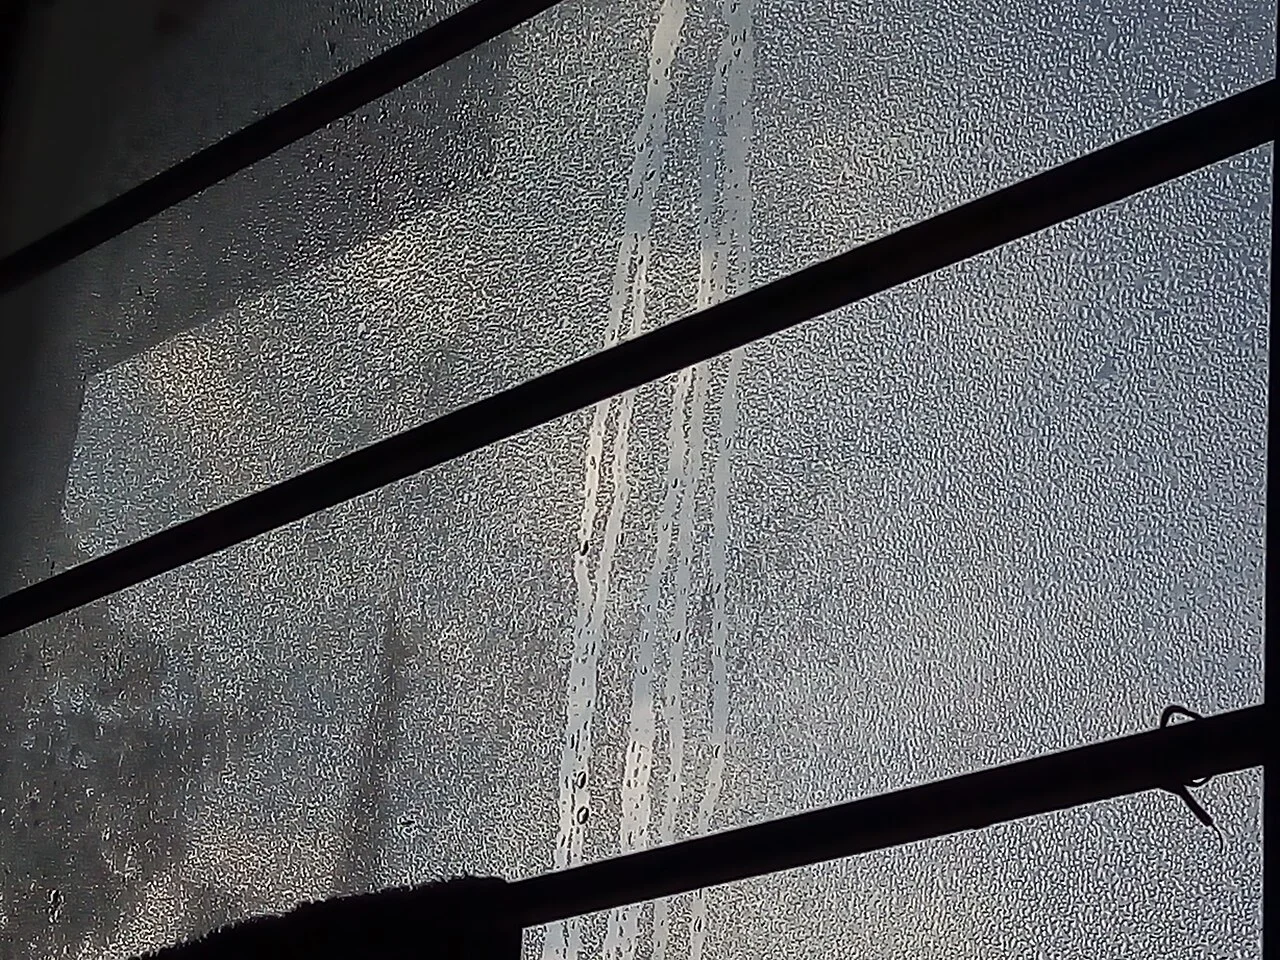
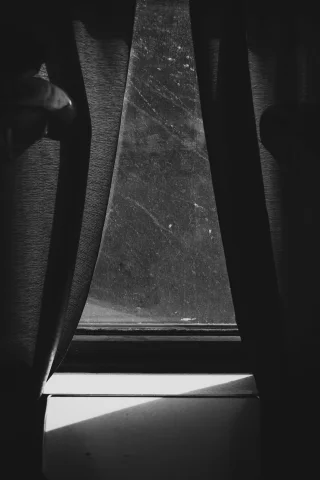
Water on cold glass is visible in this reference photograph. It does not prove that air is leaking through the opening joint. Locate the actual movement at an accessible joint before choosing a suitable repair.
Photo & usage
Doggo19292 · Public domain · Source. Display copies resized and encoded as WebP; no instructional details were fabricated or removed.
Move your hand slowly along accessible window and exterior-door edges. Hold a small tissue strip near a suspect joint without inserting it into any opening. The Pacific Northwest National Laboratory weatherstripping guide describes hand and tissue checks. Compare a suspect corner with another part of the same frame. A cool pane alone does not establish where outside air enters.
Next, look for displaced seals, loose ends, visible daylight at closing edges and debris preventing normal closure. Close and latch the window once, normally, then repeat your observation. If correct latching removes the breeze, record that before deciding anything needs replacing.
For a hinged window or ordinary exterior door that closes freely, use the ENERGY STAR paper check: close it on a strip of paper and gently pull. Test several comparable positions, keeping fingers clear. Easy withdrawal flags a possible weak seal; uneven resistance helps locate it. Do not force a stiff fitting or use the result to claim a measured leakage rate.
Write observations separately from conclusions: “tissue moves at bottom corner” is evidence; “entire window needs replacing” is a purchase decision that the evidence does not yet support.
Sort the map into repair, preserve and refer
Use these decisions to keep the job small. A visibly damaged seal on a freely operating window is a clearer first candidate than a mysterious draught emerging behind a fitted cupboard.
| Finding | Next action | Boundary |
|---|---|---|
| Worn seal where an opening window meets its frame | Identify the original seal or an approved compatible replacement. | Do not stack another strip over it. |
| Air at the bottom of an ordinary external door | Check the existing bottom seal and ask the door supplier about a matching replacement. | Leave cutting, threshold changes and alignment repairs to an installer. |
| Cold air at a wall vent or internal door gap | Preserve it and establish its ventilation role. | Do not cover it as a temporary experiment. |
| Leak near wiring, an appliance, a chimney or damaged building fabric | Photograph the location and refer it to the appropriate specialist. | No dismantling, injected foam or exploratory filling. |
Leave fire doors and their seals to the responsible maintenance provider. For rented property, send the location and photographs to the landlord before applying adhesive or changing fittings. These are useful descriptions of the requested repair, rather than a request to “seal everything”.
Repair one suitable window seal
Proceed only with a sound, accessible window that already opens, closes and locks properly, and whose replacement-seal instructions you can follow without dismantling it. Identify the window make or seal profile first. A photograph, model reference and measurements give the supplier something concrete to match. Leave sliding sashes and unfamiliar gasket systems to a window specialist.
Hypothetical measuring example: an opening sash measuring 600 mm by 900 mm, approximately 24 by 35 inches, has a perimeter of 3,000 mm, or about 9.8 feet. That is a planning length, not a buying specification: establish which edges the manufacturer's system seals, the required profile and the pack's usable length before ordering.
- Read the replacement instructions before removing anything. Check finish compatibility, preparation requirements and application conditions.
- Remove only the old seal that the instructions identify as replaceable. Stop if removal needs cutting into the frame, disturbing paint or taking out hardware.
- Prepare the receiving surface as the window and seal manufacturers specify, and let it dry fully. Avoid improvised solvents on an unknown finish.
- Measure each instructed run, then cut and fit the replacement as directed. For adhesive strips, follow the specified corner treatment and pressing method.
- Open, close and lock the window gently. The seal should contact its mating surface without needing extra force. Remove or correct the replacement if operation worsens.
PNNL's guide supports dry-surface preparation, measured fitting and checking full closure after installation. Keep a note of the product reference for future repairs. Never bridge a ventilation slot or an unidentified drainage opening with the strip.
Read the room map after one change
Consider this hypothetical sitting room: the occupant feels a breeze at the reading chair, paper slips easily from one corner of the opening window, and an airbrick is visible outside below the timber floor. There is also a gap under the door to the hall.
The window corner goes on the repair list. The airbrick and internal door gap go on the preserve list. Energy Saving Trust explains that underfloor ventilation helps keep timber dry; sealing that outside airbrick would treat a different opening from the one identified at the window.
After a compatible window-seal replacement, repeat the corner check. If the local breeze improves but the chair still feels cold, record both results. Do not call the repair a failure simply because it did not solve every comfort issue. Moving the chair away from the pane may improve comfort while you decide whether further assessment is worthwhile. It does not prove that another gap needs sealing.
THE WORKING FILE / INSPECTION
Three cold spots, three different decisions
Imagine three uncomfortable locations in one room. A tissue moves at a damaged opening-window gasket; a wall grille also passes air; a third position beside the glass feels cold without a confirmed air leak. Recording all three as “draughts” would turn a repair list into an instruction to block necessary ventilation.
Lower window opening joint
- What is actually observed
- Movement at a visibly damaged seal
- Decision before any work
- Confirm the correct replacement with the manufacturer
Purpose-made wall grille
- What is actually observed
- Air passes through an existing opening
- Decision before any work
- Identify its ventilation role; preserve it
Middle of glass
- What is actually observed
- Cold sensation, no joint leak located
- Decision before any work
- Investigate surface cooling and room arrangement
Read the result
Name both the location and the evidence. After a suitable seal repair, verify that the window closes, latches and opens normally, then revisit the same sitting position in similar weather. If a thicker strip prevents normal operation, the result is not an improvement simply because less air moves. The installation must suit the actual joint, not the largest gap guessed from a distance.
Your inspection record Blank worksheet
Separate a repairable joint from a designed air route and preserve normal window operation.
- Exact joint / opening
- ________________________________
- Evidence of movement
- ________________________________
- Designed ventilation role
- ________________________________
- Manufacturer seal reference
- ________________________________
- Action / preserve / refer
- ________________________________
- Window operation after work
- ________________________________
- Comparable-weather recheck
- ________________________________
Before closing the file
- Designed openings are excluded from sealing.
- Only a confirmed suitable joint is repaired.
- Operation is checked after the change.
Finish with an operation check and a ventilation check
Before putting tools away, confirm that the repaired window opens, closes and locks normally, no loose strip catches, and every marked ventilation opening remains unobstructed. Revisit the same joint in comparable breezy weather. Compare the original observation with the new one, rather than comparing a windy morning with a calm afternoon.
During normal occupancy afterwards, watch for new or worsening persistent window condensation, damp patches or stale conditions. Energy Saving Trust warns that further draught-proofing can harm air quality where ventilation is insufficient. Pause further sealing and request a ventilation assessment if these changes appear. A tissue check cannot certify adequate fresh-air supply.
Escalate earlier for water entry, deteriorating timber, a window that binds, an unexplained opening or a persistent leak whose route is hidden. ENERGY STAR recommends a professional energy assessment to locate hidden leaks and identify safety issues. Give the assessor your annotated room sketch, photographs and replacement details. Ask them to identify the remaining leakage route and check ventilation before recommending more sealing.
THE REFERENCE FILE
Sources & scope
Documentation reviewed 1 Nov 2026. Examples are illustrative; this article does not claim hands-on product testing. Follow the instructions for your actual material, model and location.