Begin with the method permitted for the finish
A floor that dries in streaks can tempt you to add cleaner, use hotter water or open every window. First check the cleaning method permitted for the actual finish. Wood, laminate, resilient flooring and stone have different constraints; a shiny surface does not make them interchangeable. Use the product and moisture level specified by the floor manufacturer.
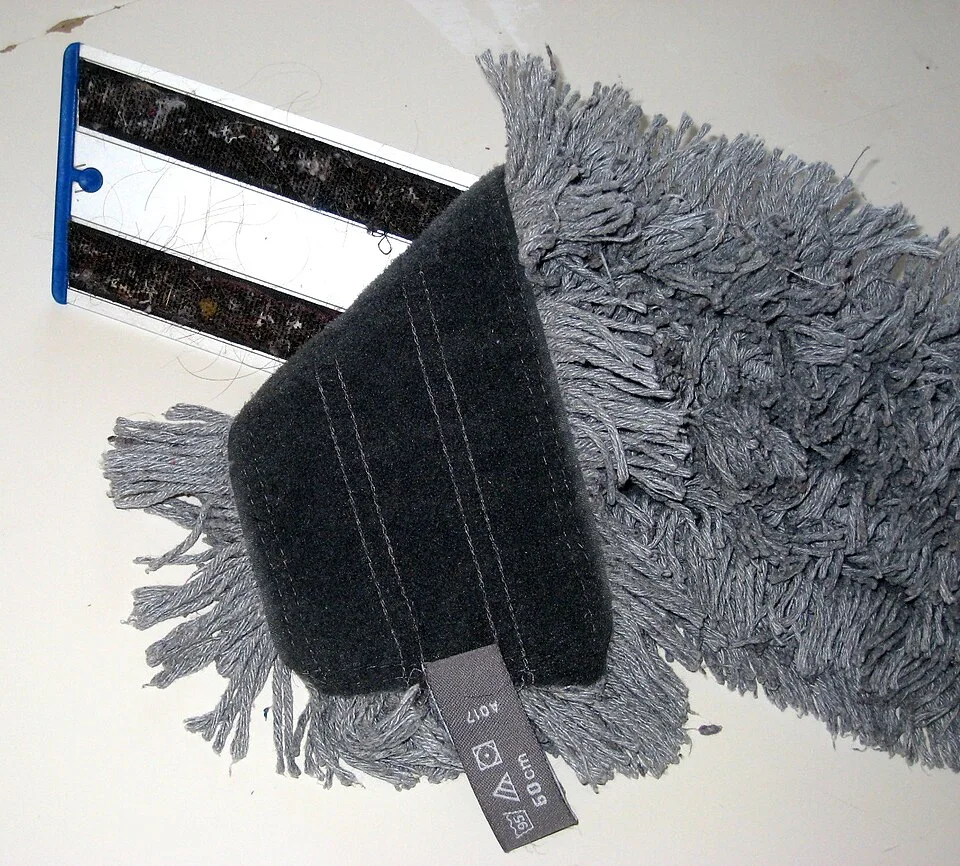
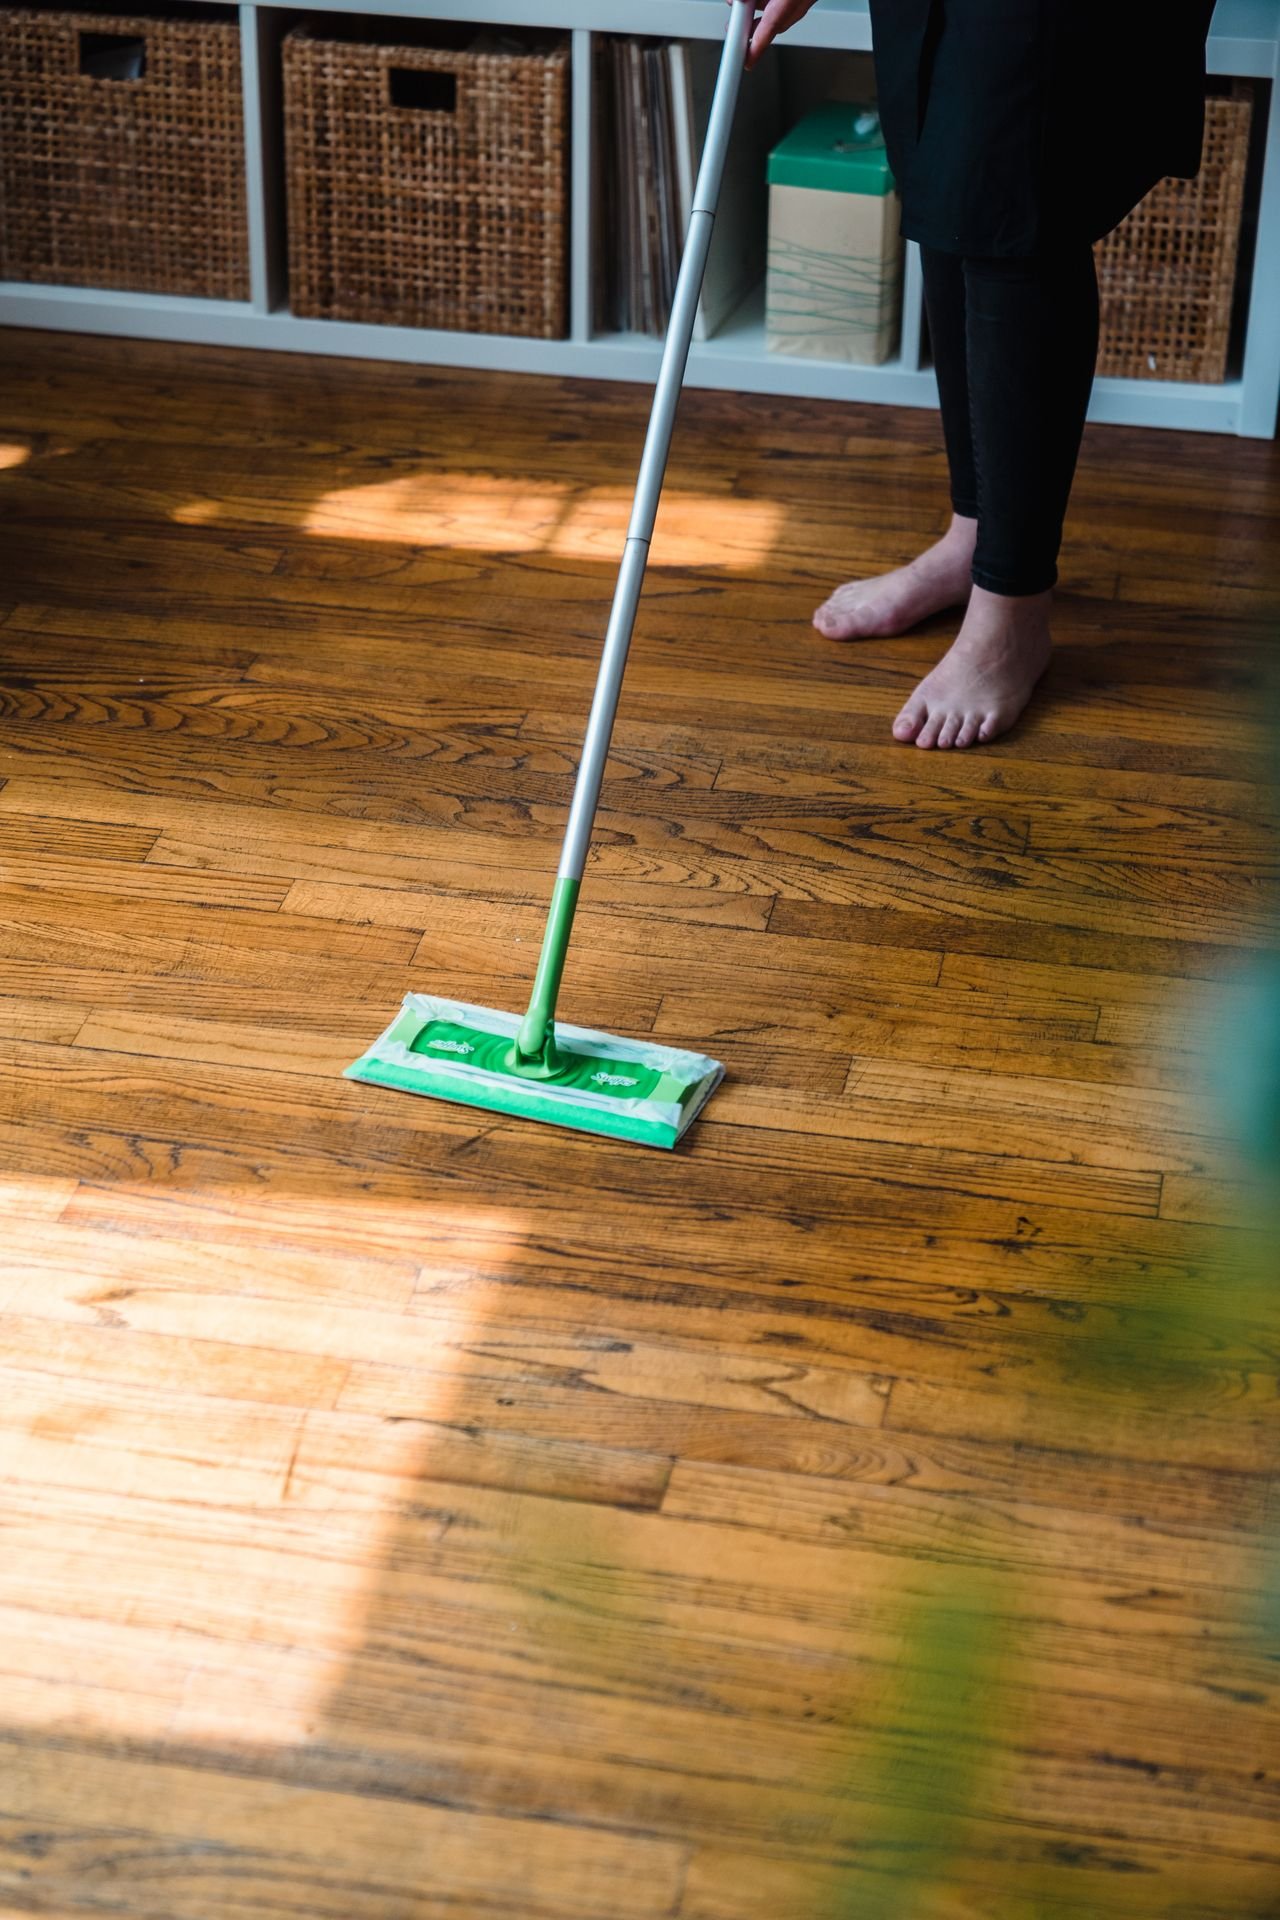
The removable pad and care label distinguish a textile component from the floor it will clean. Follow the actual pad and floor manufacturers’ guidance, use the ordinary cleaning method and note how much water was used before watching drying patches. This photograph does not establish compatibility with a particular finish, a detergent choice or a universal water dose.
Photo & usage
Bjornwireen · Public domain · Source. Display copies resized and encoded as WebP; no instructional details were fabricated or removed.
This guide concerns an ordinary light clean, not flood recovery, sewage or an unknown spill. If water has reached electrical equipment or a floor is visibly swelling, stop the comparison and arrange appropriate help. Do not add water to make a drying pattern easier to observe.
EPA: A Brief Guide to Mold, Moisture and Your Home emphasizes controlling and promptly drying unwanted moisture. Here, the useful question is why one accessible patch remains damp after the permitted cleaning routine. A room RH reading can provide context, but it cannot prove that the floor layers beneath that patch are dry or safe.
Mark locations in the notebook, not on the floor
Sketch the cleaned area and give recurring patches identifiers. Include the route you mop, the door, an air outlet, furniture edges and the places where the pad turns or pauses. Water application is often uneven at those points. Avoid adhesive markers, chalk or tape on a finish unless its manufacturer explicitly permits them.
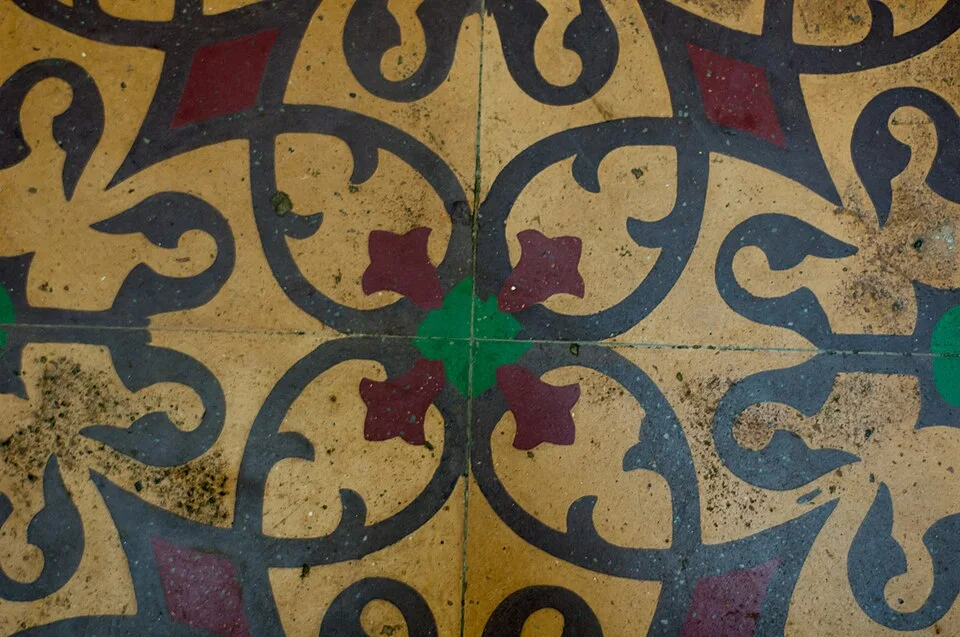
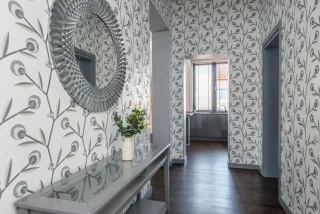
Tile joints and repeating motifs provide recognisable reference points for describing where a patch appears. On your actual sketch, mark the room outline, ordinary route and observed patch locations without adding tape or marks to the finish. This photograph supplies no drying times, moisture measurement, material specification or evidence that a particular dark mark is still wet.
Record the clean's start and end, cleaner dilution if applicable, pad condition and whether the tool was wrung or changed. A saturated pad near the end of the room introduces a different moisture load from the first lightly damp pass. Keep the surface inaccessible to normal foot traffic until the cleaning instructions and slip conditions allow use.
Observe from the same angle with ordinary light. Reflections, residue and a different grain direction can look like dampness. Describe what you can establish without repeatedly wetting or rubbing the area. A mark visible after drying may be residue or finish variation rather than persistent liquid.
Ask which variable could explain the shape
A damp arc at the mop's turning point suggests looking at application. A patch under the edge of a low cabinet raises an access and circulation question. A line along a joint or a spot that appears before cleaning needs a different investigation. These are hypotheses, not surface diagnoses.
Keep the room's normal heating or cooling routine and intended vents available. EPA: Improving Indoor Air Quality distinguishes outdoor ventilation from recirculation. An indoor fan can change air movement near the floor without removing the resulting vapour from the home. Window airing may help under appropriate weather and outdoor-air conditions, but it is not automatically the right action in a humid climate.
Do not direct strong heat onto a patch or set equipment on a wet floor. Rapid local heating can affect a finish and confound the observation. The first useful change is usually consistent application within the approved care method, followed by a comparison under ordinary room conditions.
Read a drying difference without inventing a cause
The following invented timings are illustrative. They are observations from a hypothetical permitted light clean, not tested performance for any flooring product. The timer starts when each small area receives its final pass, so the comparison does not accidentally include an earlier cleaning time.
| Location | Visible sheen clears | Application note |
|---|---|---|
| A: open central area | 12 minutes | Single light pass |
| B: mop turning point | 27 minutes | Pad paused and overlapped |
| C: cabinet edge | 24 minutes | Restricted access |
B takes 15 minutes longer than A; C takes 12 minutes longer. These differences do not establish a drying-rate ratio or prove that B contains a leak. More liquid, circulation, residue and surface differences remain possible explanations. Visible sheen clearing is also not a certified material-moisture endpoint. Keep the observation category separate from claims about hidden floor layers.
Repeat only the normal clean with consistent application
At the next normal cleaning, use the same approved dilution and a properly prepared pad. Avoid unnecessary overlaps and pauses, while still following the product's cleaning directions. Do not deliberately leave a dirty section untreated to create a comparison. Record the revised method before looking at the result so you cannot unconsciously choose a favourable explanation afterward.
If the turning-point patch no longer lingers under otherwise similar conditions, application is a plausible contributor. If the cabinet-edge patch remains, review access and ordinary air movement. Do not remove fixed cabinetry or floor trim to investigate. A service professional can assess hidden areas where necessary.
Health Canada: Guide to addressing moisture and mould indoors includes signs such as warped materials and peeling finishes among moisture clues. If the floor changes shape, a joint darkens repeatedly or a patch appears independently of cleaning, move beyond the mop comparison. The household's task is to identify the recurring pattern and obtain the right assessment, not to prove a substrate diagnosis.
Do not clean a drying mark into a larger problem
Adding extra detergent because a patch looks dull can leave more residue. Repeatedly soaking the area to remove a supposed water mark may also exceed the finish's care limits. Consult the floor and cleaner instructions before attempting residue removal. If the permitted method is unclear, ask the manufacturer with the product identity and a description of the mark.
Avoid mixing products or introducing vinegar, bleach, solvent or abrasive pads based on generic internet advice. A useful drying record should not become a sequence of incompatible treatments. Keep the tools clean and store them dry according to their instructions so the next clean does not begin with a dirty, saturated pad.
If moisture reappears near an appliance or plumbing wall without recent cleaning, record that separately. A slow-drying mop pattern and an appliance leak can coexist. Note ordinary appliance use and rain where relevant, but do not run repeated cycles or flood a fixture to force a reproducible result.
Finish with a permitted routine and a clear exception
A successful endpoint is a normal approved clean that leaves no recurring unwanted wetness, slippery residue or new material damage. Revisit the former problem locations during ordinary room use. Confirm that the apparent improvement did not depend on leaving the floor unusually warm or blocking access for an impractical length of time.
Keep the map and one representative comparison with the product instructions. Write an exception rule: if the patch appears before cleaning, grows at a joint or returns without water application, stop treating it as a mopping issue. This gives the next household member a useful trigger for maintenance.
The record closes when the cause is adequately understood for the next action. It may conclude that application was uneven, that a care instruction needs clarification, or that a separate moisture source requires assessment. None of those conclusions needs a claim that room humidity alone explained the floor or that a dry-looking surface proves every layer beneath it is dry.
THE REFERENCE FILE
Sources & scope
Documentation reviewed 1 Nov 2026. Examples are illustrative; this article does not claim hands-on product testing. Follow the instructions for your actual material, model and location.