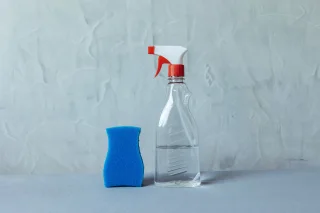
A granite counter can look greasy even after it has been washed. The cause may be a food smear, a concentrated detergent film, an absorbed oil stain or simply moisture that has not dried. Treating all four as the same problem leads to repeated washing and sometimes unnecessary sealer. Begin with one controlled clean and a dry comparison.
The method here concerns an identified granite worktop and its compatible routine cleaner. It does not assume every stone sold under a trade name has identical minerals, absorption or coatings. Keep any installer and sealer information available. A previously applied topical product can alter the cleaning question even when the underlying stone is genuine granite.
Map where the greasy appearance occurs
Note whether the mark follows a cooking-oil bottle, a serving dish or a broad wiping path. A ring under a bottle suggests a local source; streaks extending across the whole counter suggest something carried by the cloth. Record any cleaner or polish used recently, including a product introduced by another household member.
Lift storage trays and look underneath without sliding their feet over the stone. Dry any existing spill promptly. If an appliance must move, follow its handling instructions and obtain help rather than pulling it across the surface. Photograph the area under normal lighting. A fresh broad smear created while moving objects can hide the original pattern and make the comparison less useful.
Establish the finish and cleaner compatibility
Ask the installer for the stone name, surface finish and any sealer or coating. The Natural Stone Institute advises neutral routine cleaning and warns that overly concentrated cleaner can leave film. Its granite consumer article also discusses daily cleaners and residue. These points support checking how the existing product was measured before buying something stronger.
Use the named supplier's approved cleaner, reading whether it is ready to use or concentrated. If the counter is used for food preparation, follow its residue-removal directions and any restrictions before returning food. Do not transfer an instruction for marble poultices or engineered quartz onto granite simply because all are marketed as stone. Compatibility includes repairs, seams and nearby fixtures as well as the broad face.
Take away surface grease without spreading it
Remove loose crumbs with a clean soft tool. Blot liquid oil using fresh absorbent material, replacing it rather than pushing the oil along the backsplash. Use the approved routine method in a small intact area first. Check the dry result for haze or a changed appearance before continuing across the mark.
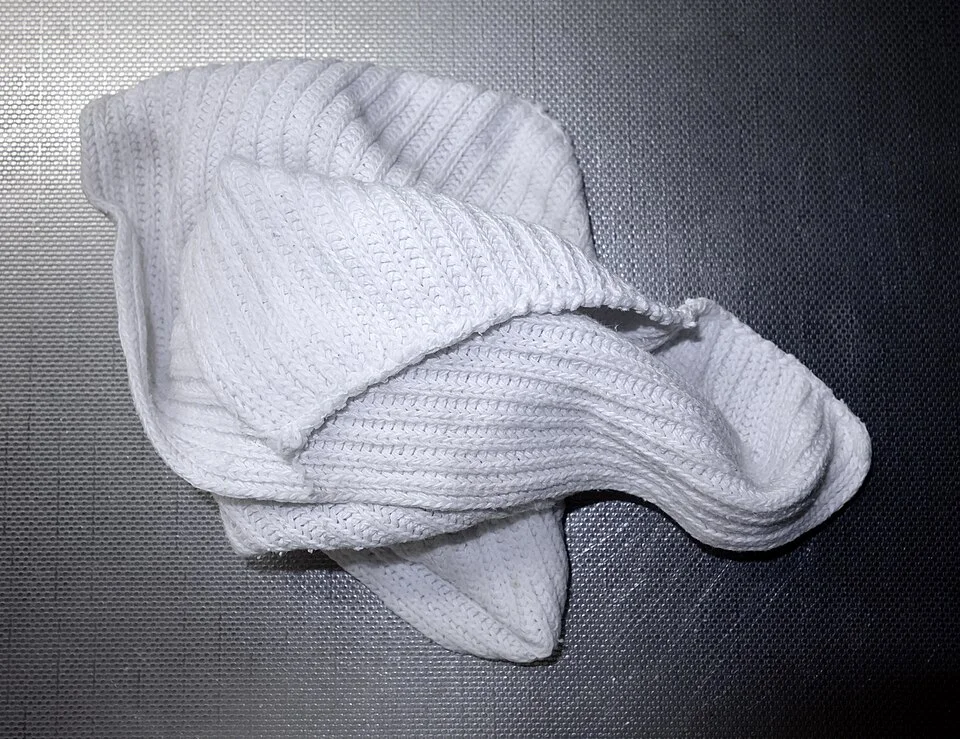
The loose folds show how separate absorbent faces can be exposed as a cloth becomes loaded. Use fresh material to lift oil, then keep the cleaner-removal and drying cloths separate so grease is not redistributed. This sink-side reference does not identify a granite finish or certify the cloth’s cleanliness; check both the worktop instructions and your cloth before contact.
Clean in manageable areas with fresh cloth faces. A heavily soiled cloth can lay a thinner oil film over a much larger region. Complete the cleaner's required rinse and dry steps using clean water and a different cloth. Change rinse water as it becomes dirty. Keep liquid from collecting at seams or around fitted appliances. The aim is to remove lifted soil rather than merely redistribute a more dilute version of it.
Wait for the dry comparison
A damp granite patch can temporarily appear darker. Do not diagnose permanent staining during the rinse or while a wet cloth has just been lifted. Allow drying appropriate to the actual surface and conditions, then compare the area in the same light. No fixed universal waiting period can establish that every stone, seam and repair is dry.
If the greasy sheen disappears but a dark outline remains, record both changes. If all wiping trails disappear with a fresh cloth, residue was likely involved. These are working interpretations rather than chemical identification. A persistent localized patch after compatible cleaning is a reason to ask about absorbed oil or a coating issue, not a cue to double the cleaner concentration automatically.
Compare four illustrative outcomes
| Pattern | Dry result | Next decision |
|---|---|---|
| Wide curved wiping trails | Clear after proper residue removal | Correct cloth and dilution routine |
| Dark circle under oil bottle | Color remains without a greasy sheen | Ask about a compatible stain treatment |
| Patch beside a freshly wet seam | Darkness changes as it dries | Resolve moisture before classifying it |
| Pale rough island after strong cleaner | Texture remains changed | Request finish assessment |
All observations are invented examples. A single mark may combine categories, particularly when an oil spill has already been attacked with a harsh product. Include the complete sequence in a referral. A restoration specialist needs to know about earlier chemistry because the apparent stain may now include damage caused during attempted removal.
Measure product preparation instead of improvising
Suppose an illustrative approved concentrate calls for 10 milliliters per liter of water. Preparing 2 liters requires 20 milliliters: 10 multiplied by 2. Using 40 milliliters would double the specified product amount without proving better cleaning. These numbers are invented to demonstrate arithmetic and must be replaced by the actual cleaner label.
Write the real measuring instruction beside the bottle if several people prepare it, while keeping the original label intact. Distinguish a ratio defined by parts of product and water from an instruction per final solution volume. They are not always interchangeable. If the wording is ambiguous, ask the manufacturer. Accurate preparation is particularly useful where repeated film was mistaken for an unusually stubborn oil problem.
Reserve stain removal and resealing for their own decisions
The Natural Stone Institute describes oil stains as darkening and discusses chemical treatment, but that does not make every household solvent suitable for every installed top. Seams, adhesives and coatings may impose further restrictions. Ask the installer or restorer for a compatible product and complete procedure before attempting a poultice or solvent-based step.
Sealer is not a cleaning product. Applying it over unresolved oil can obscure the assessment, and more sealer does not remove an existing stain. The source guidance distinguishes stain resistance from stain-proofing and does not establish one renewal schedule for all granite. Use the actual sealer maker's criteria and the counter's condition. A water observation, if the supplier requests one, should be conducted under its instructions rather than improvised as an overnight puddle.
Check dispenser feet and storage trays
A dispenser can leave several overlapping clues: oil from its contents, detergent from its outside and rust from a metal base. Clean and inspect the container separately before assuming the granite needs a more aggressive oil treatment. Record the footprint and compare it with the dry mark on the counter. A matching shape identifies a likely contact source, while the substance still needs clarification.
Where a tray is used, inspect its underside and feet as well as its upper face. A tray can contain a leak while keeping the contact area damp and hidden. Follow the tray's own cleaning instructions and confirm that any supports are compatible with the stone finish. If the same footprint returns, relocate the source and ask the stone supplier about the residual mark rather than repeatedly increasing cleaner concentration at that one spot.
Check that the source of recurrence is controlled
Clean and dry the underside of the oil bottle or replace a leaking dispenser before returning it. Use a stable, finish-compatible tray and inspect beneath it regularly. Keep abrasive preparation tools on a cutting board and place hot cookware on appropriate trivets. These are use changes, not promises that the stone can never stain again.
The job is complete when removable oil and detergent residue are gone, the surface is dry and the remaining appearance has a documented explanation or referral. Record the cleaner and preparation used. If the same dark circle remains after a proper clean, preserve that information and move to the stain assessment. Repeating the routine indefinitely adds exposure without answering the remaining question.
THE REFERENCE FILE
Sources & scope
Documentation reviewed 1 Nov 2026. Examples are illustrative; this article does not claim hands-on product testing. Follow the instructions for your actual material, model and location.