A dishwasher can look full while leaving a bowl almost untouched. The useful question is whether each dirty face has an open route to the spray, rather than whether another item will fit. Build the load around that route, then check what actually came clean.
This approach works particularly well when the same awkward pieces keep returning to the sink. You will need the dishwasher's model-specific loading diagram, the care instructions for uncertain cookware, and your usual automatic dishwasher detergent. Start with a cooled machine that is not running.
Choose what belongs in this wash
Separate the items that need a decision before arranging anything. An unmarked storage container, decorated serving plate or unfamiliar pan should wait until its maker confirms dishwasher suitability. A convenient space in the rack does not establish that the finish can tolerate the programme.
Read restrictions literally: a container approved for the upper rack still needs that position. Put questionable pieces aside for washing according to their own care instructions. This prevents one demanding item from determining the temperature and handling of an otherwise ordinary load.
Scrape substantial food remnants into the appropriate waste container; routine rinsing under the tap is unnecessary, according to GE Appliances' loading guidance. Inspect hollow handles and deep corners for scraps that scraping the main surface missed. Do not treat the dishwasher as a disposal unit.
Use the model's diagram to identify its spray arms, detergent compartment and any designated cutlery tray. There is no universal front-to-back pattern: the actual rack supports and water outlets determine useful positions. Keep the diagram nearby for the first rearrangement.
Give the largest piece a place before filling gaps
Start with the awkward casserole dish or serving bowl. It is easier to reserve a workable position now than to squeeze it across an already loaded rack. Aim its dirty interior toward the spray, with an angle that lets water leave rather than collect.
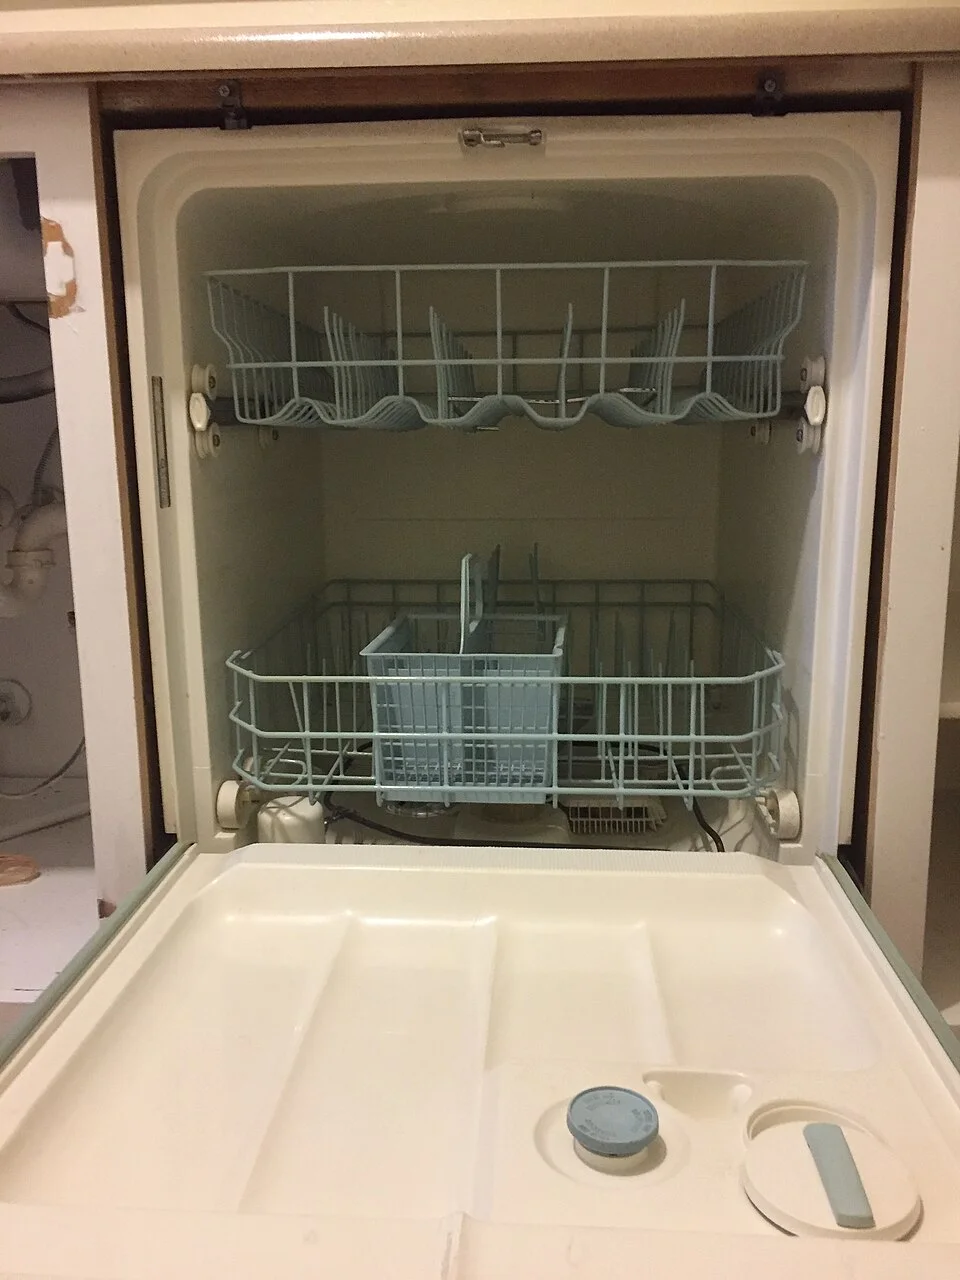
The empty lower rack exposes plate supports and the basket position before a pan or platter hides them. Use the actual loading diagram to reserve space for the largest permitted piece, keeping it stable and leaving the dispenser route clear. The open space here does not establish a universal gap or prove that a loaded spray path will remain unobstructed.
Photo & usage
Steven Pavlov · CC BY-SA 4.0 · Source. Display copies resized and encoded as WebP; no instructional details were fabricated or removed.
Imagine looking from the nearby spray arm toward the food residue. If another dish sits directly across that route, move one of them. This visual check cannot predict every jet, but it exposes obvious barriers: a platter covering several plates, a pan lying over bowls, or two bowls fitted together.
Use the lower rack's supports to keep plates separated and stable. Follow the appliance diagram for large items along its edges, and keep the area opposite the detergent dispenser clear. A baking tray may leave the spray arm free while still preventing the dispenser lid from opening.
There is no helpful universal gap in inches or centimetres. Dish shapes differ. Look instead for exposed interiors and independent support: removing one plate should not make its neighbour fall over. If a large dish requires leaning on several smaller ones, give it a separate wash or use its approved hand-washing method.
Check openings, drainage and small-item security upstairs
For cups and small bowls, distinguish an opening facing the water from a hollow base facing the ceiling. The interior needs access to spray; the exterior recess needs an angle that helps it drain. A cup can satisfy the first condition while retaining a puddle in its base.
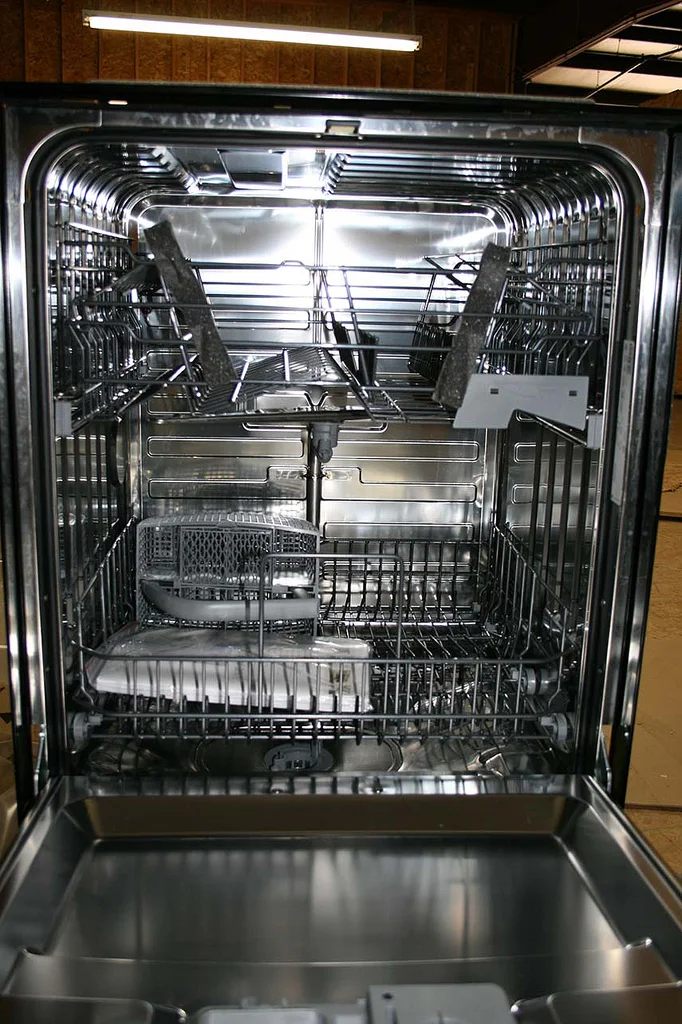
The empty racks reveal supports and the open space between levels before dishes obscure them. Use your own model’s loading diagram to position cups and secure small permitted items, then check clearance above and below. This reference does not establish universal rack heights, item compatibility or a successful wash.
Photo & usage
Ryan from Louisville, USA · CC BY-SA 2.0 · Source. Display copies resized and encoded as WebP; no instructional details were fabricated or removed.
Use the rack's intended supports rather than wedging a glass into a precarious gap. Leave room between fragile pieces. If your model has adjustable rack height, consult its instructions before changing it, then recheck clearance above and below. Raising the rack solves some tall-plate problems while reducing space for tall glasses.
Whirlpool's rack guidance places dishwasher-safe plastic containers and lids in the upper rack and stresses securing them against falling through. Use an existing holder if the manual approves it. Set aside a loose lid that cannot be retained; do not trap it over another item's dirty face.
Lay suitable long utensils in the position the rack is designed to support, checking that neither end hangs into a spray arm's path. A ladle that appears stable with the rack extended may shift as it slides home.
Rebuild a hypothetical dinner load
Suppose the load contains four dinner plates, four cereal bowls, four mugs, everyday cutlery, two dishwasher-safe containers and a casserole dish. These quantities are a hypothetical planning example, not a capacity claim. The first arrangement has bowls nested in pairs and the casserole stretched across the plates.
- Remove the casserole temporarily. Spread the plates in their supported slots. Their dirty faces should remain exposed rather than forming a solid overlapping stack.
- Separate every bowl. Try smaller bowls in the upper rack's intended positions. Rotate each one until its interior is open to the spray without leaning against another bowl.
- Place mugs and containers. Check their openings and secure the light pieces. Keep any tablet receiving area identified in the manual empty.
- Return to the casserole. Try an approved lower-rack position. If it covers plates or stops an arm, leave it out of this load.
- Distribute cutlery. Use basket separators or individual tray positions so spoon bowls cannot sit tightly together. Follow the manual's orientation instructions; sharp knives in a basket belong point down, with handles accessible.
The result may contain fewer pieces than the first attempt. That is a useful trade when the alternative is washing the same obstructed surfaces twice. Judge the arrangement by access, not by how little empty rack remains.
Check the detergent route before pressing start
With the machine off and cool, gently turn each accessible spray arm through its rotation without forcing it. Check for a utensil protruding below a basket and tall items reaching the arm beneath the upper rack. Push racks fully home and confirm the door closes normally.
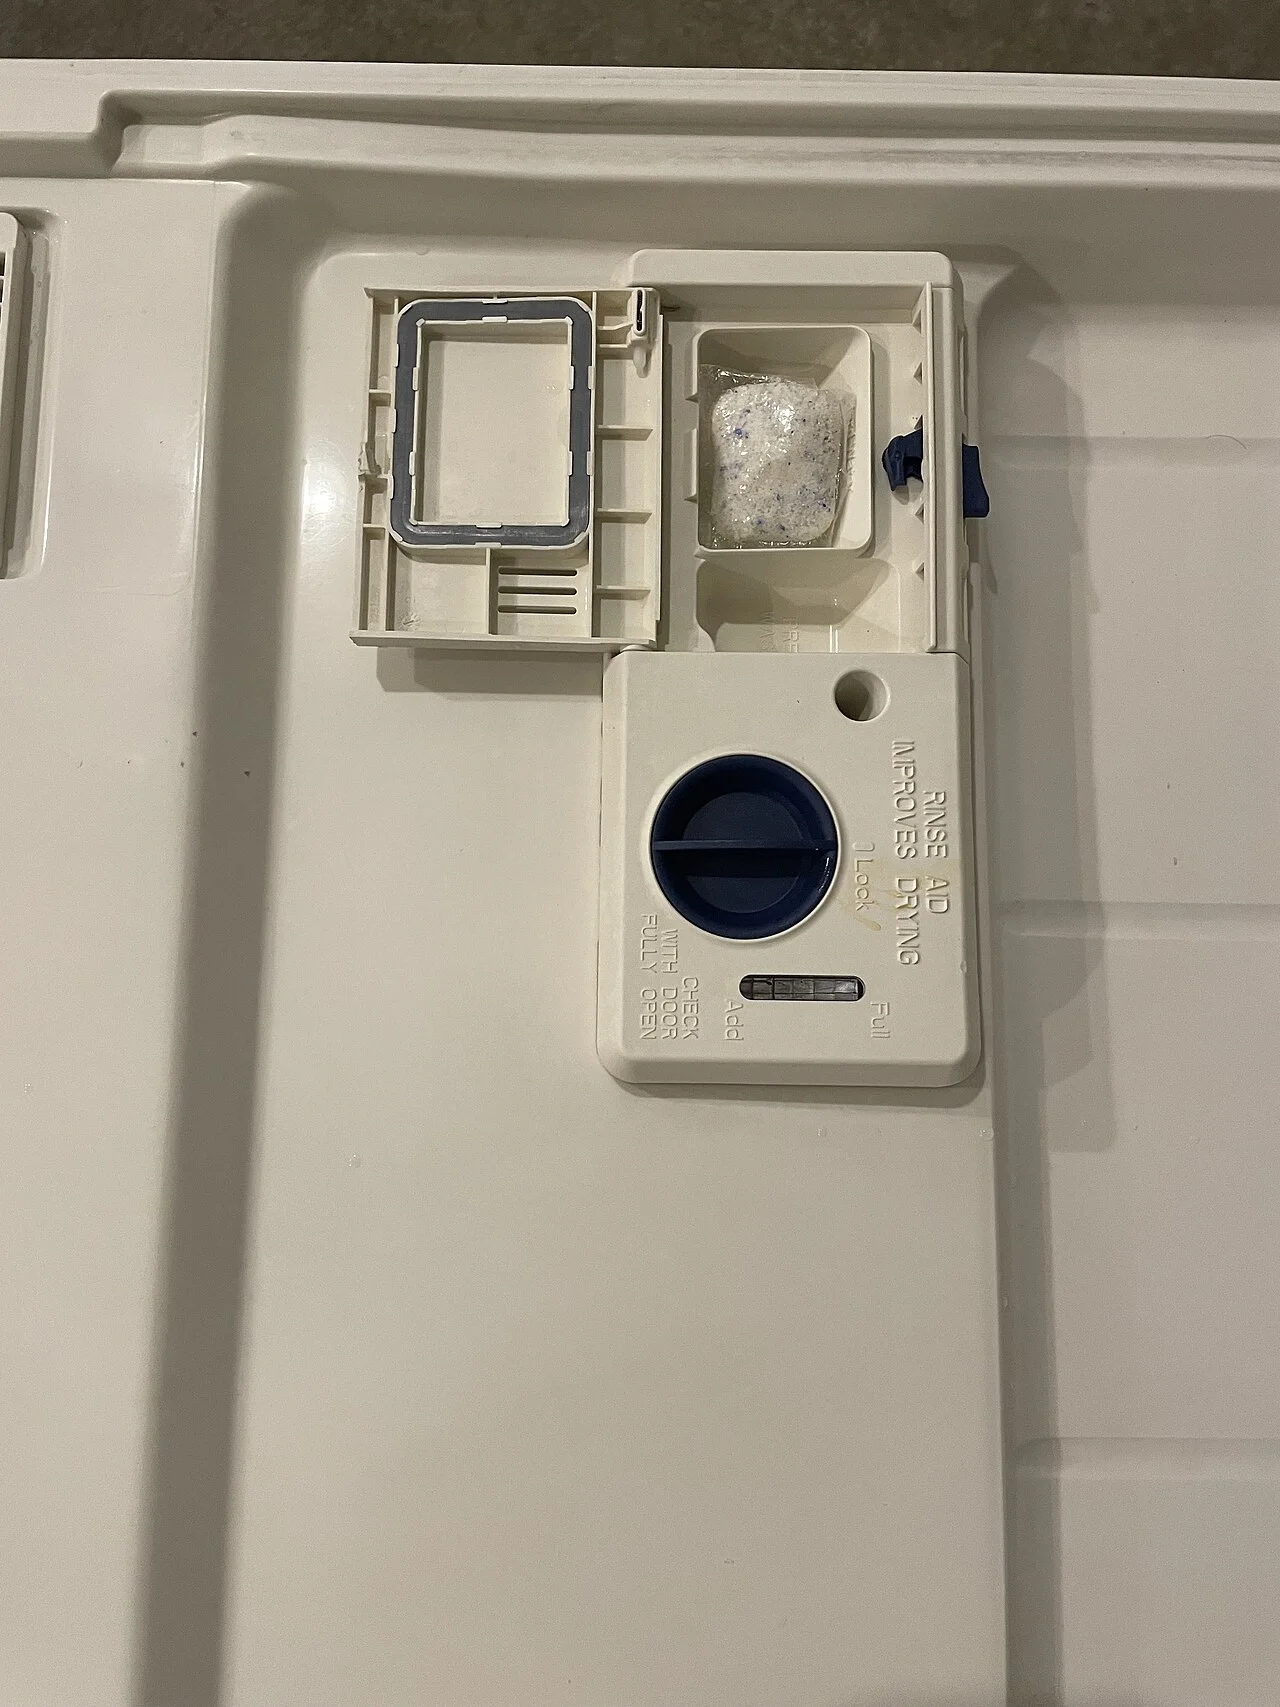
Identify the dispenser and its lid travel before starting. The photograph shows one machine’s detergent arrangement; dose, detergent type and placement must follow your own machine and detergent instructions.
Photo & usage
SelenaJKruse · CC BY-SA 4.0 · Source. Display copies resized and encoded as WebP; no instructional details were fabricated or removed.
Look separately at the dispenser's opening space. Bosch's instruction manual identifies blocked dispenser covers and obstructed tablet collecting trays as reasons detergent can remain behind. If your machine has that tray, it is part of the detergent route, not spare storage.
Add detergent to the specified compartment as directed by the appliance and detergent instructions. Follow their dose guidance for your water hardness rather than automatically adding more after a disappointing wash. Use automatic dishwasher detergent, not hand dishwashing liquid.
Select a programme suited to the soil. GE's wash-performance guidance notes that a short or light cycle may be inadequate for heavily soiled dishes. If rack-only washing is available, confirm the selected setting covers every loaded rack. Record the programme and detergent dose so the result has a useful reference.
Read the finished load before rearranging everything again
Wait for the programme to finish and the contents to cool enough to handle. Inspect the casserole interior, a bowl near the back, a mug and the cutlery before putting them away. The KitchenAid user instructions, document W10596243D, also warn against touching the heating element during or immediately after use.
- One hidden patch remains dirty
- Compare that exact patch with the arrangement. Was it behind a plate or pressed against another bowl? Change that position on the next comparable load and note whether the same patch improves.
- Food or grit remains across several areas
- Loading may not explain the whole problem. Consult the model's filter-maintenance instructions and wash-performance troubleshooting before repeating the same cycle.
- Detergent remains in its compartment
- Confirm the cycle finished, then review dispenser clearance, product instructions and programme suitability. Repeated residue with those checks satisfied needs manufacturer advice.
- Clean pieces hold water
- Review their drainage angle separately from cleaning performance. A puddle in a mug base is a different observation from food inside the mug; record which occurred.
For a useful comparison, keep the next load's programme and detergent consistent when testing a placement change, provided they suit its contents. Note the problem item's position and the outcome. Changing the layout, dose and programme together makes it difficult to identify what helped.
THE WORKING FILE / ROUTE
A clean top rack and a dirty bowl do not identify the same failure
Consider a hypothetical load in which glasses are clean but one deep bowl retains food. A tall utensil below that bowl also interferes with a spray arm’s free movement. Another pan has nested tightly against a plate. Photograph the arrangement before unloading so each failure remains attached to its position.
One dirty bowl
- Question to check first
- Was the surface exposed to the intended spray?
- One changed comparison
- Reposition it according to the rack guide
Arm obstruction
- Question to check first
- Does a permitted manual movement check reveal contact?
- One changed comparison
- Remove the interference before starting
Nested surfaces
- Question to check first
- Can water reach both surfaces?
- One changed comparison
- Separate the pan and plate
Widespread residue
- Question to check first
- Does the model’s troubleshooting identify another issue?
- One changed comparison
- Follow its detergent, filter or service checks
Read the result
Keep the next comparison narrow: change the obstructing placement and the nested pair while retaining the permitted cycle and detergent dose. An improved result supports a loading contribution, not a claim that the appliance has no other fault. If the same location repeatedly fails after correct loading, record the pattern for the model-specific troubleshooting process.
Your route record Blank worksheet
Find the obstruction or loading choice behind a repeat dirty-item pattern.
- Item / material permission
- ________________________________
- Rack position
- ________________________________
- Spray path
- ________________________________
- Nested contact
- ________________________________
- Arm clearance
- ________________________________
- Cycle and dose
- ________________________________
- Result by item
- ________________________________
- Repeated failure location
- ________________________________
Before closing the file
- Item permissions come before convenience.
- The documented spray-clearance check passes.
- Results are associated with positions.
Know when another loading adjustment is enough
A successful finish means no visible food on the inspected surfaces, no trapped detergent, and a completed programme. Rewash visibly dirty pieces before putting them away. Save a brief note of the arrangement that worked, especially where the large serving dish fitted.
If gritty results lead you to a user-removable filter, follow only your model's removal and cleaning instructions. The KitchenAid manual requires filters to be correctly installed before operation. Stop if you cannot release or refit yours as described; do not force it or reach into the pump.
Repeated poor cleaning after these checks warrants qualified appliance service. Provide the model number, programme, detergent and the locations of affected items. Stop using a machine with damaged controls or impaired door operation, as Bosch instructs, and contact service. Leave panels, wiring, water connections and internal repairs to qualified help.
THE REFERENCE FILE
Sources & scope
Documentation reviewed 1 Nov 2026. Examples are illustrative; this article does not claim hands-on product testing. Follow the instructions for your actual material, model and location.